
Aluminum door frame cutting starts with the approved door-system drawings and a member-level cutting list. Separate the building opening, outer frame and moving leaf. Identify each profile, joint, end orientation and later operation before comparing saw configurations.
A correct cut length is only one part of a door fabrication record. This guide helps buyers prepare the cutting review; it does not provide a universal door-system formula, installation method or evidence of thermal, weather, security or load performance.
Keep the job easy to follow
- Label each member by its function and system drawing.
- Use the specified end geometry and length reference.
- Track parts through later operations and assembly by identity.
On this page
1. Define the aluminum door frame cutting boundary
A building opening size, an assembled outer-frame size and a door-leaf size describe different boundaries. Label the one on the drawing. Do not pass a single width and height to the cutting team without saying what they measure.
The cut lengths depend on the approved joint and system details. A member can fit between other members, run past them or meet them at an angled end. The overall assembly size alone does not define every individual cut length.
Use the system’s approved fabrication information to prepare the cutting list. Retain the relevant dimensions and drawing revision. If an opening dimension is only an input to design, mark it accordingly so it cannot be mistaken for a finished member length.

2. Identify the profiles and their joint details
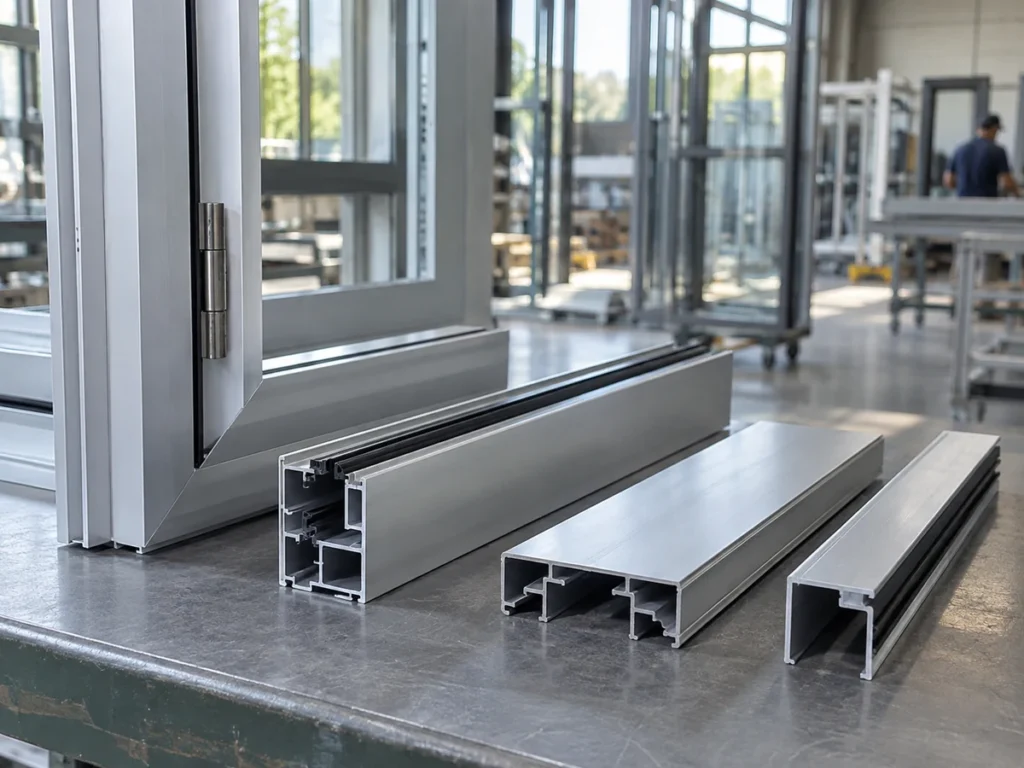
Separate outer-frame jambs, head members, leaf members, thresholds and supplementary profiles when they appear in the design. A similar finish or outside depth does not establish that two sections perform the same role.
Door systems involve more than metal lengths. For example, Schüco’s AD UP 90 page describes system-specific hinges, fixing arrangements and gasket details. The purchasing lesson is to use the chosen system’s documentation, rather than infer compatibility from a photograph of a generic frame.
Retain the connector and joint references needed to interpret the ends. Identify which parts meet and which surfaces establish the assembly dimensions. This guide does not prescribe a connector, joining method or gap for every door.
Give each section a clear identifier linked to its drawing. If the job includes several profile families, keep them on separate cutting-list lines. This reduces the chance that a correct length is applied to the wrong section.
3. Make end geometry and handed parts explicit
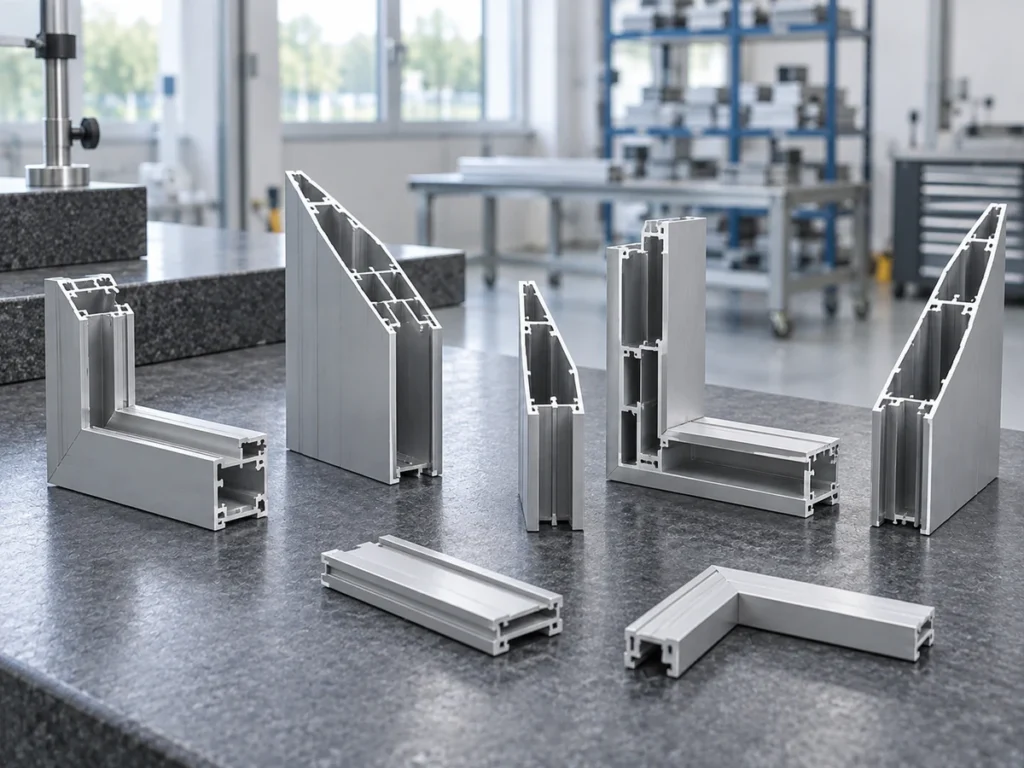
For each member, show the geometry at both ends. State straight cuts or the specified angles and retain the reference used for length. A long-point dimension and a short-side dimension need different labels on an angled member.
Mark the profile orientation on the drawing or a labeled sample. Reversing a section can change the relationship of slots, shoulders and visible faces to the ends. An angle number alone does not define those relationships.
Where left and right members differ, use distinct part identifiers. Do not rely solely on the words “left” and “right” without defining the view from which they apply. A marked assembly view gives the cutting and receiving teams a shared reference.
The miter-length guide explains a simple geometric example. Apply it only when its assumptions match the actual design; the door-system fabrication drawing remains the source for the released member dimensions.
4. List what happens after the saw
Identify any later drilling, routing, notching, end machining or joining work shown in the approved process. Sawing to length does not automatically deliver these features. Keep the quotation’s operation scope understandable.
Retain the reference faces and orientation information needed by the next operation. A member that loses its identity after cutting may become difficult to distinguish from a similar part waiting for a different hardware preparation.
If a cut piece is a blank for later machining, state the approved blank condition. Do not use the final assembled dimension as an incoming blank requirement without reviewing the later material removal. Our machining allowance guide covers that stage distinction.
Plan the handoff record as well as the cutting list. The next team should be able to find the part identifier, drawing revision and required operation. A pile of visually similar members is not a complete processing instruction.
5. Define appearance and dimensional checks separately
Mark the surfaces that will remain visible in the assembly. State the accepted appearance and handling requirements using the responsible team’s approved references. A surface hidden in one design may be exposed in another.
Keep end-face condition, burr or edge requirements, angle and length as separate checks. One visually neat corner does not establish every requirement. Our edge-condition guide helps make the requested finishing scope clear.
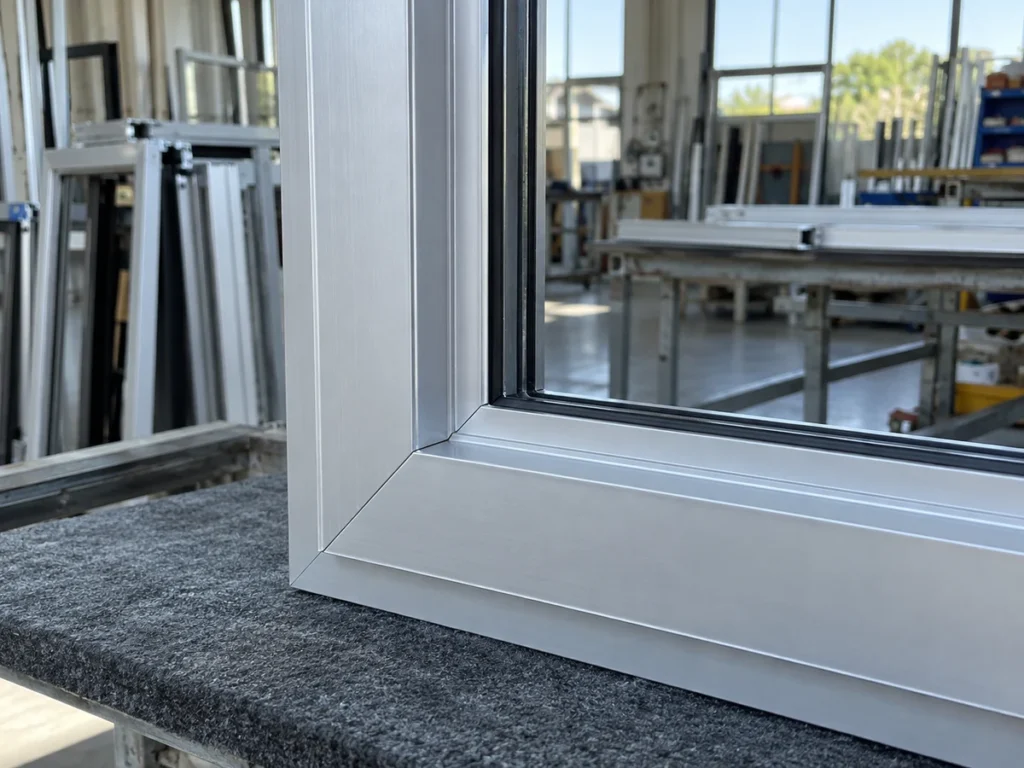
Record a representative joint or assembly check where the approved acceptance plan requires it. The result belongs to the identified sample and condition. Do not extend one corner photograph into a claim about a whole production batch or the finished door’s performance.
6. Count complete kits as well as individual pieces
Use an invented planning example: ten assemblies each require an outer frame with two jambs and one head, plus a separate four-member leaf. Assume other items are supplied under separate lines. This is a counting example, not a universal door construction.
The outer-frame requirement is 10 × 3 = 30 members. The leaf requirement is 10 × 4 = 40 members. Together they require 70 accepted members, with identities preserved. Seventy unclassified pieces would not prove ten complete kits.
Group the counts by exact part type and handedness where applicable. A surplus head cannot substitute for a missing jamb. Held or uninspected pieces also should not silently enter the released-kit count.
Record the kit identifier and the accepted members allocated to it. Keep extra pieces outside the kit count until their intended use is recorded. Our traceability guide explains how identity and disposition can stay linked.
7. Review the actual job before selecting a saw
Send the complete section drawings, required member lengths, end geometry, quantities and orientation details. Ask the supplier to review the proposed configuration against those inputs. A model label or maximum blade diameter is not a complete application review.
For repetitive angled members, a single-head or double-head arrangement may enter the comparison. Review the operation sequence and acceptance requirements for the actual job. Our single versus double-head saw guide explains the purchasing distinction without assuming equal output.
Part identification can also enter the equipment scope. As an industry example, Emmegi’s Precision TS2 page describes an optional label printer for cut-profile identification. Confirm labeling and data functions separately in the selected quotation; this is not a claim that a JiurunCut configuration includes them.
Close the review with a documented sample plan where needed. Identify the sample members, drawing revisions and acceptance checks. Keep any unresolved system detail visible rather than treating a generic machine demonstration as approval of the entire door.
Common questions
Can an opening width and height become the cutting list directly?
Only if the approved fabrication information clearly makes them the required member dimensions. Usually the boundary, profiles and joints need interpretation first. Label the assembly size and the member sizes separately.
Does every aluminum door frame use the same miter arrangement?
Use the actual system drawings. This guide establishes no universal joint or angle. Keep both end details and the length reference on each applicable part line.
Does a successful corner fit prove the door’s performance?
It documents only the check performed on that identified sample. Weather, thermal, security, load and other system requirements need their own applicable evidence and responsible evaluation.
Send the system drawings with the cutting list
Ask JiurunCut to review your door-frame member requirements. Include the sections, end details, accepted quantities and later operations. Request a machine recommendation and sample review for the actual job.