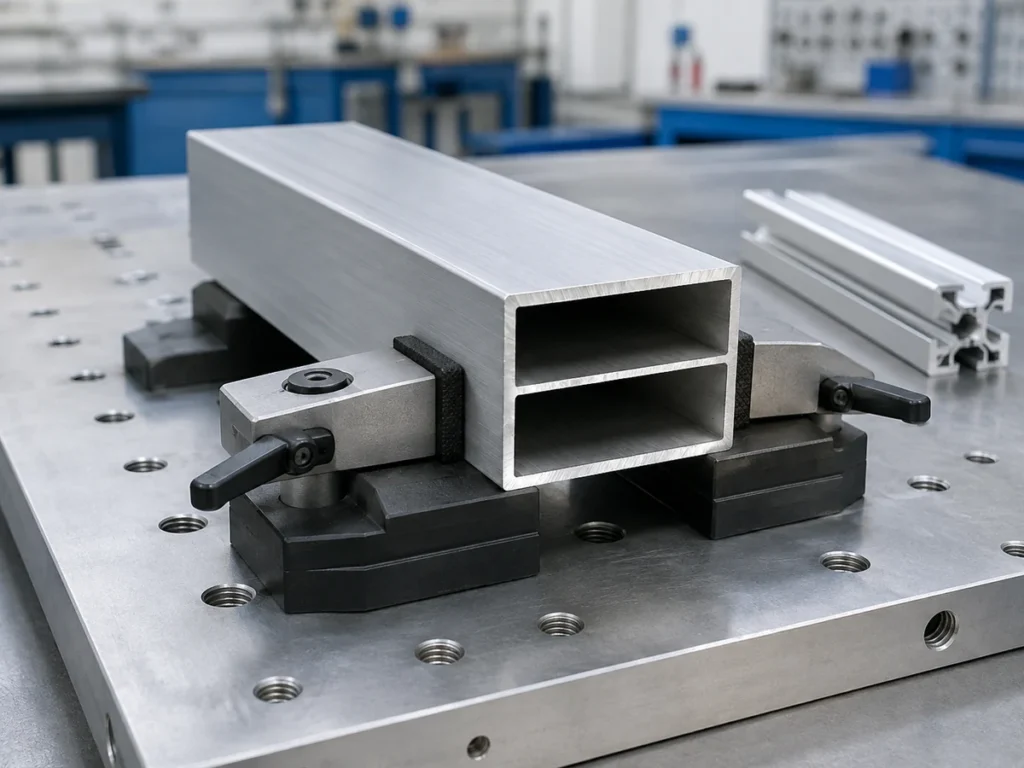
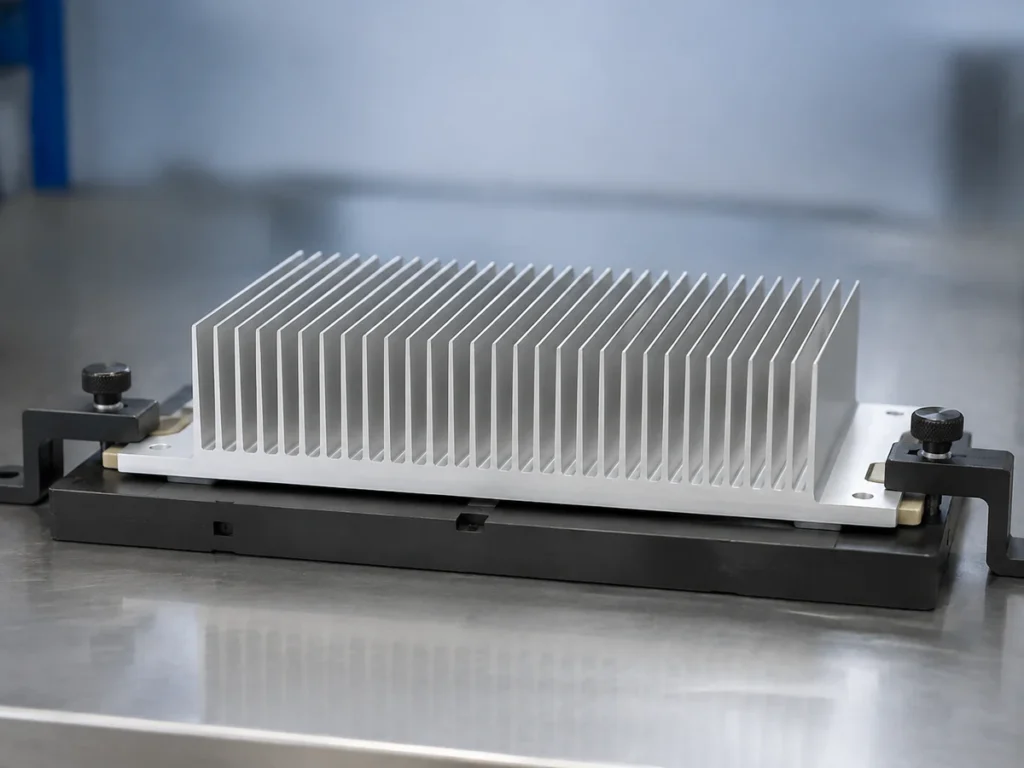
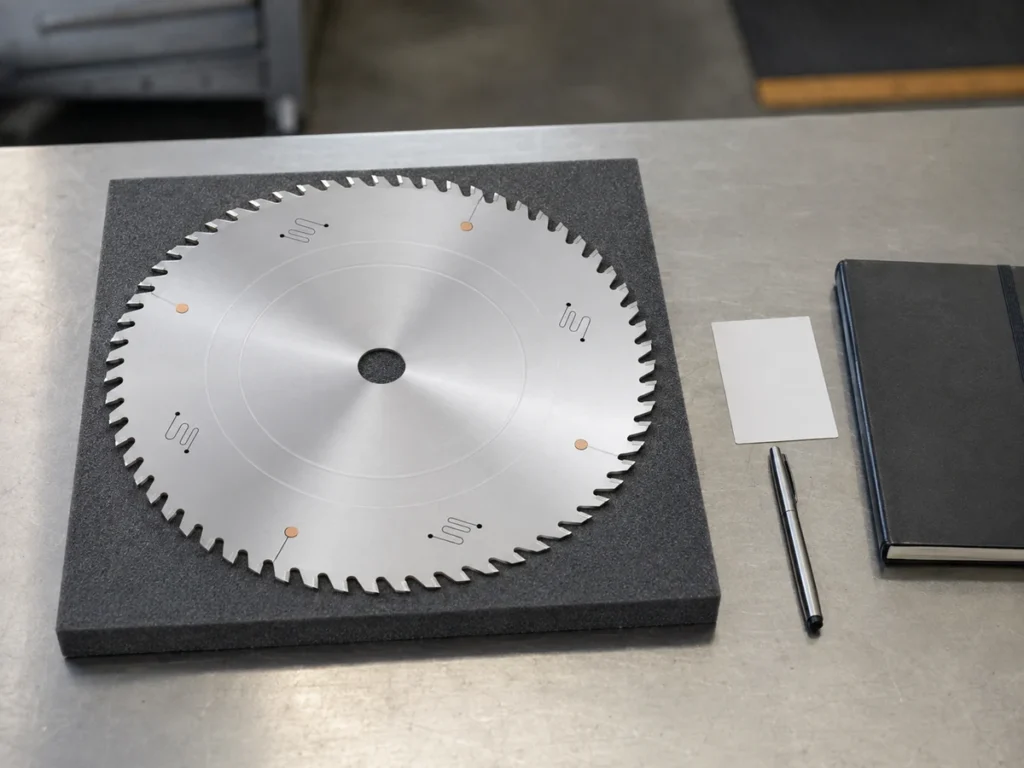
Start by recording where burrs appear and what changed before they appeared. A burr is unwanted material left on an edge after cutting; damage from moving the finished part is a different problem. Compare the blade, supports, clamps and way you collect parts together. Do not guess a speed or feed change without instructions for your machine and job.
Three things to remember
- Agree what the finished edge should look like, and mark where the problem appears.
- Compare several recorded parts and note recent changes to the tool or setup.
- Stop and report suspected tool damage, loose holding or a problem with a guard.
On this page
Record what changed before adjusting the machine
Mark the affected edge on the profile drawing and record the material being cut. Note when the parts last met your requirement and what changed after that.
Look at the approved blade, supports, clamps, cutting setup and part handling together. Advice to increase speed, reduce feed or change the teeth may not suit your machine or the profile you are cutting.
Agree which burrs and edge conditions are acceptable
Agree where to inspect the edge, what is acceptable and how to measure or compare it. Make clear whether the part will be finished afterward. A request for “burr-free” parts is not precise enough on its own.
Check dimensions as well as appearance. A clean-looking part can still be the wrong length or fail perpendicularity—the requirement for the cut face to be square to the reference shown on the drawing.
Take well-lit photos of the complete cut-end shape and the affected edge. Show which way the profile was positioned so the person checking the photos can find the same edge on the drawing.
Look for a pattern in burrs across parts
Compare a recorded sequence of parts rather than picking one bad piece. Do burrs appear on every part, after changing profiles, after servicing the blade, or only on profiles with a similar shape?
| What to record | What to check next—not a diagnosis |
|---|---|
| Burrs appear mainly along one area | Is that area supported, and is it inspected in the same way each time? |
| Cut quality changes after changing the blade | Does the replacement match the approved blade specification and service record? |
| Only profiles of a similar shape are affected | What is different about their shape, support and clamp contact areas, or required cuts? |
| The part is acceptable at the saw but marked after collection | Is the part being marked or knocked while it is collected or moved? |
| Both dimensions and the surface finish change | Did the way the part is positioned or clamped, or another part of the setup, change? |
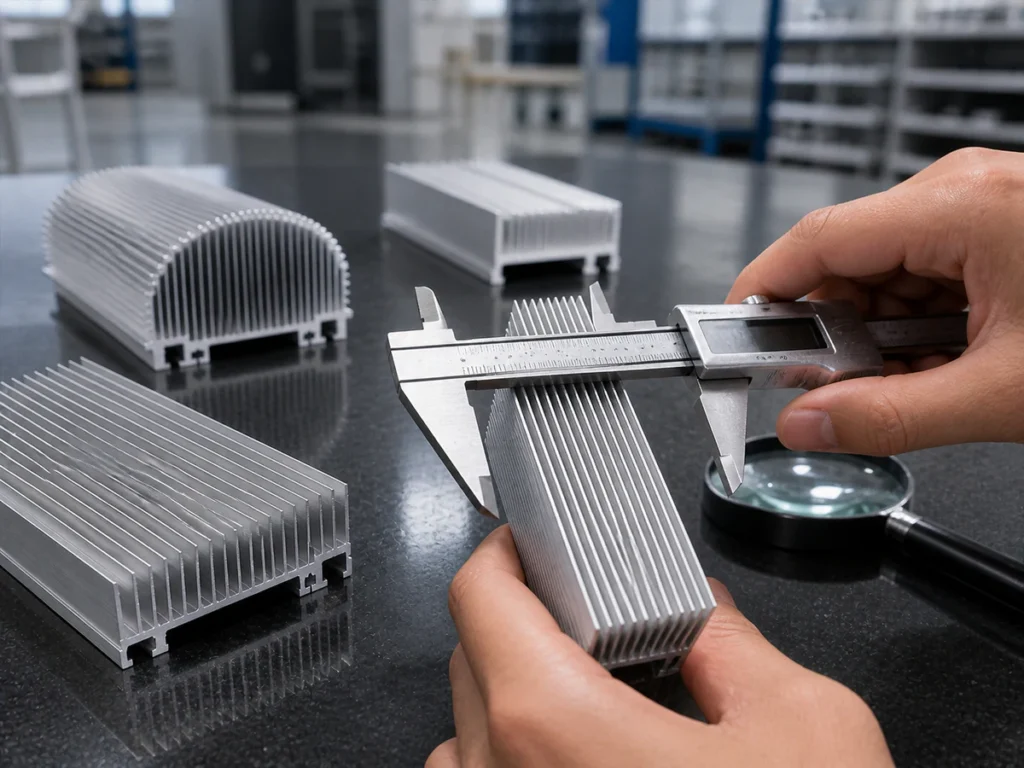
These observations help decide what to inspect next; they do not identify the cause by themselves. Do not keep using a tool you suspect is unsafe or bypass a guard to get a closer look.
Check the blade details and service history
Record the blade reference, its known service history, the exact machine setup and the profile being cut. Describing it only as “an aluminum blade” does not show that it suits the job.
Freud describes how its aluminum/PVC blade range handles chips and keeps the blade stable. LEUCO describes specific profile applications and the need to hold the workpiece securely. These examples show why blade choice depends on the job; they do not approve either supplier’s blade for your Jiurun machine.
Authorized personnel should check whether the blade suits the machine and job, and inspect its condition under the equipment’s safe maintenance procedure. Fitting a new blade does not rule out other causes.
Check how the supports and clamps hold the profile
Identify the datum, the face or edge used as a reference when positioning or measuring the profile. A fixture is the arrangement of supports and clamps that holds it in that position.
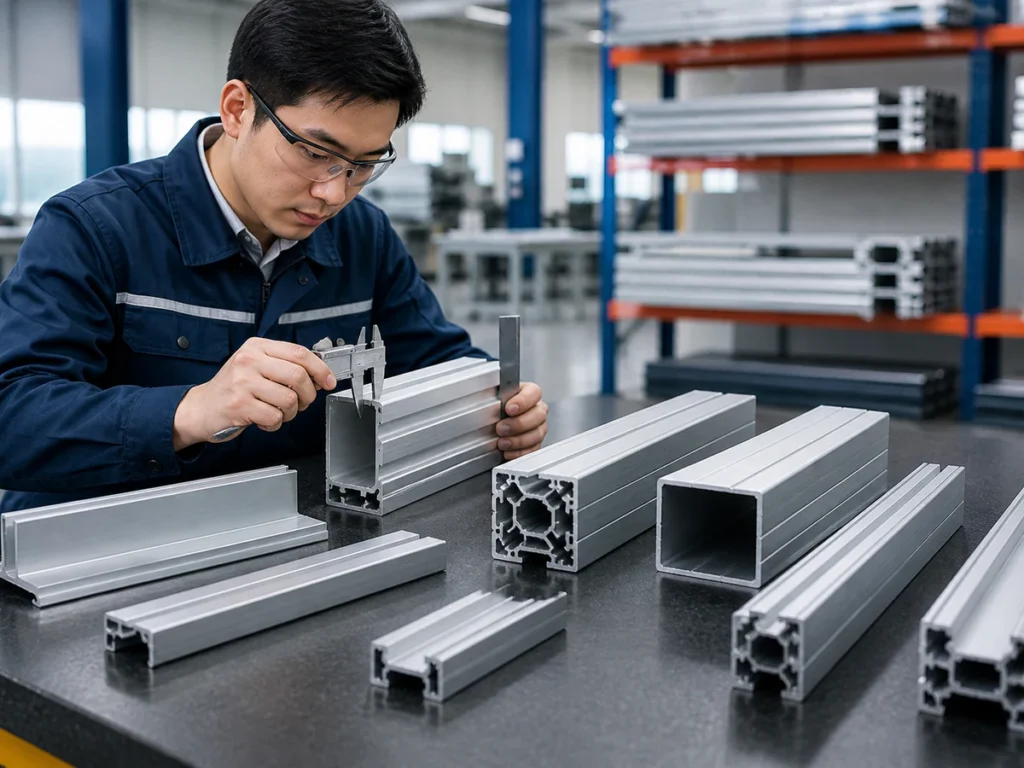
On the drawing, mark thin walls, hollow spaces, uneven areas and where the supports or clamps touch. Mark any faces that must remain unmarked. Check that the setup is still the approved one for this type of profile.
Record any change to the fixture, then compare the affected sample with the drawing and setup record. Do not assume that more clamping force will solve an unexplained edge problem. A phone photo alone cannot establish every cause.
Separate cutting problems from handling damage
Record where you inspected a representative part, following the approved procedure. Compare its condition there with its condition after normal collection and transport.
An edge damaged by a knock is not necessarily a sawing burr. Scratches, bending and burrs may need different checks.
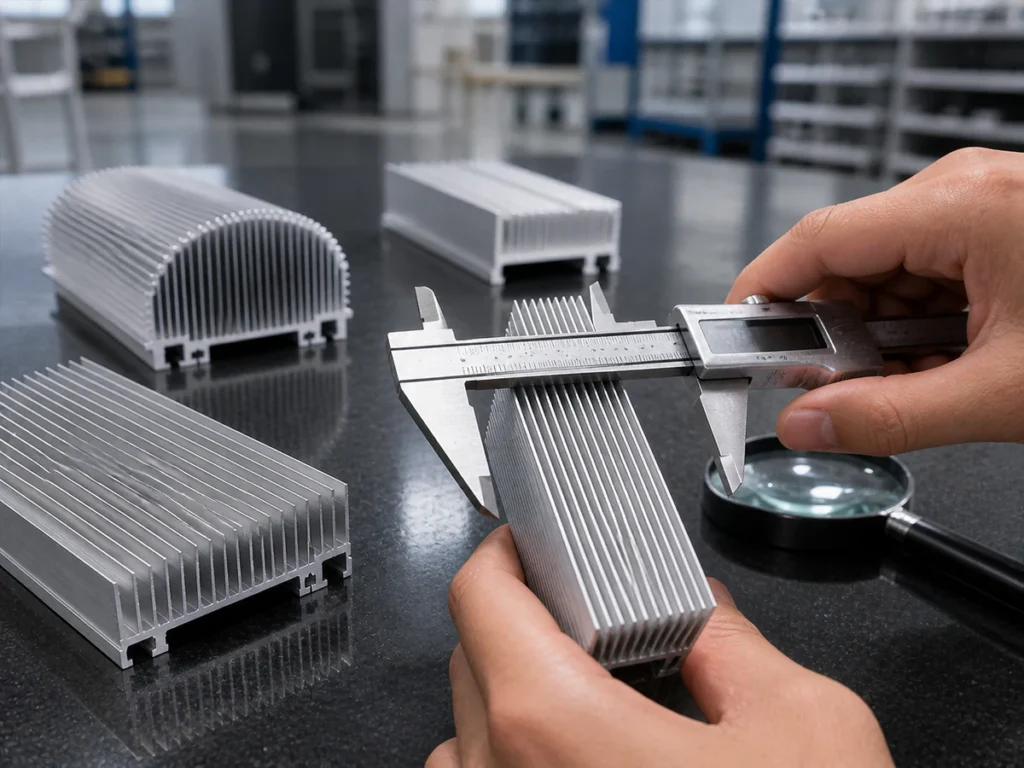
For heat sinks, check the fins after collection too. For architectural profiles, inspect the faces the customer has marked as visible. The whole finished part must meet the agreed requirements, including damage that may occur after the cut.
Agree a safe test before changing the setup
Agree a test with the machine or tooling supplier and have it authorized before starting. Use consistent material and inspection methods, and record each permitted setup change and the result.
Take spindle speed, feed, lubricant and holding pressure from the instructions for your machine and application. This guide does not set those values.
Stop and report abnormal vibration, suspected blade damage, loose holding or a problem with guarding under your site’s procedure. Do not keep cutting just to finish the comparison.
Prepare the information needed to investigate burrs
Keep the drawing, material details, a photo of the full cut-end shape, an edge close-up, the sample sequence and blade reference together. Add a list of recent changes and explain why the part does not meet your requirement.
The extrusion cutting guide covers the wider cutting workflow. For parts with fins, the heat-sink cutting guide explains the support and handling checks for that shape.
What else should you know?
Will a new blade always solve burrs?
No. The blade’s condition is only one area to check. You also need to understand how the part was supported, positioned, cut and handled.
Can a photo confirm the cause?
A photo helps show the problem, but usually cannot show the full setup or establish the cause. Include the drawing and production record as well.
Should a supplier promise zero burrs without seeing the profile?
The supplier should first define the required edge condition and understand the profile and job. A broad promise of zero burrs is not the same as a recorded sample test.
Sources & Scope
- Freud: LU5H blades for aluminium and PVC profiles. https://www.freudtools.com/worldwide/en/products/lu5h.html. An example of manufacturer attention to tooth geometry, evacuation and blade stability; not a universal performance guarantee.
- LEUCO: NF chop saw blades for aluminum profiles. https://www.leuco.com/EN/US/Circular_Saw_Blades/NF-Circular_Saw_Blades/NF-Chop_Saw_Blades_HW-_profiles_TR-F-K-easyFix. An example of application-specific blade design and secure workholding; not a Jiurun approved blade specification.
- OSHA: Control of Hazardous Energy overview. https://www.osha.gov/control-hazardous-energy/. General maintenance hazard explanation; local requirements and the specific machine procedure still apply.