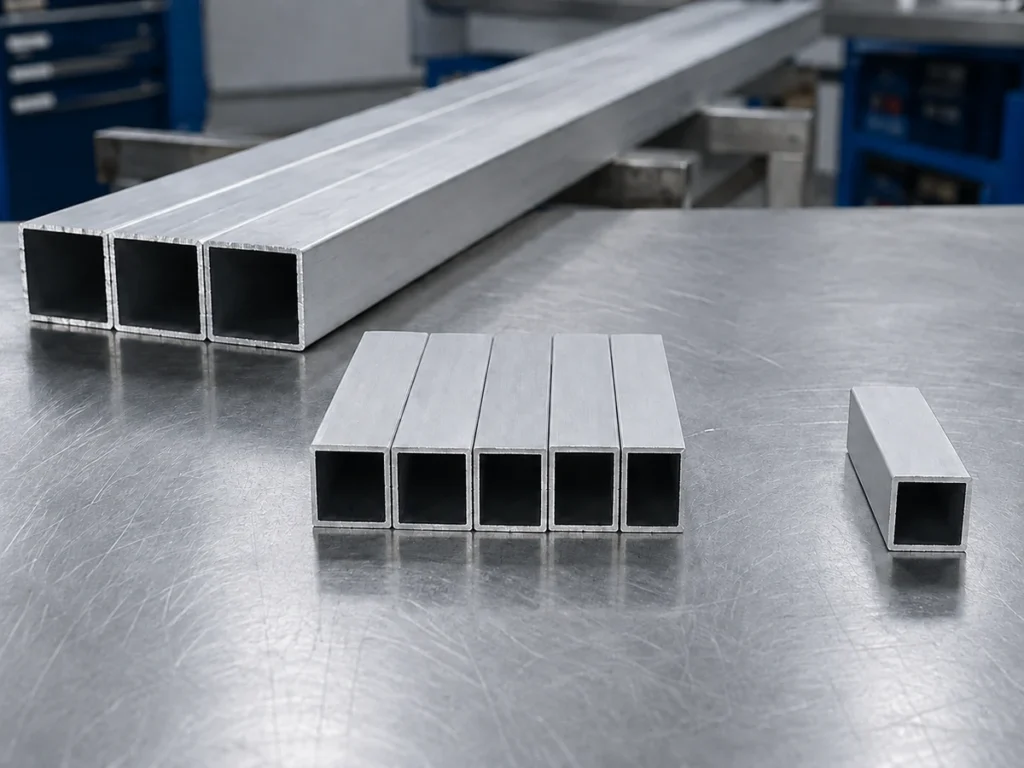
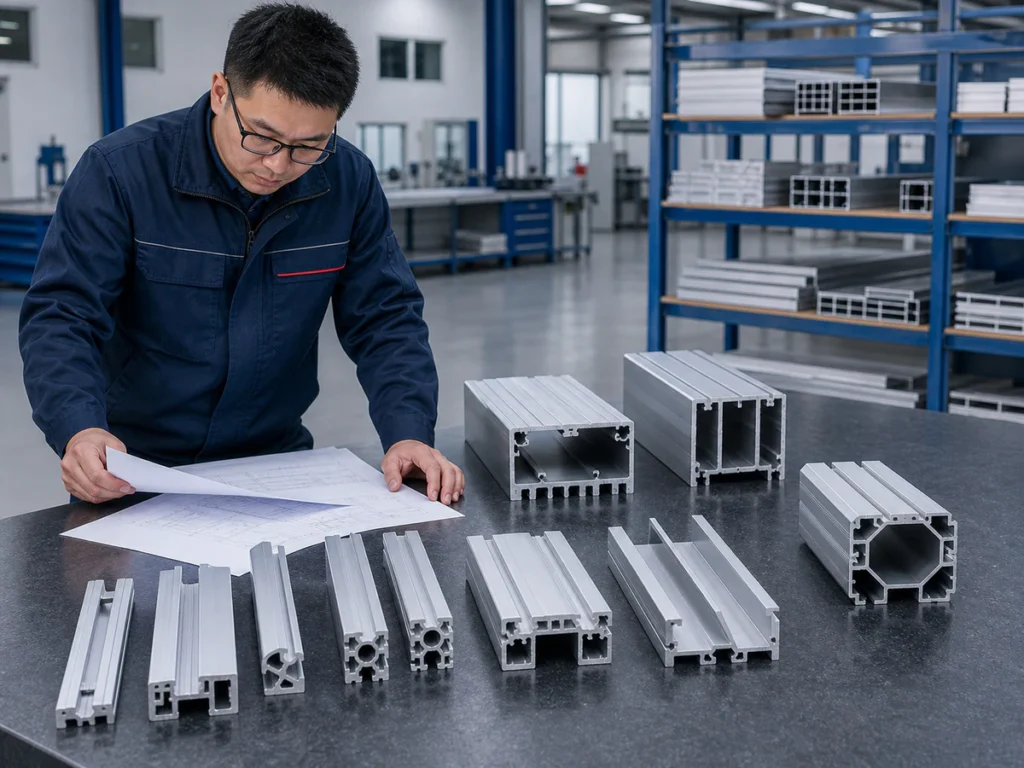
Start your cutting list with one row for each different finished part, with the profile, length, angles and quantity you need. Give that row a clear drawing reference and state the units. Keep the finished-part requirements separate from assumptions about stock and cutting losses. You can start with an incomplete list: mark what is missing instead of guessing.
Three things to remember
- Give each different part, profile shape and cutting direction its own clear row.
- Keep required finished parts separate from your stock and cutting-loss assumptions.
- Check drawings, units, quantities and software compatibility before sending the file.
On this page
What should a cutting list explain beyond length?
For each finished piece, identify the profile shape, material, drawing, quantity and how it will be checked. Include the available lengths of uncut stock. Make it easy to tell angled parts from straight-cut pieces.
A clear spreadsheet lets the supplier match each number to the right part without searching through a long email. You do not need a complete production database to begin. Record what you know and flag the gaps.
For material planning, kerf is the cut gap where the saw removes material. Record the material lost across that gap. Trim is material removed to prepare or finish an end. Record it separately so the same saw-cut loss is not counted twice.
When does a cutting list need separate rows?
Use one row for each distinct finished part. Two different profile shapes need separate rows even if their finished lengths are the same. So do mirrored pieces that face different ways.
A datum is the face or edge you measure from. Include it whenever the length number alone would leave the measurement unclear.
| Suggested field | What to enter |
|---|---|
| Profile ID | An ID that matches the drawing of the profile shape |
| Part ID / drawing revision | The finished part and the current version of its drawing |
| Material / condition | The actual specification, or “to be confirmed” |
| Stock length | The available length of uncut material for that profile |
| Finished dimension | The required length and the edge or datum used to measure it |
| Cut angle / mirrored parts | The angle and profile direction shown on the drawing |
| Quantity | How many finished pieces must meet the requirements |
| Surface / inspection note | Which faces remain visible and which drawing checks apply |
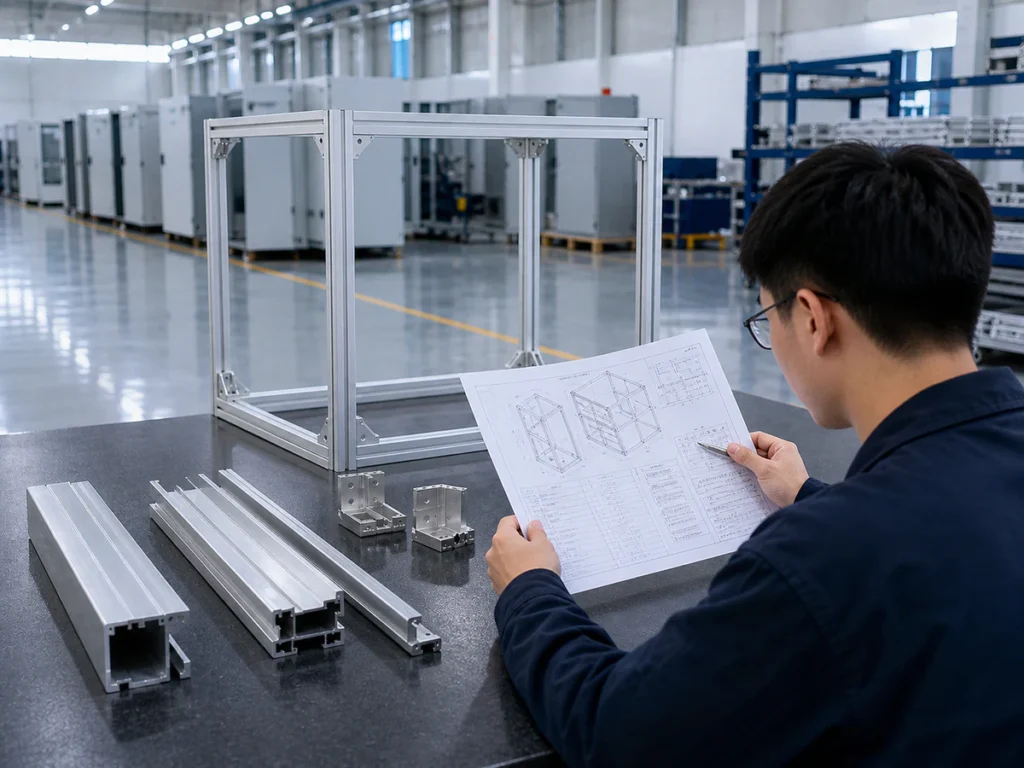
Put units in the column headings. If software will process the file, avoid mixing plain numbers with numbers followed by unit text in the same column.
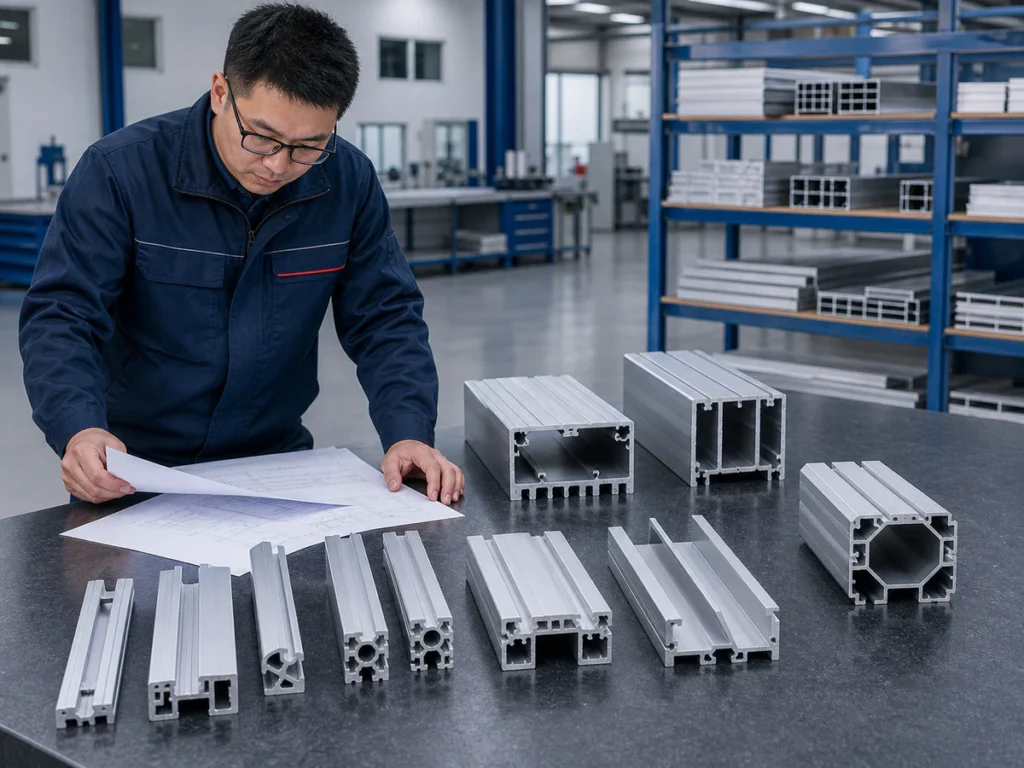
How do you match each row to a drawing?
Use the profile ID to identify the correct profile drawing. Use the part reference to identify the drawing with its finished length, angles and assembly details. Simple filenames are fine if the reader can match them without guessing.
For a frame kit, show which pieces belong together. For architectural parts, include the joint and visible-face notes. If you have several industrial profile shapes, identify which ones you plan to cut on the same machine.
Use the drawing and cutting list together. The supplier should not have to guess the part shape or quantity from either one.
What does a cutting list example look like?
This is an illustrative format example—not a JiurunCut test result, customer order or statement of machine capacity.
P-A
Part reference: Part-A, Rev. 1
Stock length: 6,000 mm
Finished length: 1,200 mm from Datum A
Cut: Straight, see drawing
Quantity: 40
Here, Datum A is the place you measure from, as defined on the matching drawing. This row alone does not describe the supports, clamps, cutting losses, end trim or every size limit you need to check.
Keep those details with the drawing or job notes. The example does not recommend a stock length or set a minimum order or production batch.
Which numbers are fixed, and which still need checking?
The finished sizes and quantities that must pass your checks are requirements. Label the planning details separately: available stock, end trim, saw-cut loss, whether leftovers may be reused, and which lengths you plan to group in one run.
Tolerance means how much a finished size may vary and still be acceptable. An empty cell must not be taken to mean that any size variation or material condition will do.
Put assumptions in separate columns or job notes. Changing an assumption must not silently change what the customer requires. Mark unknown information as needing confirmation.
What else should you explain about the job?
Say whether this is one project, a monthly mix of repeating jobs, a sample run or a forecast. Explain how often you switch profile shapes and how you group finished pieces for the next stage of work.
An offer based on repeating one length describes different work from an offer based on frequent job changes. Make the job mix clear before comparing the two.
If the saw is part of a line, describe the equipment that feeds it and receives its output. If an operator loads it, explain the space available and who moves the material.

What should you check before sharing your cutting list?
Check for mixed units, missing quantities, duplicate rows and old drawing versions. Make sure mirrored parts are clear and that every profile reference has its matching drawing or attachment.
Label sample jobs and forecasts clearly. Remove personal or unrelated confidential information that the supplier does not need for this discussion.
An XLSX spreadsheet is not proof that the machine can import the file directly. Ask which files its actual control software accepts, how cutting programs are prepared and whether any function for planning more efficient cuts is included.
What should you learn from the supplier’s review?
Ask which profiles can be considered together and which need different fixtures, the supports and holding arrangements around a part. Also agree how to handle the stock, group finished pieces and check samples that represent the job.
Keep a clear record of where the material goes. The zero-tail and material-waste guide explains why kerf, trim and remaining stock should be separated.
Start with the cutting list and drawings you already have. The first discussion should help identify what is missing before the supplier confirms the machine and equipment.
What else should you know?
Is a spreadsheet enough without drawings?
It can start a discussion. Before the supplier confirms the equipment, both sides still need to understand the profile shape, where to measure from and the finished part you need.
Should every technical detail be filled in before contacting a supplier?
No. Send what is known and label the unknowns. Do not replace missing information with guessed values.
Does one file mean all profiles share a fixture?
No. One project list can include shapes that need different supports and clamps. Ask about those differences when you send the full list.
Sources & Scope
- Jiurun machinery brochure supplied by the owner. 九润画册 PDF physical pages 6–19. Machine categories and configuration identity only; not test results or an operating manual.
- Drawing reference: The Aluminum Association’s extrusion drawing publication. The linked page describes a paid drafting reference; use the drawing requirements agreed for your project.