Direct answer
Choose an aluminum cutting machine by looking at the parts you need to make. Show the supplier your aluminum profile, finished lengths, angled cuts and usual quantities. Then compare how each machine holds the material, makes those cuts and handles the finished pieces. Ask what work the operator will still do.
You do not need to know every technical term before making an enquiry. A clear photo can start the conversation. The supplier will still need the dimensions and details of the cuts before confirming a suitable machine.
Start with these three checks
- What shape and size do you cut?
- Do you repeat the same job or change it often?
- What must the finished part look like and measure?
On this page
1. Show the part you actually need to cut
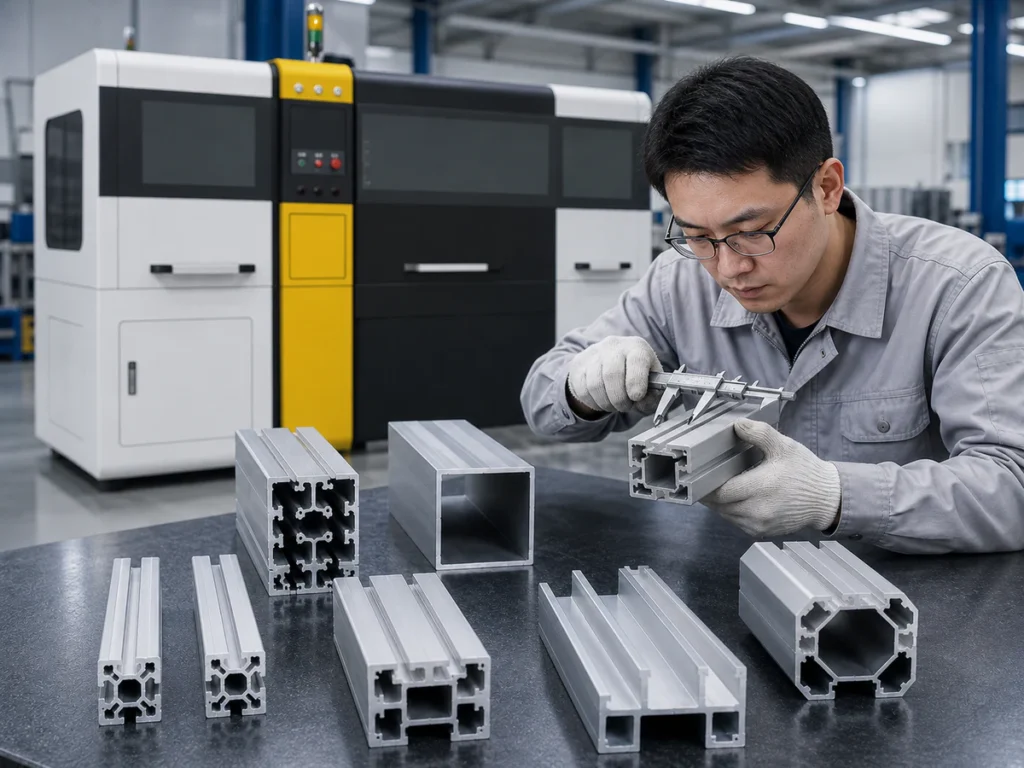
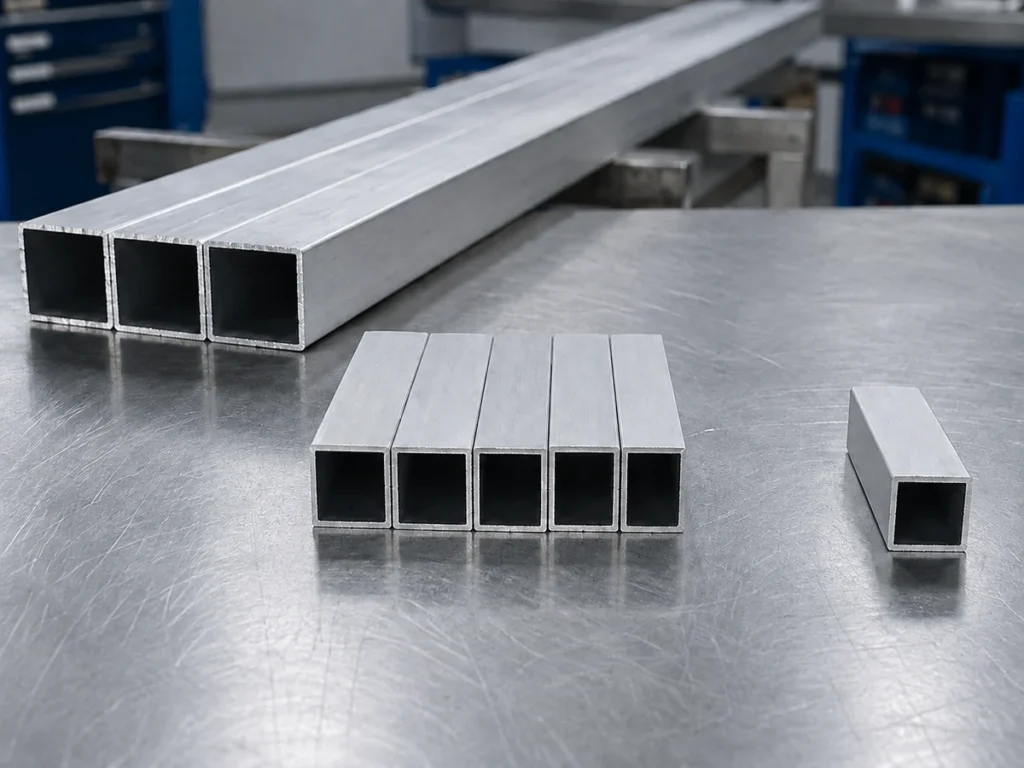
Start with a profile drawing or a clear photo of the cut end. This end view, called the cross-section, shows the hollow spaces, thin walls and stronger areas inside the profile.
Also show the finished part. A straight frame rail and an angled corner may start from similar material but need different cutting arrangements.
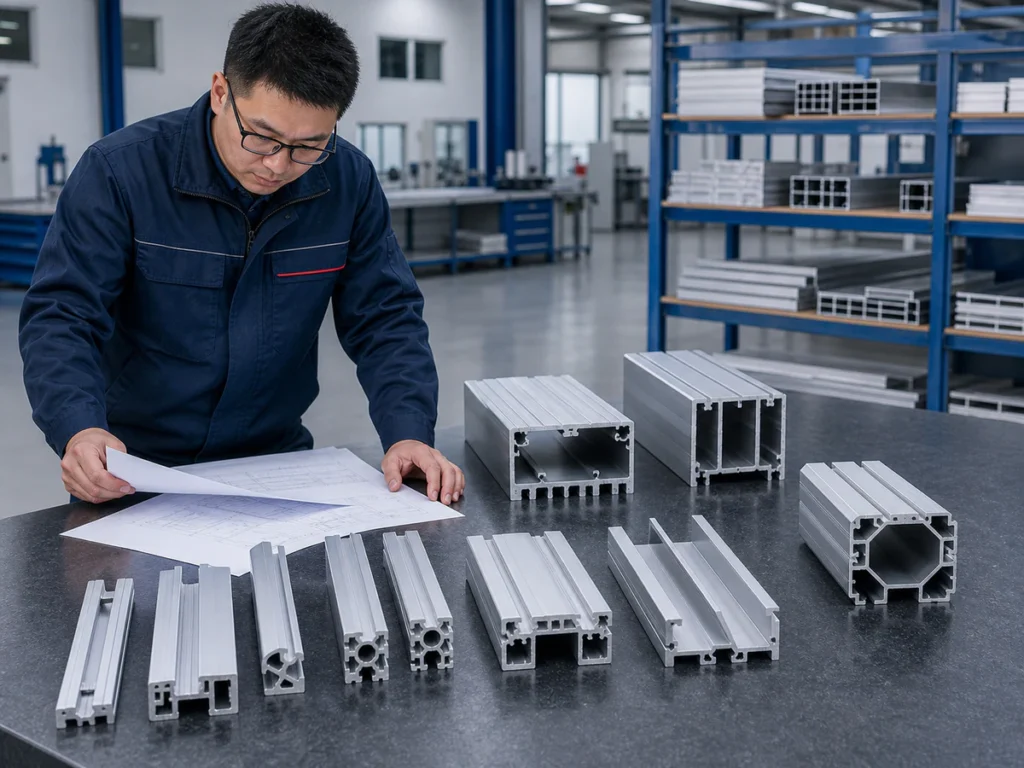
Include the material specification when you know it. Mark any missing information as “to be confirmed.” That is more useful than guessing a number just to complete an enquiry.
Ask the supplier: “Can you check this profile in the position we need to cut it?”
2. Write down the lengths, angles and quantities
A simple cutting list is enough to begin. List each finished length, the quantity and any required angles. Include the stock length—the length of the material before you cut it into parts—when you know it.
For an angled part, a sketch of the finished joint is helpful. Do not rely only on an angle number: also show which face or edge the measurement refers to.
| What to send | A simple way to describe it |
|---|---|
| Profile | A drawing or clear photo of the cut end |
| Finished part | Length, angled ends and the shape you need |
| Quantity | How many of each part, and how often the job returns |
| Quality requirement | The size limits, edge condition and visible faces that matter |
| Current difficulty | Repeated setup, rough cuts, handling, waste or another problem |
Not sure about the tolerance? Tolerance means how much a finished size may vary and still be acceptable. Share the drawing or explain how the part fits into your assembly. Do not invent a tight limit because it looks impressive on an enquiry.
3. Ask what an automatic aluminum cutting machine includes
The words “CNC,” “automatic” and “multi-angle” do not mean the same thing.
CNC describes programmed control. Automatic feeding describes how material is moved into position. A multi-angle setup deals with angled cuts. Those labels alone do not tell you whether loading, collecting parts or changing supports and clamps happens automatically.
Ask who loads the stock, who collects the parts and what changes when a new profile arrives. If you often repeat the same job, compare automatic positioning and saved programs. If you switch between different profiles, also compare the time needed to change the supports and clamps.
Ask the supplier: “Please walk us through one complete job, including the work the operator still does.”
4. Check how the profile will be held
An aluminum cutting machine must do more than fit the outside size of a profile. It also needs a suitable way to support and hold it.
Thin walls, an uneven shape or a face that will remain visible can affect where the supports and clamps should touch. Ask the supplier to mark those contact areas on your drawing. Changing a saved program may be quick, but changing the supports and clamps can still take time.
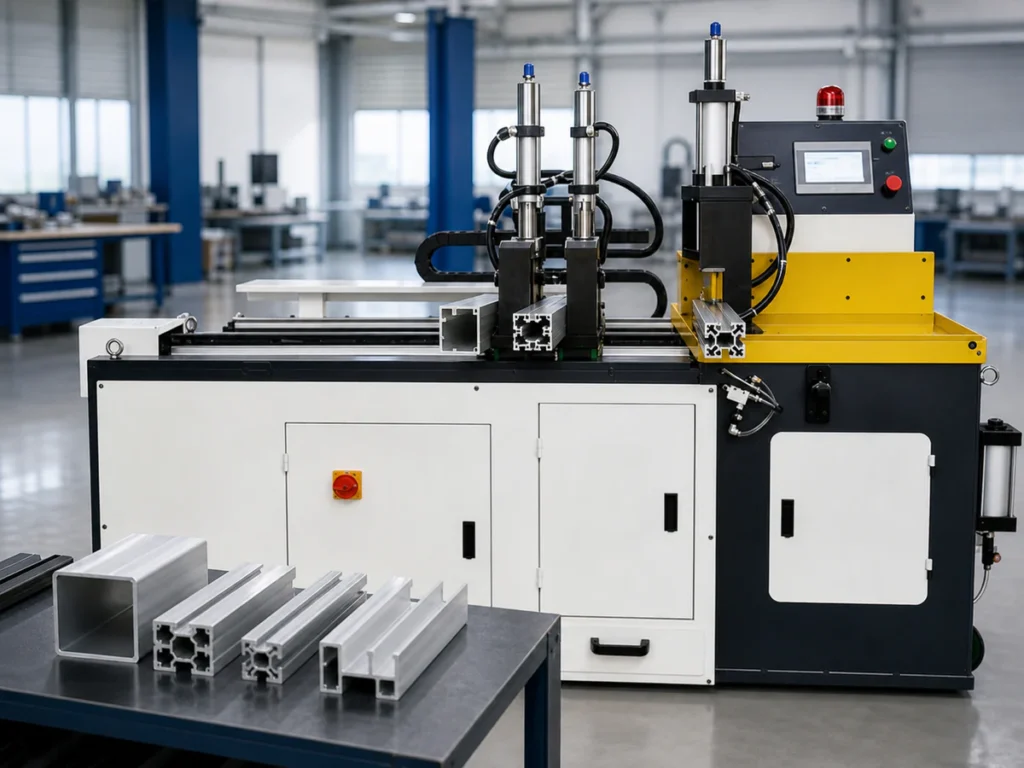
Check the listed maximum height and width against your actual profile and cutting position. Do not assume that a profile combining both maximum values will fit. For long material, also check its support and how finished parts will leave the machine; the feeding stroke, or how far the feeder moves in one feeding movement, does not answer those questions.
Useful word: A datum is the reference face or edge used for a measurement. A fixture is the support or holding arrangement around the part. You can point these out on a drawing without knowing the terms.
▶ Watch: Cutting Table & Profile Positioning
This video shows a machine setup example. Confirm the configuration against your own profile drawing and sample.
5. Compare what is included in the quotation
Two prices are only useful to compare when you know what each supplier is providing.
Compare the aluminum cutting machine and equipment in each offer: material supports, fixtures, cutting tools and the arrangement for collecting parts. Check who handles installation and what service is included. Mark each item as included, optional, supplied by you or still to be agreed.
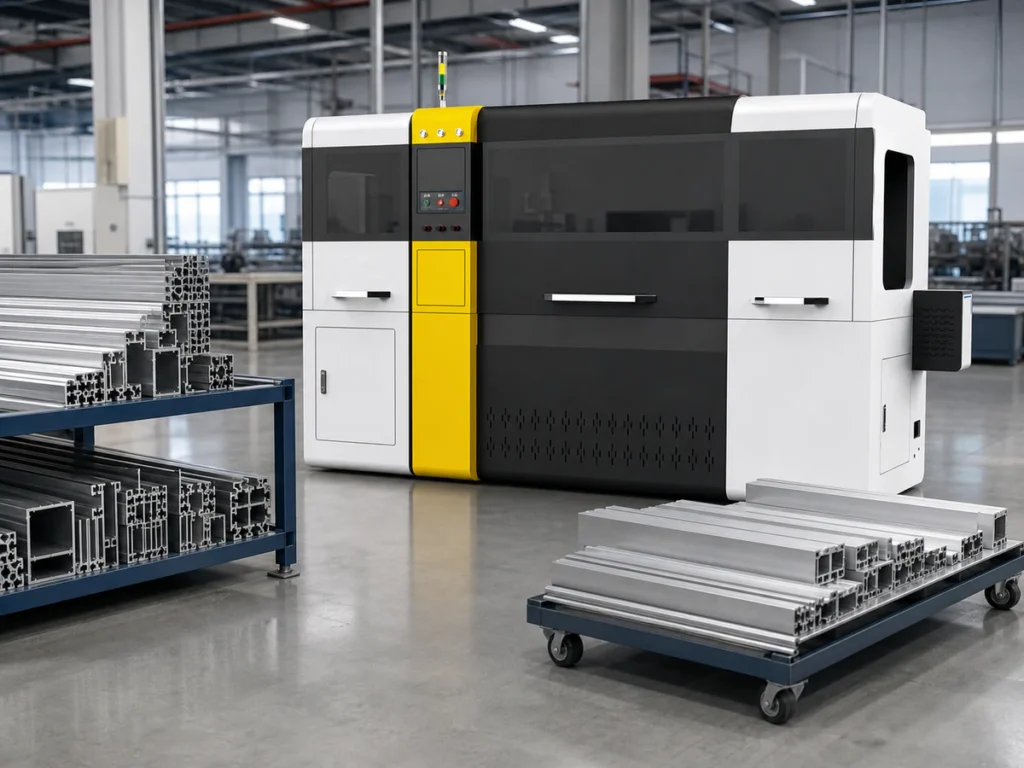
Do not assume that everything in an aluminum cutting machine photo is included. Ask the supplier to identify the exact machine structure and the equipment being offered. Similar model names do not always mean that the machines and included equipment are the same.
Compare the costs beyond the machine price: loading, changing jobs, moving parts, servicing cutting tools and rejected pieces. A short cutting demonstration does not show how much finished work your factory will complete in a full day.
Give every supplier the same drawing-based RFQ
For multi-angle parts, send one revision-controlled request for quotation (RFQ) to every supplier. Include the same drawings, cut list and proposed sample checks. Ask each supplier to identify that package revision in its reply and list any exceptions. If you change a drawing or acceptance requirement, issue the change to every supplier before comparing the revised offers.
The JR-550CNC-CORNER product page lists a confirmed angle range of 30°–140°. That is a starting point for reviewing this model, not evidence that your particular part can be held, cut and accepted at every required position. Ask the supplier to mark how the drawing’s angle references correspond to the proposed machine’s angle convention. Do not infer a machine setting from an assembled-joint angle.
Prepare the package in this order:
- Identify the part and material. Attach a dimensioned cross-section and finished-part drawing with their document numbers and revisions. Include alloy, condition, wall thickness and stock length when known. Leave missing information as “to be confirmed”. Identify each different section and mirrored part separately.
- Fix the orientation. On a marked view, show the stock feed direction, the face resting on the supports and the face presented to the locating surface. Label the two ends A and B on that view. Mark permitted clamp contact areas and faces that must remain unmarked. Ask each supplier to return an annotated support-and-clamping proposal for that orientation, including any rotation or reloading it requires.
- Define each dimension and end angle. Identify the exact endpoints of the finished-length dimension. State whether it follows a marked long edge, short edge or another drawing-defined reference; do not use “length” alone. If both edges are controlled, give them separate drawing features. For end A and end B, mark the cut face, reference line or face, view direction and angle arc. Specify cut direction and handedness. Have the supplier confirm both ends individually. The miter drawing guide explains these reference choices.
- Attach the acceptance requirements. For each controlled feature, identify the drawing callout or agreed requirement, unit, acceptance limits and inspection method. Include cut-face appearance and assembly fit only where relevant, with their own agreed criteria. An unspecified limit stays unresolved; it does not become the supplier’s catalogue accuracy figure. Use the accuracy guide to separate repeated readings from compliance with the drawing.
Keep the drawing attachments with your requirement record: text fields cannot replace dimensioned views. Copy the same buyer requirements to each supplier; keep separate response files so one reply cannot overwrite another.
Ask for a response against every requirement: confirmed, exception or to be confirmed, together with the supporting document or proposed test. Record equipment scope separately as included, excluded, optional, buyer-supplied or to be confirmed. A missing answer is unresolved, not proof that the supplier lacks the capability.
Before comparing prices, check whether each offer covers the same part revisions, required orientations, supports, fixtures, feeding and collection arrangements, and sample plan. Ask whether the setup used for sample cutting is the setup included in the quotation. A trial with a special fixture does not establish that the quoted configuration includes that fixture. Resolve exceptions that change the part, test or equipment scope; otherwise label the offers as different scopes rather than treating their prices as directly equivalent.
6. Check a representative finished sample
The most useful sample is not always the easiest part. Choose a profile or joint that represents the difficult part of your work—such as a thin wall, a visible face, an angled joint or a long member.
Before the trial, agree which drawing and material to use, what sizes to check, where to measure from and which edge condition is acceptable. Agree how many trial parts are needed for your job. One fixed sample count from a blog cannot suit every job.
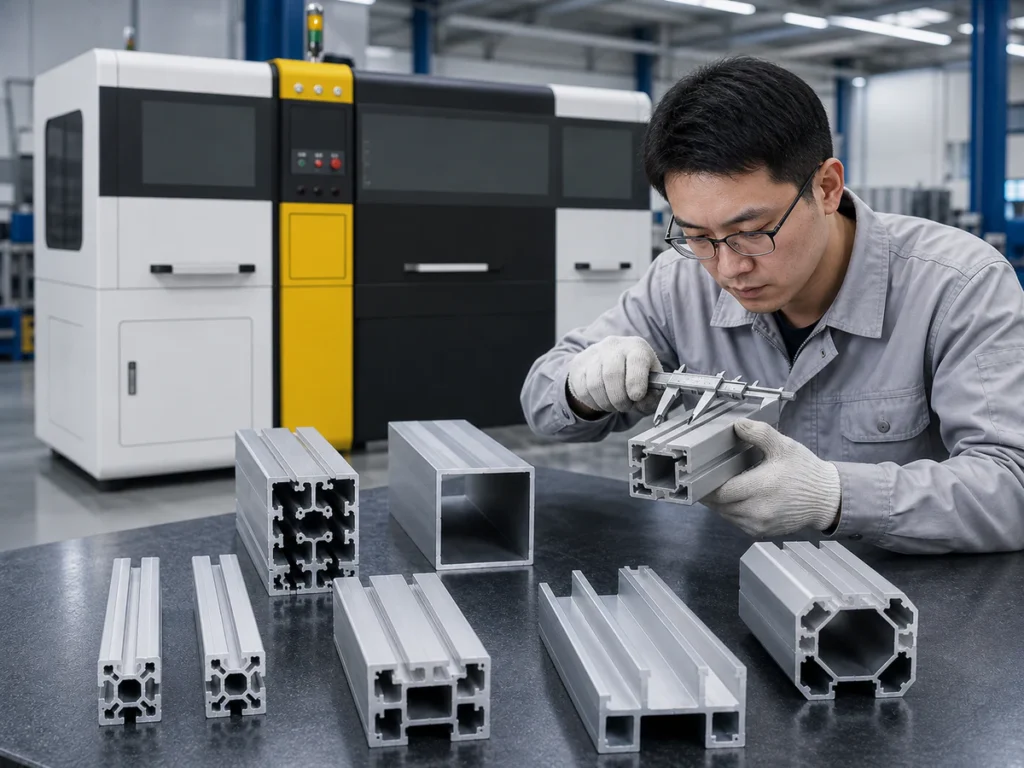
Check the finished part after collection as well as watching the cut. If the part needs to fit into an assembly, check a typical joint or a part it must fit against. Compare several parts from the repeated job as well as the first sample.
Ask the supplier: “What will you show us so we can judge the finished part?”
Keep a sample record tied to the quotation
Agree the sample set, sequence and quantity before testing, based on the parts and risks in your RFQ. Do not substitute an easier section or orientation without recording the change. Give every specimen a unique ID linked to its part drawing revision and trial run. Record the actual machine configuration, support and clamp arrangement, blade identity, feed and collection arrangement, and any operator steps. Keep setup changes identifiable within the run.
Keep one record per specimen and checked feature. Record the requirement reference, measurement datum, method and instrument, actual result and evidence reference. Check length, end A angle and end B angle separately where required. Inspect controlled appearance and assembly fit against their own criteria, including relevant handling after cutting. Keep individual results, including failed or incomplete checks, rather than only a best specimen or average.
Use pass or fail only when an agreed requirement and suitable evidence allow that decision. Otherwise record not tested or not assessable, with the reason. An undefined limit, missing reference or incomplete measurement must not become a pass. After a correction, retain the original result and add a new record linked to it; do not overwrite the failed reading.
Compare the suppliers’ results feature by feature against the same package. Identify requirements met, failed and still unresolved, and record any difference between the tested and quoted setups. Sample approval applies to the documented parts and conditions; it does not establish untested profiles or production performance.
To discuss this package with JiurunCut, send your profile and finished-part drawings, including their revisions, required orientation and the sample checks you want to agree. Mark unknowns rather than guessing. See the sample-trial guide for planning the trial.
Questions buyers often ask
I only have a photo. Can I still ask for advice?
Yes. A clear photo can start the discussion. The supplier will still need dimensions, material details and the finished-part requirements before confirming the machine and equipment.
Is a more automatic machine always the better choice?
Not necessarily. Compare the jobs you repeat, how often you switch profiles and who loads the material and collects the parts. The useful choice depends on that work, not just the automatic label.
Should I choose the smallest accuracy figure in the quotation?
First ask what that number measures and which part, machine setup and measuring method were used. A number in a machine specification does not show that your finished part will meet its drawing.
Do I need every detail before contacting JiurunCut?
No. Start with what you know. Your name and WhatsApp or phone number are enough to send the Blog enquiry; drawings, photos and additional details are optional. You can add more information when discussing which machine fits your work.
Ready to discuss your own profile?
You do not need to guess a model first. Tell us what you cut and what you would like to improve. We can discuss which machine types are worth comparing and what to check next.
You can also browse the aluminum cutting machine range or the industrial profile cutting application.
References and scope
This guide covers industrial circular-saw cutting of aluminum profiles. It is a buying guide, not an operating manual. Machine categories and configuration examples were checked against the Jiurun brochure supplied for this project. Final equipment selection depends on your actual part and requirements. For drawing preparation, The Aluminum Association describes its extrusion drawing publication (paid reference).