
Anodized aluminum cutting needs a clear distinction between the existing finished surfaces and the new cut ends. Specify which surfaces must have the required finish, when cutting occurs and who reviews the part after the remaining processes.
Do not assume that a cut face has the same specified finish as the original stock. Agree the end-face condition, visible-surface requirements and handling route with the drawing owner, cutting supplier and finisher.
Keep these three items visible
- The finish already present on incoming stock.
- The required condition of the new end faces.
- The stage at which the part is finally inspected.
On this page
1. Identify the finish before anodized aluminum cutting
Confirm the incoming material’s alloy, temper, finish specification and batch identity from the relevant documents. “Silver aluminum” or “black aluminum” describes appearance, but it does not establish the finish process or its required properties.
Hydro describes anodizing as converting the outer aluminum surface into aluminum oxide. It is a distinct surface-treatment process. A color photograph cannot establish whether a profile is anodized, painted or has another finish.
Record any protective film and the supplier’s handling instructions. Confirm whether the proposed cutting setup is intended for the material in its supplied condition. Any change in film, finish or profile family should remain visible in the trial brief.
Keep material identity separate from the cosmetic sample. A sample can help explain the required appearance, but it does not replace the material and finish specification. The 6061 and 6063 comparison explains why alloy and temper need their own review.
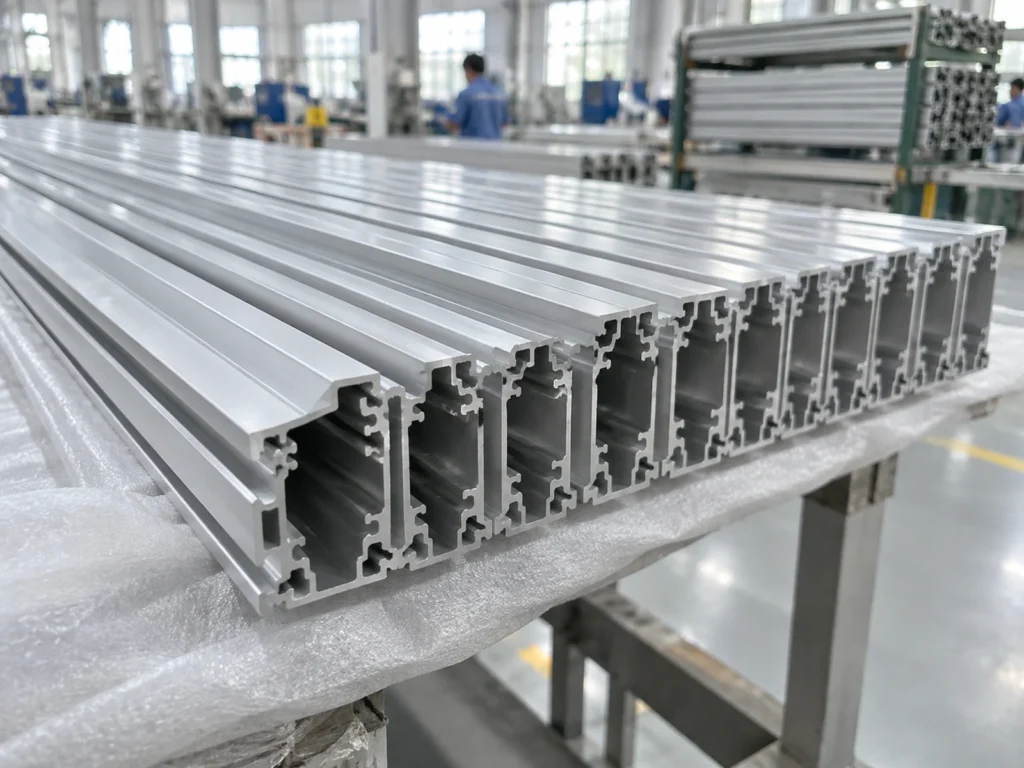
2. Specify what the new end faces require
Cutting reveals a new end face. Identify it separately from the longitudinal surfaces that were present during the original finishing process. Do not treat the stock’s finish description as proof that the newly created face has that specified anodized finish.
Mark whether the end is visible, hidden in an assembly, used as a reference or subject to another functional requirement. Hidden does not automatically mean unrestricted. The drawing and application requirements determine what the face must meet.
Ask the drawing owner and finisher to define any required treatment of the end. Confirm the route rather than prescribing an assumed touch-up. A color match alone does not establish equivalence to a specified anodic coating.
Also identify the cut-face and edge condition. A clean-looking longitudinal surface does not establish the condition of its end or the dimensions of the finished part. Keep those checks separate in the sample record.
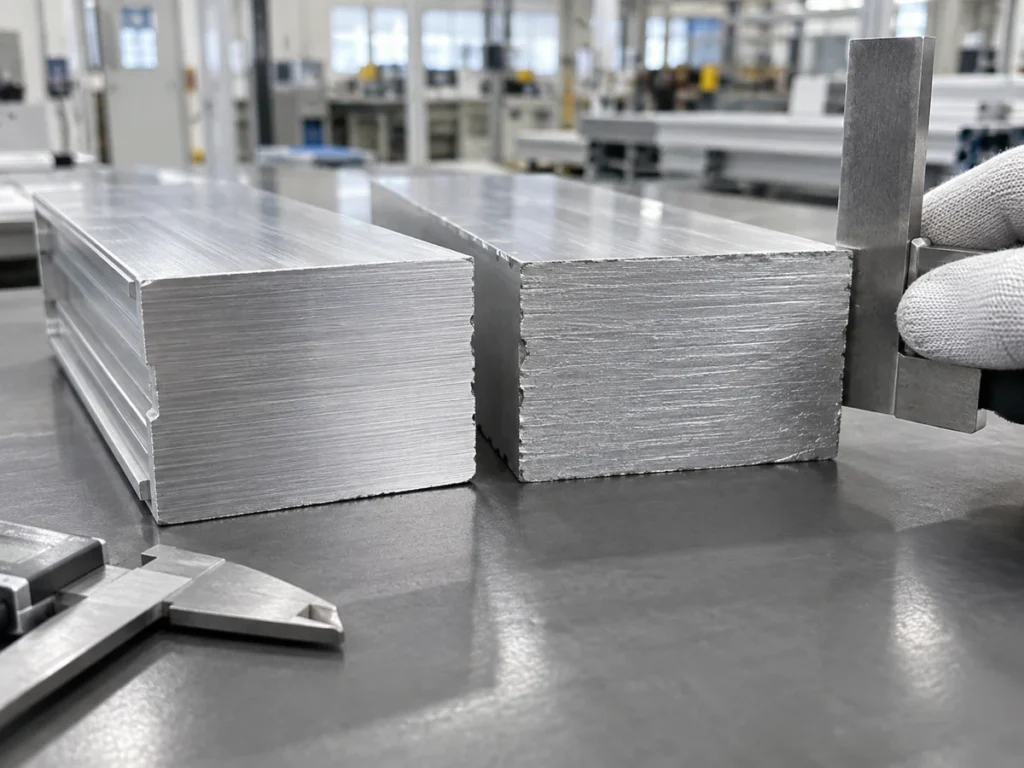
3. Agree whether cutting happens before or after finishing
Route A: cut stock that is already anodized
The incoming finish needs protection during stock movement, positioning, cutting and collection. The new end-face requirement remains explicit. Confirm whether any later operation is needed before the component can be released.
Route B: cut a blank that will be anodized later
The cutting stage hands over a part for further processing. Define the required blank condition, finish specification and final checks with the finisher. Record how the part identity and orientation stay clear through the handoff.
The Aluminum Anodizers Council’s technical bulletin discusses alloy and temper, preparation and surface texture when specifying a finish. It notes that anodizing does not simply cover existing surface defects. Use the current project specification and the finisher’s approved process.
Resolve the condition needed before finishing. Do not assume that later anodizing will repair every handling mark or cutting defect. Likewise, avoid changing an edge or surface through unapproved sanding or polishing to make a sample look acceptable.
4. Review every contact with visible surfaces
Mark the surfaces the customer will see in the finished assembly. Trace their contact with racks, conveyors, positioning references, clamps, collection areas and packing. A good condition at the saw does not establish the condition after every later transfer.
Ask the supplier to review support and clamping for the actual profile and finish. Use the approved setup and compatible contact materials. The requirement to preserve a visible face should be considered together with proper workpiece support.
Review the collection arrangement as part of the trial. Where loose pieces can touch, include those contacts in the surface review. Show how the accepted parts will be identified and moved to the next stage.
Confirm protection, storage and removal instructions for any film or interleaving. The cut-part packaging guide explains how to keep release status and part identity clear during packing. Select the protection system for the actual finish and route.
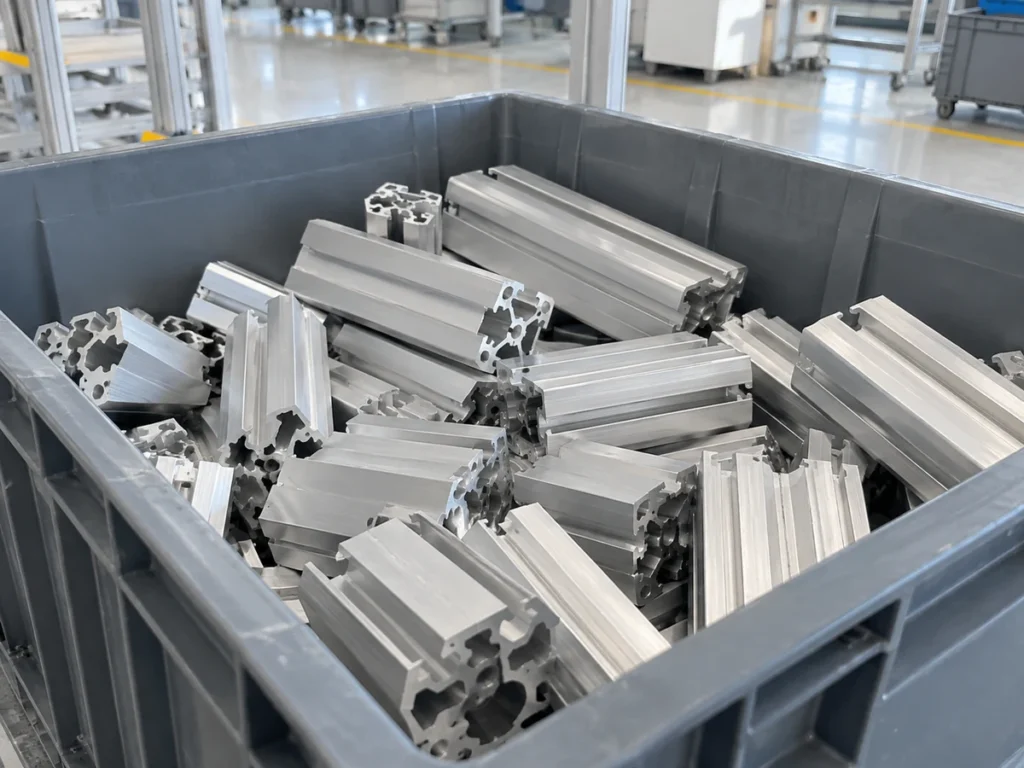
5. Define the finish and inspection handoff
Assign responsibility for the condition at each transfer. The cutter may deliver a specified blank, while the finisher delivers the required coating. The final part review can still include dimensions, cut faces, visible surfaces and other drawing requirements.
State whether dimensional checks occur before finishing, after finishing or at both agreed stages. If a dimension or interface can be affected by later processing, the responsible process plan needs to define how it is controlled. Do not silently treat an intermediate reading as the final result.
Where appearance matters, keep the agreed reference sample and inspection conditions identifiable. State which surfaces are compared and how a concern is recorded. A color name alone may leave different expectations between the purchaser and the finisher.
Keep unclear parts separately identified while the responsible team reviews them. Do not mix an approved appearance sample with an unreviewed production batch. Maintain the part and finish-lot references that the project requires.
A 20-part handoff example
Illustrative example: an enclosure project requires 20 cut aluminum members. Its drawing identifies visible longitudinal faces and separately specifies the end-face condition. The example below explains record keeping, without choosing a coating process or promising a finishing result.
At the cutting-stage review
Twenty-two pieces were produced. Twenty meet the agreed handoff checks and two are held for review. The transfer list records 20 released pieces and two held pieces, linked to their part and material identities.
For each released piece, the record identifies the required next process and finish specification. If the material was already anodized, the new end condition remains separately documented. If finishing follows cutting, the piece remains identified as a handoff item.
At the next-stage receipt
The receiving team checks the quantity and the stated condition against the transfer record. It confirms the agreed process scope and identifies any concern before those parts join another lot. A quantity of 20 does not, by itself, establish final finish acceptance.
At final part release
The responsible review checks the completed part against the agreed drawing and finish requirements. Its accepted count is recorded at that stage. Twenty released blanks and 20 final accepted components are separate records, even when the quantities happen to match.
Send a finish-aware cutting brief
Provide the drawing, profile section, material identity, finish specification and representative samples. Mark the visible faces and required end-face condition. Explain the route before and after cutting and the quantity needed at the relevant handoff.
Ask which setup, handling and collection arrangement the supplier proposes for that material. Request a representative trial that includes the surface contacts relevant to your job. Keep the cutting and finishing responsibilities clear in the quotation.
Review the JiurunCut cutting-machine range and send the marked drawing and finish details. Confirm the proposed cutting stage against the actual profile and requirements. Images in this guide are illustrative; they do not document an anodized coating or customer trial.
Common questions
Does cutting anodized stock leave an anodized cut end?
A new cut end is a different surface from the original finished faces. Do not assume it meets the stock’s specified anodized finish. Define its required condition and any further process with the drawing owner and finisher.
Should I anodize before or after cutting?
Review the required surfaces, end conditions, dimensions and production route. Either proposed sequence needs an agreed process plan. Confirm the specific handoffs and final checks rather than applying one universal order to every part.
Can later anodizing hide scratches?
Do not assume that it will. The finish specification and approved preparation process must address the required surface condition. Refer a concern to the responsible finisher before changing or releasing the part.
Can a photograph prove the anodized finish is acceptable?
A photograph can support communication about an appearance concern. It does not establish coating identity, thickness, dimensions or every acceptance requirement. Keep the specified inspection and records linked to the actual parts.