
Aluminum cut face smearing can look like a dull, rubbed patch and can tempt a buyer to request a new blade or a faster cycle. That conclusion is premature. The mark may come from material adhering at the cutting edge, chip recutting, blade condition, unstable support, or handling after the cut. The useful purchase question is which cause a controlled trial can actually distinguish.
This guide is for buyers of industrial aluminum and nonferrous circular saws. It defines a repeatable sample review and a realistic machine RFQ. It does not treat a photograph, a single roughness reading, or a video as proof that a particular Jiurun machine configuration solves a particular material problem.
Aluminum cut face smearing: define what you can observe
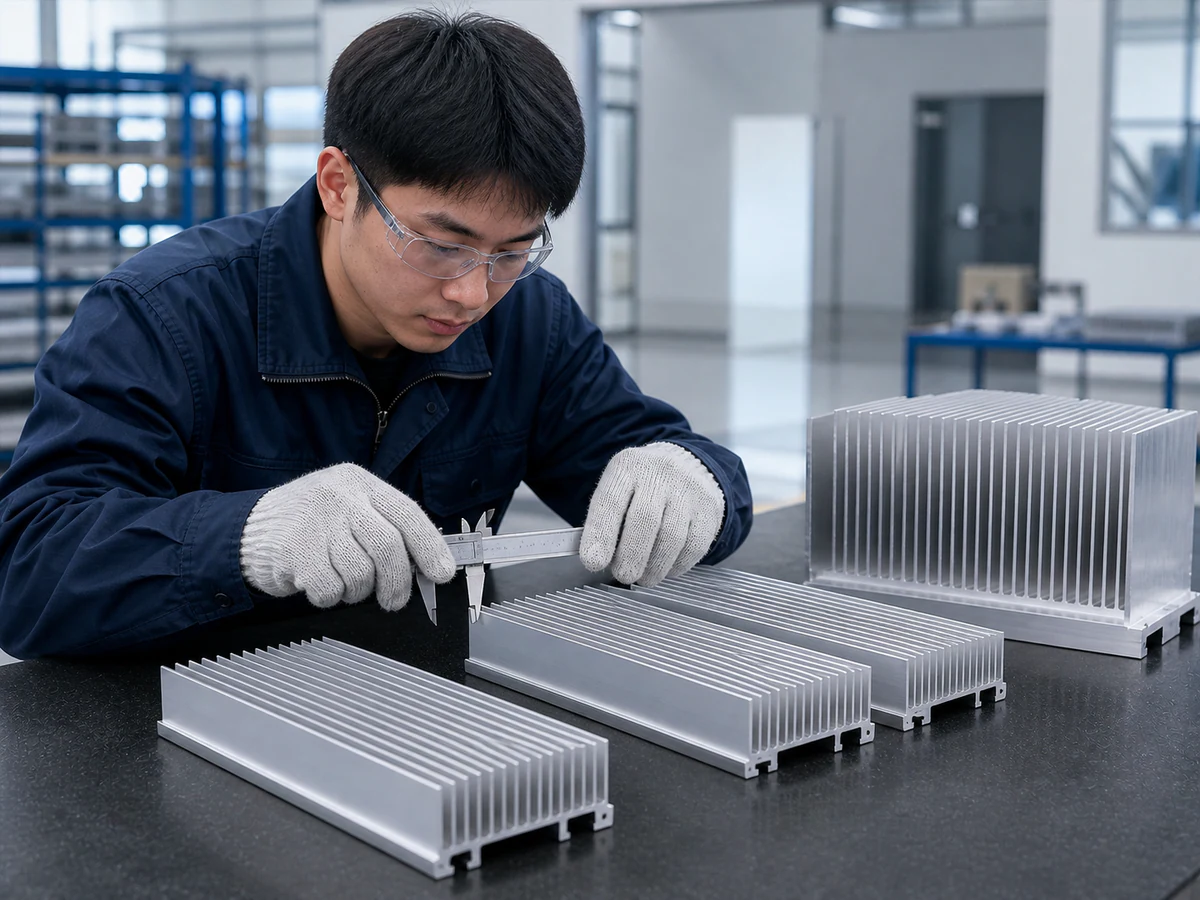
Use an approved drawing and an accepted reference piece. Mark the extrusion or bar alloy and temper, stock cross section, wall thickness, cut orientation, and which end face will contact a connector, seal, or visible assembly edge. Describe the disputed area by location, appearance, extent, and the acceptance method. A shiny patch, raised burr, scratch, discoloration, and transferred metal are different observations. Do not collapse them into one defect code.
Photograph the face under repeatable light, then inspect it before wiping or deburring. If the downstream process allows a wipe check, document the approved cloth and method and record whether material transfers. Keep the unaltered first-off sample. A wipe result is a clue, not a diagnosis of the saw blade. Treat aluminum cut face smearing as an observation until a controlled comparison supports a cause.

Hold the trial conditions still before changing a setting
Record the actual blade maker and specification, diameter, tooth count, condition, mounting, speed setting, feed program, lubrication or mist setup, stock support, clamp contact, and chip extraction arrangement. Ask the machine supplier to identify which of these is included in the offered configuration. A trial with substitute stock or an unrecorded blade cannot establish acceptance for your production mix.
Cut a small sequence from the same stock lot. Label parts by run order and record the first piece after any blade or setting change separately. Keep at least one accepted face as the reference. Examine the face, burr, length, and squareness by the agreed method. If the finish changes progressively during the run, preserve the sequence rather than selecting the best sample for a photograph.
Separate likely mechanisms with observable evidence
- Rubbed or transferred-looking area: Compare the uncleaned face with a retained reference. Inspect the stopped, isolated blade under the machine maker’s safe procedure. The appearance can justify a follow-up; it does not prove built-up edge.
- Marks that vary by part: Compare run order, clamp contact, stock support, and chip accumulation. Look for a repeatable cycle or workholding pattern.
- Fine lines at a repeated position: Compare the guarded cut and blade-return sequence. A return contact may need investigation; use the separate cut-face scratch-mark review.
- Material projecting beyond an edge: Check the specified assembly edge and burr direction. The issue may be a burr rather than face smearing; see the burr-direction RFQ.
Adhesive build-up is a recognized phenomenon in aluminum machining, and tool makers connect it with degraded surface finish. That is a reason to inspect, not a license to prescribe a universal speed or coolant change for a circular saw. Sandvik Coromant discusses built-up edge and surface finish in a threading context; Seco explains how a separated built-up edge may leave material on a machined surface. These sources explain a possible mechanism, but a saw trial must verify it for the blade, stock, and machine at hand.
Change one variable and protect the comparison
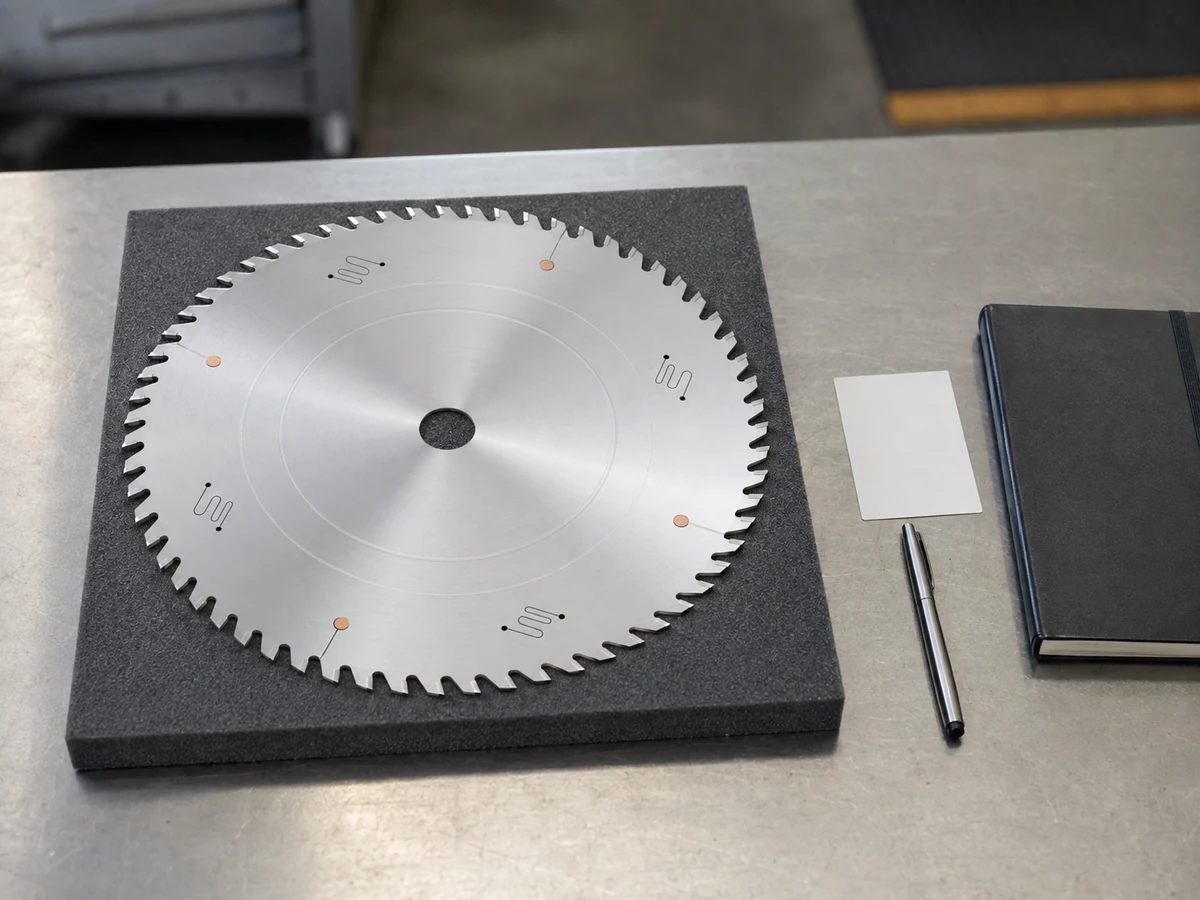
If the evidence points toward the cutting edge, ask for an inspected replacement blade or a documented blade-cleaning route approved by the blade and machine suppliers. If the problem follows trapped chips, check extraction and the cut zone before changing feed. If it follows clamp or support changes, correct the contact path before attributing it to tooth geometry. Change one variable at a time, retain the original sample, and repeat the same measurement and photographic method.
For a buyer, the decision is not whether the supplier can produce one attractive face. It is whether the proposed machine and consumables can maintain the agreed result across the representative profile and bar mix at a documented cycle. If the trial shows a trade-off between finish, throughput, and blade life, put all three observations in the acceptance record. Our separate blade gullet-loading checklist can help frame a chip-clearance follow-up where relevant.
What to put in the RFQ and acceptance record
- Part definition: drawing revision, alloy/temper, stock dimensions, lot, cut orientation, and critical face.
- Face criterion: reference sample, allowable mark location, inspection light, measurement method, and who accepts the result.
- Machine scope: saw model and offered configuration, blade specification, feed and speed controls, stock support, clamping, lubrication and chip handling.
- Trial protocol: sample count, run order, changes between samples, retained rejects, and first-off approval.
- Handoff: whether the delivered item is an as-sawn blank or requires cleaning, deburring, or another finish operation.
A cut face that fails an assembly contact requirement should be held even if a cosmetic image looks acceptable. Conversely, a visual mark that lies outside the specified critical area need not trigger an unplanned machine change. The drawing and first-off acceptance record decide.
See the saw process, then request the right trial
The following video from Jiurun Machinery’s own channel shows related cutting equipment in operation. It illustrates a machine process; it is not a test of the exact alloy, blade, configuration, defect, or performance discussed in this article.
Send the part drawing, stock list, photos of the disputed faces, the acceptance method, and your target output range through the JiurunCut contact page. Ask for a documented saw trial that identifies the blade, settings, support, and first-off result. We can then discuss a suitable cutting-machine route without claiming that a generic image or unrelated video proves your part’s finish.