
An aluminum bead blasting requirement should identify the intended appearance and the surfaces included. Mark functional features, agree the finishing sequence and approve a relevant sample. A general “matte finish” note leaves too much open for a clear purchasing comparison.
Use four checks: what the customer will see, what must keep its specified function, what the finisher will process, and what evidence releases the finished part. Put those decisions on the drawing and quotation.
Define the result before approving the process
- Mark visible faces and the agreed appearance reference.
- Identify bores, threads, mating faces and other controlled features.
- Record whether blasting is the final finish or preparation for another treatment.
On this page
Aluminum bead blasting: define the visible result
State the appearance you need without treating a broad adjective as an inspection rule. Words such as matte, satin or uniform can start the conversation, but the order should identify the agreed reference and the surfaces where appearance matters.
Protolabs Network’s bead-blasting overview describes a surface-treatment process using particles propelled by compressed air. It discusses changes to surface texture and the relevance of media and part geometry. A process label therefore does not identify one universal visual result.
Mark customer-visible faces on the drawing. Identify any faces that will be hidden after assembly and whether they have the same appearance requirement. Do not ask the supplier to infer the cosmetic priority from a rendered product image.
Use an approved physical sample when appearance is important, with its identity and approval date recorded. A photograph can support the discussion, but lighting, reflection and display settings make it an incomplete stand-alone texture reference.
Keep appearance and measured surface texture as separate requirements when both matter. The surface-roughness purchasing guide explains why a numerical requirement needs its own defined measurement scope. A matte appearance does not establish a roughness value.
Check 2: identify features that need special review
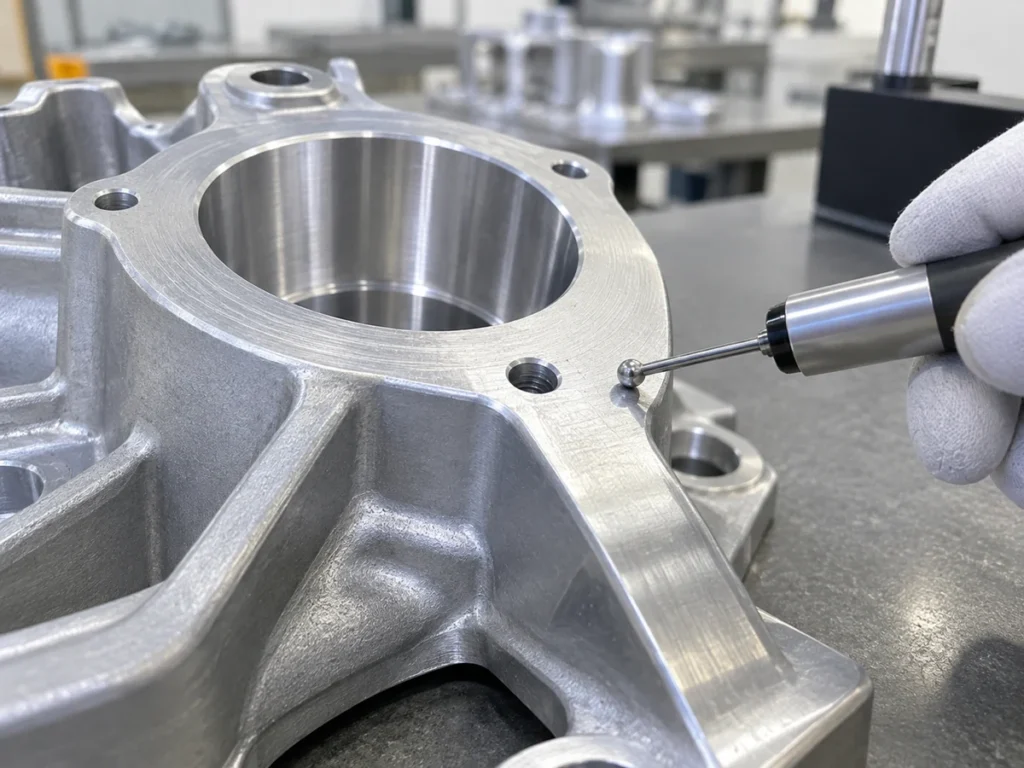
List the bores, threads, sealing faces, locating surfaces and mating features controlled by the drawing. Mark them clearly, even if most of the part has a cosmetic finish requirement. Ask the finisher to confirm how those features will be handled.
Protolabs Network notes that blasting can produce material loss or dimensional changes, particularly where demanding tolerances are involved. Its overview also identifies possible damage or deformation in thin-walled regions. Review the actual component rather than assuming the process is dimensionally neutral.
A functional surface may need exclusion, protection or another agreed treatment. State the approved requirement and inspection stage. Do not create a generic masking instruction that conflicts with the drawing or leaves the protected boundary undefined.
For a bore, identify which diameter, depth or associated face is controlled. For a thread, identify the thread requirement and whether final inspection follows the relevant finishing stage. A sample that looks consistent does not establish those features’ dimensional acceptance.
Keep thin walls and delicate features visible in the review package. Protocase’s media-blasting page cautions about warpage on large, thin sheet metal in its service description. That is a reason to request a specific geometry review, not a universal thickness limit for every supplier.
Check 3: state what is processed and when
List the operations included in the requested delivery. Distinguish cutting, machining, specified edge preparation, bead blasting, subsequent surface treatment and packing. Identify the party responsible for each handover.
If blasting precedes anodizing or another finish, approve the required final condition. Protocase notes that uniformity can vary in its manual process, especially with later anodizing. Do not approve only the intermediate appearance when the delivered part has another treatment afterward.
State whether the finish scope covers new cut ends, internal surfaces, recesses and holes. An “all over” note may still need clarification where the geometry or functional requirements create different treatment areas.
Ask the finishing supplier to define the reviewed process for the specified part and appearance. This purchasing guide does not provide media-size, pressure or time settings. Those parameters belong in the supplier’s controlled process and any approved validation requirements.
For supplied extrusion blanks, identify whether finishing occurs before or after cutting. The separate cutting and finishing scope guide shows the type of operation boundary to make explicit. The actual order must state its own approved sequence.
Also clarify any later markings or assembly operations that affect visible surfaces. A finish sample taken before a final marking step is not a complete appearance reference for the marked product.
Check 4: approve a relevant sample and acceptance record
Select a sample that represents the material, geometry and final finish you intend to buy. Identify the visible and functional features covered by approval. A flat sample may help establish texture while leaving a recessed or ribbed component surface unresolved.
Write down the appearance comparison conditions and the agreed criteria. If uniformity, handling marks or differences between adjacent faces matter, define them through the approved reference or specification. Avoid inventing limits after the batch arrives.
Record dimensional checks separately where required. Identify whether measurements refer to the pre-finish or delivered state. Keep the instrument record and drawing requirement associated with the correct sample and revision.
For a combined finish, retain the final-condition reference. State any differences accepted for hidden faces or protected functional surfaces. This lets receiving staff review the supplied item against the same decisions used during approval.
| Approval field | Record to retain |
|---|---|
| Visible surfaces | Marked drawing faces and appearance reference |
| Functional features | Specified treatment and inspection requirements |
| Operation sequence | Blasting and any later finish or marking steps |
| Sample identity | Material, revision, final condition and accepted scope |
Write a clearer finish note
A finish note should connect the drawing to the approved evidence. It can name the treated surfaces, reference sample, excluded features and delivered condition without trying to reproduce the finishing supplier’s operating instructions.
Editable purchasing example: “Visible faces identified on drawing [part/revision] to match approved final-finish sample [reference]. Functional features identified in the finish view to receive treatment [approved requirement]. Final inspection and packing to follow [agreed specification].”
Replace the bracketed fields with actual approved references. If the sample or protected-feature requirement is still open, mark it as unresolved. This example is a documentation template, not a universal finish specification or a production instruction.
Keep the note consistent across the drawing, quotation and purchase order. Where a supplier proposes a different finish or sequence, request review before release rather than treating a similar description as equivalent.
Compare quotation boundaries before comparing price
Check whether each offer includes the same surfaces and final state. One quote may cover blasting only, while another includes subsequent anodizing, feature protection and final inspection. Those are different delivery scopes.
Identify sample approval, packing and any inspection records separately. Ask which requirements are included and which need further agreement. Do not treat the absence of a line item as proof that the supplier has accepted every finish-related responsibility.
For handled cosmetic parts, state the agreed protection during transport and assembly. The guide to protecting visible aluminum surfaces helps locate the surfaces to discuss. Use the protection specified for the actual final finish.

Prepare the cutting handover
Send the profile or blank drawing, quantities and specified cut lengths. Mark visible faces and any handling restrictions needed before the next operation. Include the finish drawing when it changes end-surface or handover requirements.
Clarify which supplier handles later machining and finishing. Keep a cutting quotation tied to its agreed delivery stage; bead blasting, final appearance approval and functional inspection should be included only when explicitly part of the scope.
Send JiurunCut the blank-cutting and handling requirements with the approved finish sequence. This gives the cutting discussion a clear interface with the subsequent production work.
Buyer questions
Does aluminum bead blasting identify a single standard appearance?
No. Define the intended result through the agreed finish description, treated surfaces and approval reference.
Can appearance approval establish dimensional compliance?
Use the specified dimensional checks for controlled features. A visual reference answers the appearance requirement only within its agreed scope.
Should every surface automatically receive the same treatment?
Follow the approved finish drawing. Visible, hidden and functional areas may have different requirements that need explicit review.
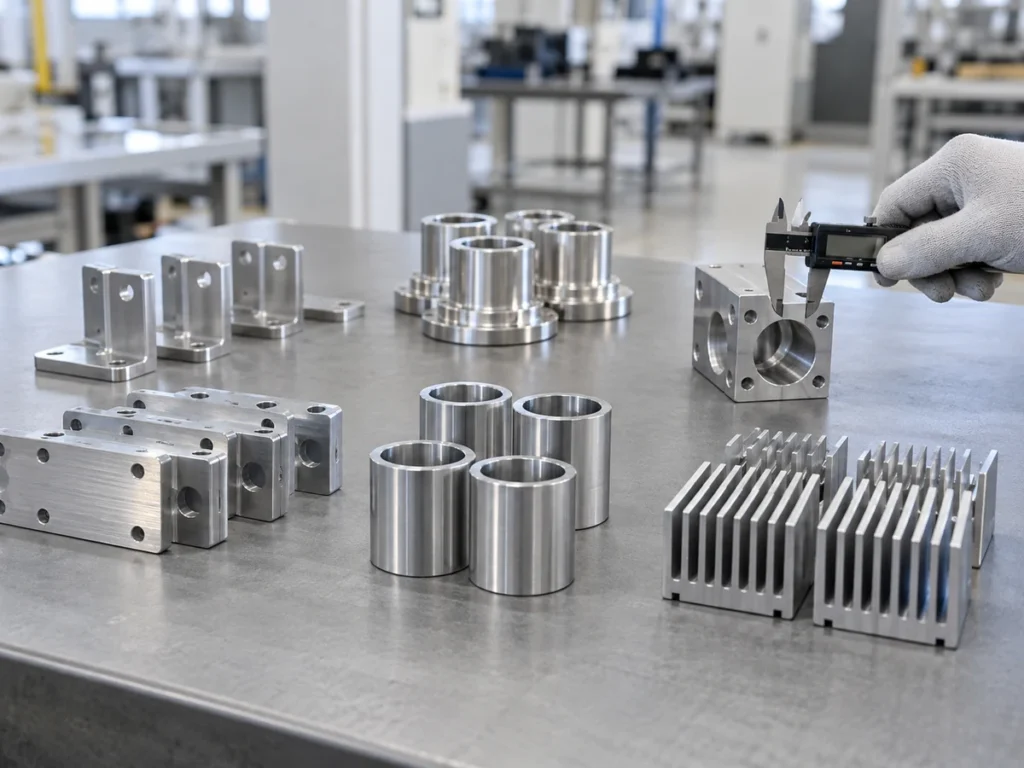
Can these images approve my finish?
No. They illustrate part geometry and surfaces to discuss. Approval needs evidence for your actual material, finish, features and final supplied condition.