
Protect visible aluminum surfaces by checking every contact point, from the stock rack to the finished-part tray. Mark the faces customers will see. Then agree how samples will be inspected after cutting and handling. These five checks help separate appearance problems from cutting defects.
Three things to remember
- Identify the visible or functional faces on the drawing.
- Review contact points from loading through part collection.
- Use an agreed visual inspection method and sample set.
On this page
1. Identify the visible aluminum surfaces
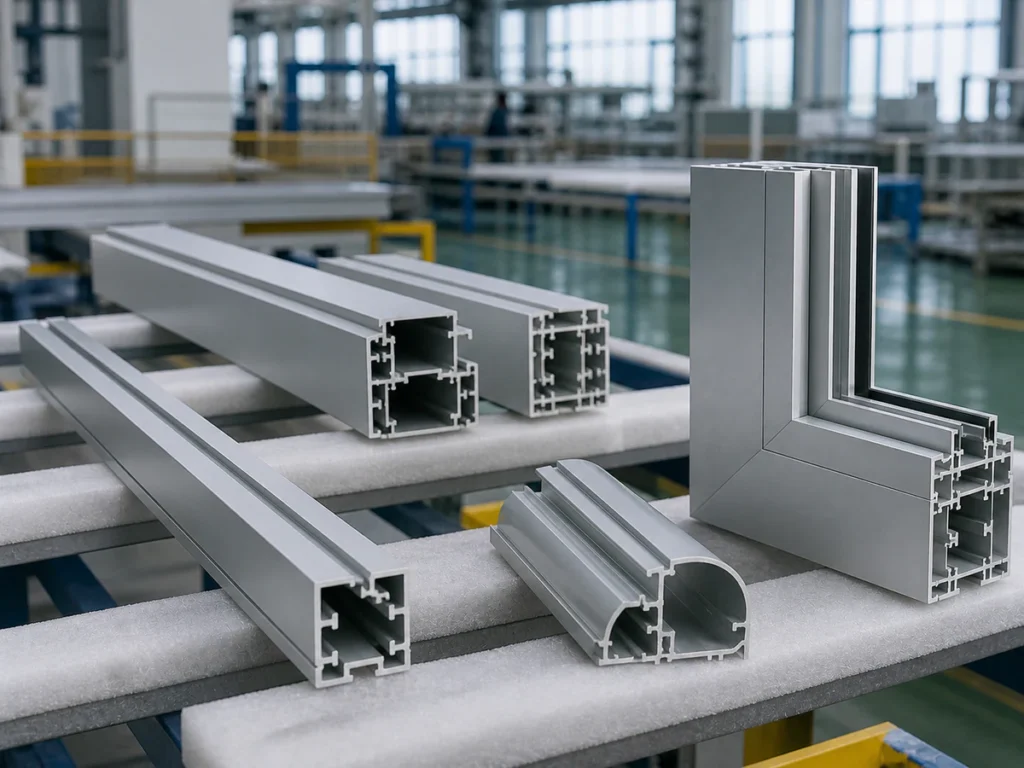
A part can have a good length and cut face yet still fail an appearance requirement. Mark the exterior face, sealing or mating surfaces and any location where a clamp or finished part must not leave an unacceptable mark.
Describe the incoming finish and any protective film or packaging. Do not assume a photograph of raw stock shows how the part will appear after coating or assembly.
- Visible face orientation
- Finish and protective material
- Permitted and prohibited contact zones
Use a simple contact map. Sketch the stock path and mark each place the profile touches a rack, guide, clamp or tray. Inspect one part before loading and again after collection. If a new mark appears on the visible aluminum surfaces, record its location and the process stage. This gives the supplier a specific issue to investigate instead of a general request for a better finish.
2. Trace every contact point
The stock contacts racks, supports, stops, guides and clamps before it reaches the blade. The finished piece may contact a chute, conveyor, tray or another part after separation. Review the complete path, including manual handling.
A protective pad is only useful when its material and position fit the actual part and process. Ask for a representative trial rather than assuming a generic soft pad solves all marking.

3. Check the cut face separately
Surface marks and cut-face defects can have different causes. Record burrs, smeared material or visible irregularities at the cut, then record scratches or dents on other faces. This directs adjustments to the right process step.
For fragile profiles, the thin-fin heat sink article shows why collection and handling remain important after sawing.
- Cut-face condition
- Contact and handling marks
- Part-to-part damage in collection
Before the saw
Information to send: Rack, feed and guide contacts
Question to ask: Are critical faces identified and protected?
At the saw
Information to send: Fixture and blade-area contacts
Question to ask: Are marks separate from cut-face issues?
After the saw
Information to send: Collection, sorting and packaging
Question to ask: Does the accepted sample still look acceptable after handling?
4. Agree a visual acceptance method
Specify which surfaces to inspect, the lighting or viewing approach used by your quality team and the number of parts in the sample. Keep reference photos when useful and label them with the current finish and drawing revision.
A supplier’s demonstration photo is not evidence that all delivered production parts meet your criteria. Check samples produced with the proposed fixture and collection arrangement.
5. Include protection in the quotation
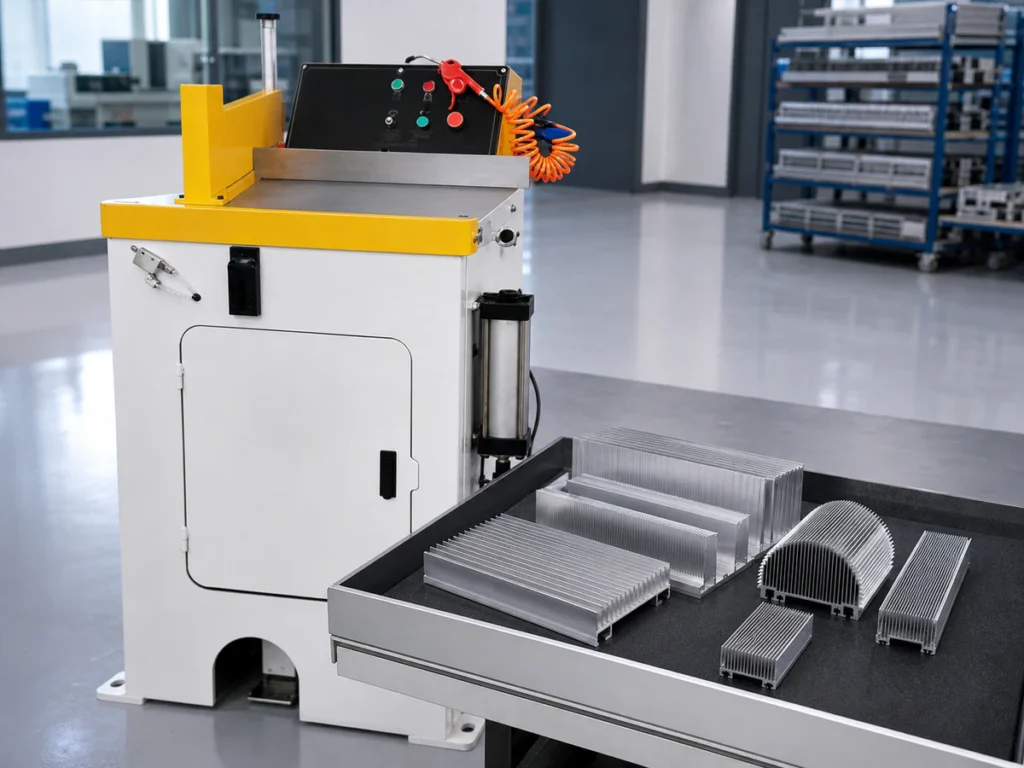
Ask which guides, pads, trays or collection devices are included in the offered configuration. If the trial used a special arrangement, make sure the quote names it.
The energy-storage cutting application illustrates how visible surfaces and assembly fit enter a wider project review.
Common questions
Does a protective film guarantee a mark-free part?
No. Film type, contact points and handling still need review against the finish and acceptance requirement.
Should visual defects be part of a sample trial?
Yes, when appearance is a project requirement. Agree which faces and conditions are inspected.
Can the machine specification cover surface quality?
A machine description alone is not enough. Check representative parts produced and handled using the quoted configuration.
Discuss your cutting requirements
Send a marked drawing or photo of the visible aluminum surfaces, the incoming finish and a typical finished part. Include your appearance criteria and any handling marks you see. We can review the contact and collection arrangement as part of the proposed cutting setup.
For machine operation examples, browse the Jiurun machinery video channel. Use a trial with your own part to confirm the proposed setup.
References and scope
This is process-planning guidance and does not promise a particular cosmetic grade or coating result. Recommendations require a review of your drawing, sample and production requirements.