
Aluminum anodizing rack marks need an agreement before parts enter the finishing process. Tell the anodizer which faces remain visible, where contact may be acceptable, and how the finished part will be reviewed. “No marks on the outside” is rarely a complete drawing instruction.
The practical goal is to coordinate the part design, finishing order and acceptance criteria. A supplier should know which locations can be proposed for contact and which require approval before the job proceeds.
On this page
Why aluminum anodizing rack marks occur
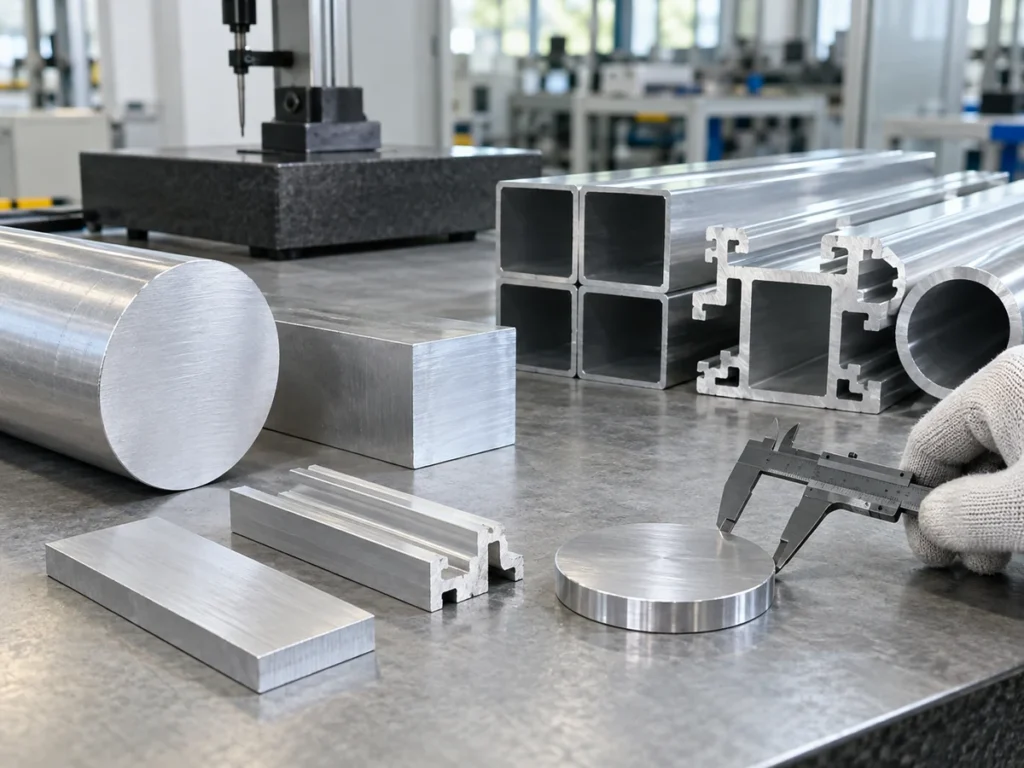
Anodizing requires electrical contact with the part. SAF’s rack-mark explanation notes that the required contact depends on the process and the part size. Buyers should therefore ask the actual anodizer to review the proposed component rather than prescribing one contact method for all parts.
The contact arrangement can affect where a visible mark remains. That does not mean that every mark found on a finished part came from racking. Record the location and ask the supplier to identify the cause against the manufacturing history.
Do not use a general photograph as proof of a particular defect. Appearance alone may not distinguish a contact mark from handling damage, machining texture or another surface condition. The inspection record should connect the observed area to the part identity and process stage.
1. Identify the surfaces the customer sees
Define the finished assembly orientation. A face hidden during bench inspection may become visible after installation, while an exposed face on the loose part may sit behind a cover.
Use drawing views to identify the surfaces that need decorative consistency. Mark the edges, corners and openings that remain visible as well. A broad note about the front face can leave an exposed side wall unaddressed.
Keep appearance requirements separate from functional requirements. A hidden face may still be a mounting, sealing or electrical interface. Its location does not automatically make it acceptable for a contact mark.
Prepare an annotated drawing, not just a color name
A useful annotation identifies the drawing view, surface boundary and agreed finish reference. If an area has a stricter appearance requirement, distinguish it from the rest of the part. Avoid invented surface-class labels that the supplier has not agreed to use.
Our visible-surface protection guide helps preserve those identities through cutting and handling. Carry the same surface references into the finishing order so that the teams do not use different meanings for “front.”
2. Agree possible contact locations with the anodizer
Send the part geometry and critical-surface information for review before production. Ask the anodizer to identify proposed locations, explain any conflict with the requirements and confirm which changes need design approval.
Stylmark’s rack-mark guidance describes bolt, clip and thread marks and recommends discussing allowable locations and critical surfaces before ordering. Its examples show why the contact plan belongs to the actual part geometry and supplier process.
The guidance also discusses contact at extrusion ends and, for some heavier parts, within tapped holes. These are supplier-specific possibilities to review, not instructions to add a hole or accept marked threads on every component.
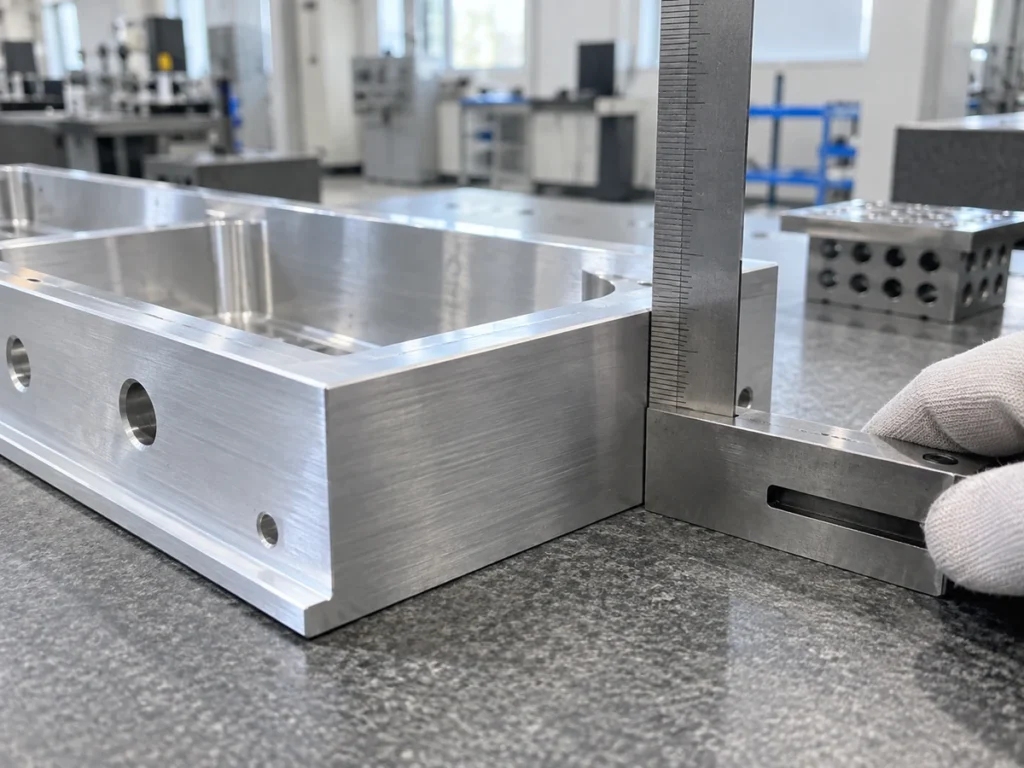
If a thread, recess or mounting hole is proposed, ask the designer whether its function permits that use. Keep any approved feature change on a revised drawing. The finishing supplier should not have to infer that a hole is available for contact simply because it is hard to see.
Write an exception route
Ask the supplier to flag a part that cannot be processed within the permitted locations. A clear exception route is more useful than a vague instruction to make all marks invisible.
Name who can approve a revised contact area and what evidence they need. Record the decision with the drawing revision and order so that a repeat batch does not depend on someone remembering an earlier conversation.
3. Confirm when cutting, machining and finishing happen
Anodizing long stock before cutting to finished length is a different order from anodizing individual finished-length parts. State the route in the RFQ, including which operations occur after finishing.
If the supplier proposes an end area that will later be trimmed, confirm the actual stock length, usable length and trim plan together. Do not adopt a manufacturer’s typical extra length as a universal allowance for your order.
A proposed trim must still leave the required finished dimensions and surface condition. Ask who performs it, how the part remains identifiable and which operation releases the final drawing. Any newly exposed cut faces need the specified acceptance condition.
Our anodized-stock cutting guide covers the cutting-stage review. The rack-contact plan should be coordinated with that route before either supplier starts the work.
4. Approve the inspection reference before the production batch
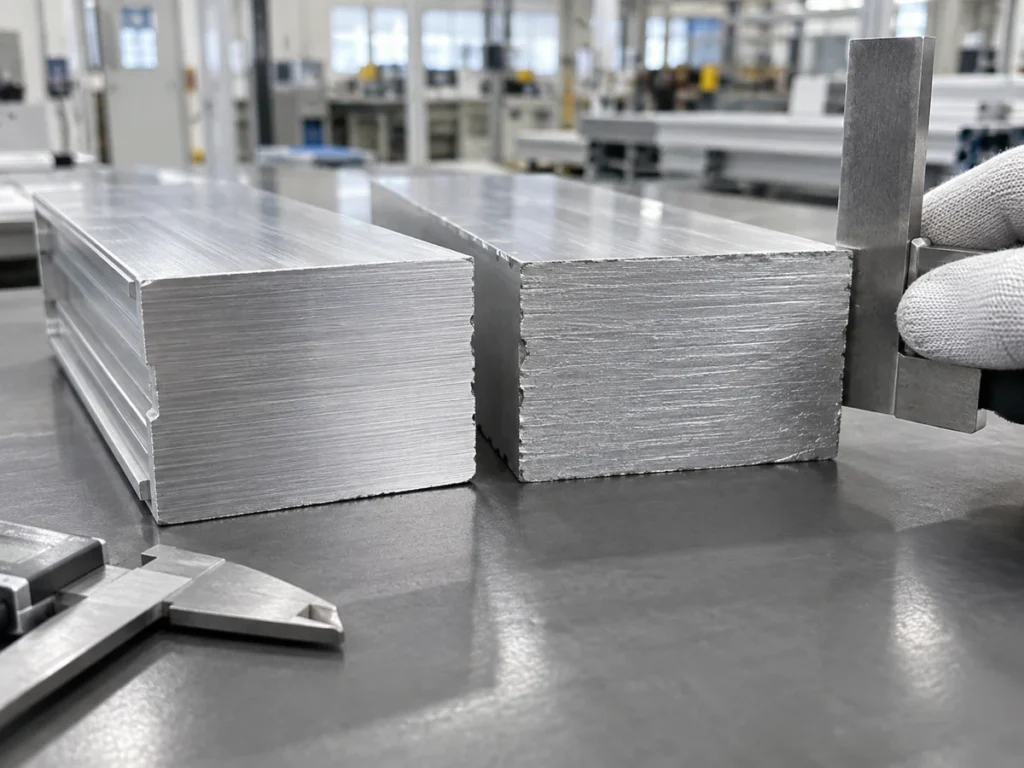
Agree how the customer and supplier will review appearance. Define the relevant surfaces, viewing arrangement and reference sample or other approved evidence. Keep the part orientation consistent with the intended assembly.
Ask whether the proposed reference includes contact marks in the permitted areas. A finish coupon can show a color or texture while failing to represent the geometry and contact arrangement of the production part.
For an important visible component, review a representative finished part when appropriate to the project. Record the identity, revision, material and finishing reference. The approval should state what was evaluated rather than treating the sample as an unlimited permission for future changes.
Use our sample-approval guide to structure that record. Color consistency, surface appearance, dimensions and permitted contact locations can be separate review fields even when they are checked on the same sample.
If a mark appears outside the agreed area
- Record it: identify the part, batch, drawing view and affected location.
- Compare it: check the released contact plan and approved appearance reference.
- Review it: ask the supplier for the actual processing history and proposed disposition.
- Authorize it: let the responsible buyer or designer approve acceptance, rework or another action against the requirements.
Do not polish, machine or cover the area simply to make it disappear. A proposed repair can alter the specified finish or geometry and needs its own approval.
Buyer questions
Can I demand anodizing with no electrical contact?
The process requires electrical contact with the part. Discuss acceptable contact locations and the complete appearance requirement with the anodizer. An unqualified demand for invisible contact gives the supplier little information about the actual design.
Are rack marks always acceptable?
No. Acceptance depends on the agreed location and part requirements. A mark in an approved area may meet the order; one on a critical visible or functional surface requires review. Avoid a blanket accept-or-reject rule.
Can trimming remove a mark at the extrusion end?
It may be part of an agreed supply route, but the actual location and usable length must be confirmed. The final dimensions, exposed cut faces and downstream finishing requirements still need a defined acceptance condition.
Does every small surface mark come from the rack?
No. Ask for evidence before assigning a cause. Document the location and compare the part with its process records and approved reference. These article images illustrate review contexts; they do not diagnose a finished component.
Send a coordinated cutting and finishing requirement
Include the part drawing, visible-surface annotations, proposed manufacturing sequence, batch quantities and finish reference. Ask each supplier to state its scope and flag conflicts before the order is released.
Contact JiurunCut with representative profile and finished-part drawings to discuss the aluminum cutting stage. Keep the anodizer’s contact review and the final appearance approval connected to the same part revision.