
A recessed LED channel can be cut neatly and still fail to sit in its ceiling opening. The problem may be outside the saw: a spring bracket needs room to move, an end cap changes the finished end, or a connector occupies space that the cut list counted as clear channel. For a buyer, recessed LED channel cutting starts with the approved assembly and opening, not a nominal profile length.
Ask the lighting-system owner for the exact extrusion drawing, cover, end cap, bracket, connector and mounting detail. A section that looks similar in a catalogue may have a different flange, internal groove or spring-holder interface. The saw can then be qualified against one defined metal blank while the installer checks the complete ceiling assembly.
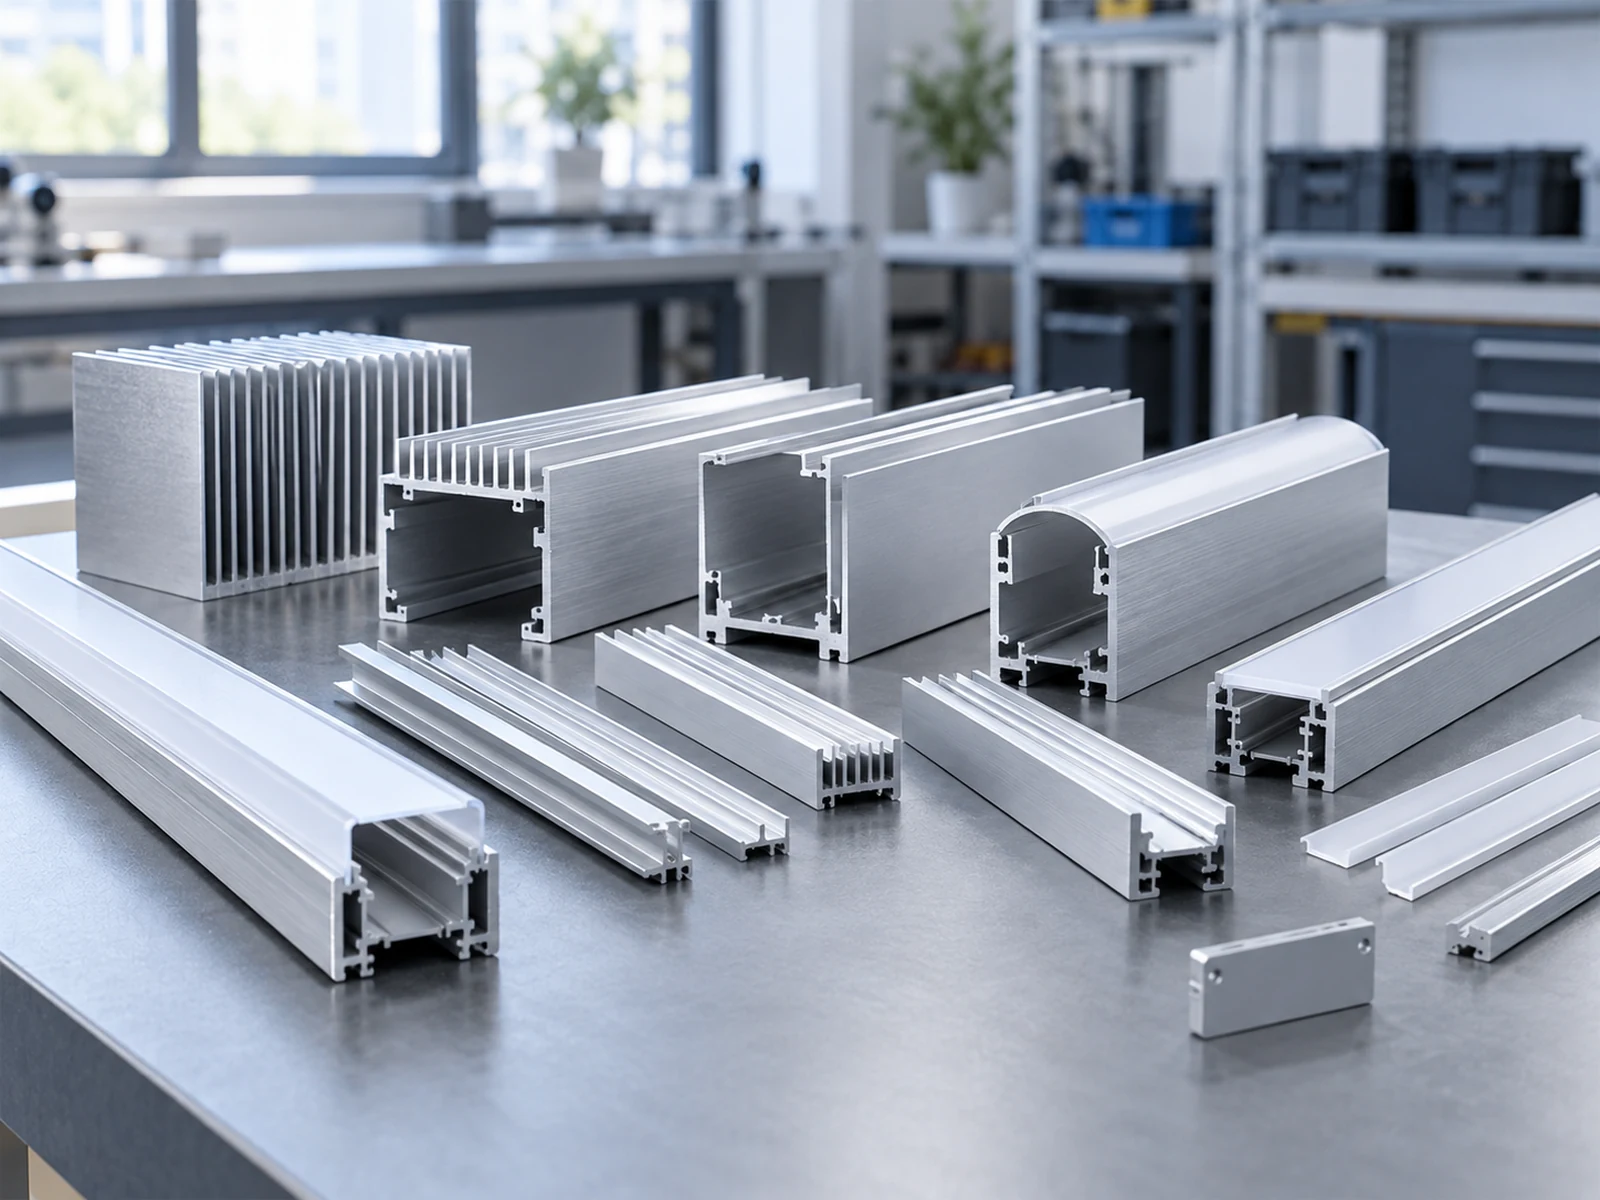
The length on the drawing may describe three different things
Before issuing a purchase order, label the dimension that each stakeholder means by “length.” The aluminum extrusion blank is the piece the saw produces. The visible run is what a person sees between finished ends or adjacent fixtures. The installation envelope includes any end cap, joining part, cable exit and clearance required by the approved system. These dimensions can coincide in one design and differ in another; do not transfer a rule from one accessory kit to the next.
For example, a manufacturer may specify a cover length relative to a particular end cap. That is an instruction for that combination, not a universal allowance for every recessed light channel. KLUŚ describes such a product-specific cover and end-cap relationship for its PDS-4-PLUS extrusion. The practical response is to request the selected system’s dimensioned installation sheet and make the cut list identify which part each dimension governs.
Locate the spring bracket before choosing the cut reference
On the approved sample, mark the positions where spring brackets attach and the space they need during insertion and removal. Check whether a proposed end cut, hole, notch or cable exit intersects that attachment zone. Then compare the channel’s flange and body with the actual ceiling opening and the specified mounting method. A straight, square end does not prove that the springs can compress, seat and remain serviceable.
This is a real accessory issue, not just a theoretical tolerance note. LEDSON lists dedicated spring brackets, end caps and connectors for its RPL35 FL recessed profile. That example shows why the exact accessory family belongs in a buying specification. It does not establish dimensions or suitability for a JiurunCut customer’s channel.
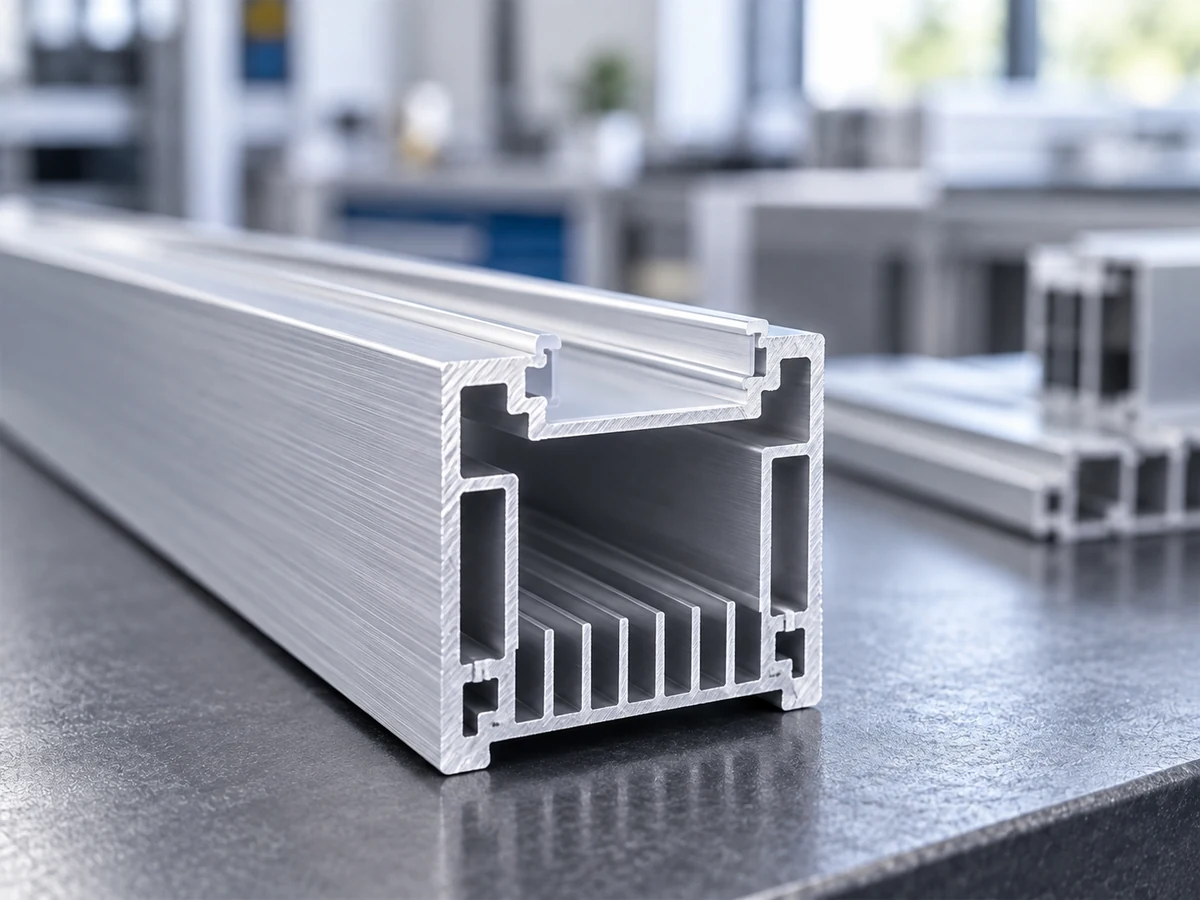
Give recessed LED channel cutting a saw-ready brief
For recessed LED channel cutting, a useful RFQ separates decisions controlled at the saw from decisions controlled by the fixture and installation team. Attach the approved section drawing and one physical sample if possible. For each cut length, state which extrusion face is the datum, whether the end is exposed or covered, and whether the next operation is joining, drilling, wiring or end-cap assembly.
- Identify the exact profile and revision, material condition, finish and any protective film that must survive handling.
- Provide the approved metal-blank length and tolerance, with a drawing that distinguishes it from visible run and overall assembled envelope.
- Mark bracket attachment areas, connector positions, cable exits and any no-cut or no-clamp zones on the sample.
- State which surfaces need protection from jaw marks and which cut-face conditions the assembler will inspect.
- Define who approves the first-off metal blank and who separately approves fit with the cover, ends, springs and ceiling opening.
If these inputs are missing, requesting a saw model or a cycle-time promise is premature. The machine choice depends on the actual section, required cut, handling length and acceptance method. A sample cutting discussion can establish whether the proposed holding and feed route can make a repeatable metal blank; it cannot validate the entire luminaire.
Run a two-part first-off check
At the saw: record the specified blank length from the agreed datum, end squareness or angle where relevant, visible burr condition, finish protection and any deformation near the clamp or support. Keep the result tied to the sample profile and setup actually tested. A narrow internal groove or delicate flange can change how a section rests in the jaws; a profile family name alone is not enough to set supports.
At assembly: have the system owner install the actual spring brackets, cover and end accessories, then check the approved ceiling opening and removal path. If the fixture must align with another run, inspect the joint and visible line as an assembled condition. Record any revised blank dimension as a new drawing revision, rather than silently adjusting the saw stop and leaving the purchase specification unchanged.
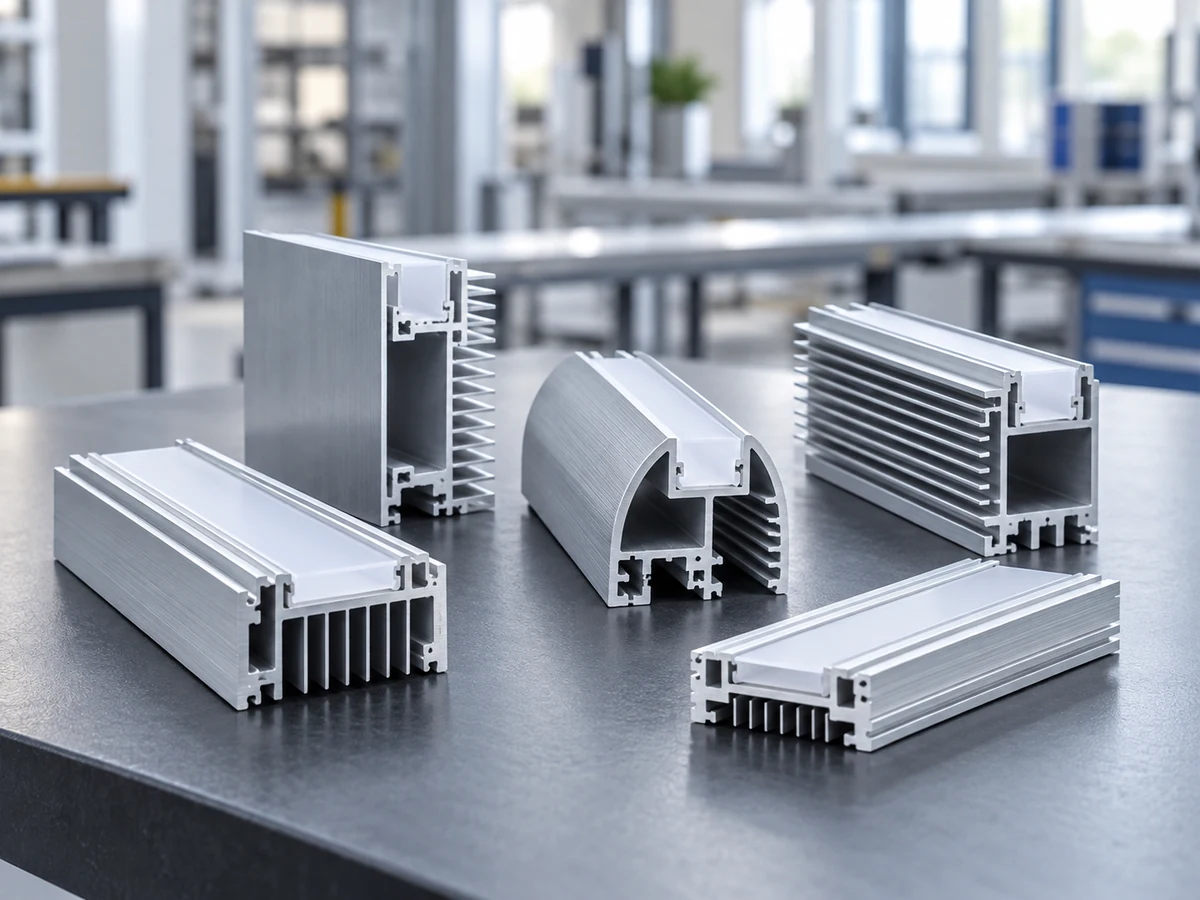
Watch the cutting motion, then ask for your own sample result
The JiurunCut channel video below shows a straight aluminum-profile feeding and cutting operation. It is related equipment context only. It does not demonstrate this recessed LED channel, its spring brackets, a customer configuration, an approved fit or a performance result.
For a related question about changing a lighting extrusion without losing its accessory fit, read our LED aluminum housing profile-change guide. For recessed LED channel cutting, send JiurunCut the approved section drawing, one sample, the bracket and end-cap details, required blank lengths and acceptance criteria. We can discuss a cut-and-hold route against those inputs; the fixture owner should sign off the assembled installation.