
Comparing nibbler vs shear for aluminum sheet starts with the shape you need to deliver. An open straight edge, an internal window and a cut near a folded return create different access problems. The tool name alone does not tell you whether the finished piece will fit its next operation.
Use the drawing to identify the retained material, the cutting route and the edge that matters in assembly. Then ask a qualified tool supplier to review the actual alloy, temper, thickness and geometry. This guide explains the comparison; it does not prescribe a tool model or operating settings.
Start with the boundary you are cutting
A photograph of a flat sheet can hide the hardest part of the job. A tool may reach the outside edge easily but have no usable route to an internal feature. An existing flange can also occupy the space needed by the tool body.
| Drawing feature | Question to resolve |
|---|---|
| Open straight boundary | Can the proposed tool follow the line while supporting the retained piece? |
| Internal window | How will the tool enter, turn and complete the contour within the available space? |
| Edge beside a folded return | Will the tool and removed material clear the existing fold throughout the route? |
These are three fictional job types, not automatic tool assignments. A supplier still needs the dimensions and condition of the real workpiece. Mark which side of every cut becomes the product before comparing proposals.
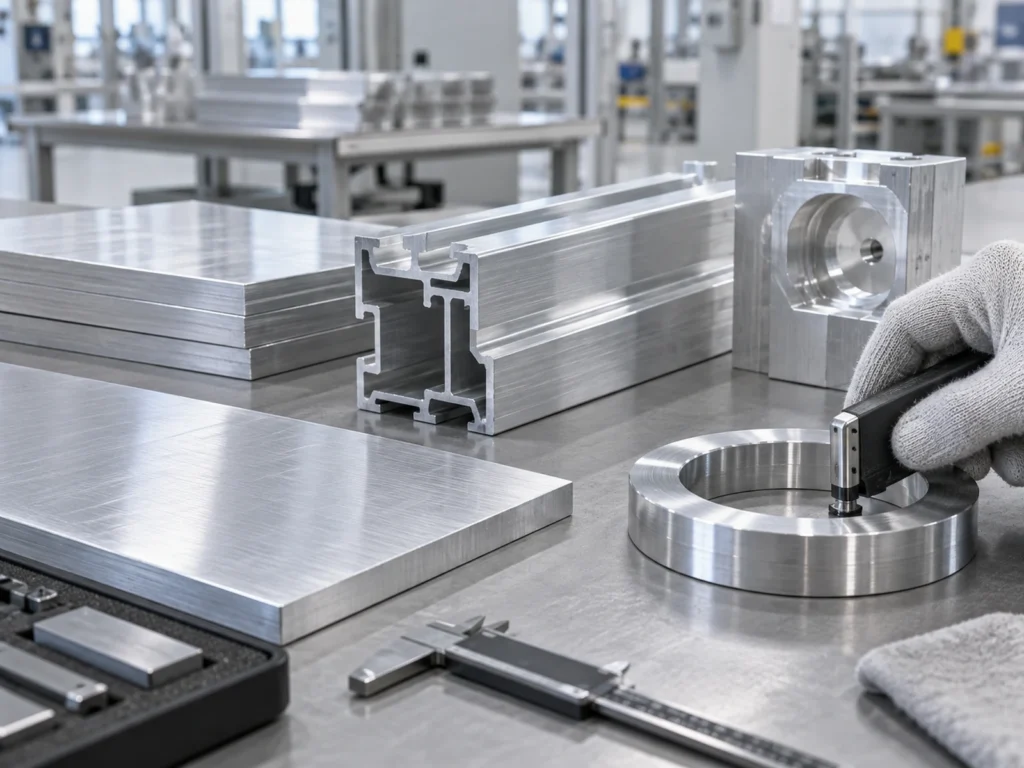
Nibbler vs shear for aluminum sheet: what changes?
A conventional power shear separates material between blades. A slitting shear is a different design that removes a strip. A nibbler uses repeated punch-and-die strokes along a cutting track. Grouping all three under “electric sheet cutter” hides a difference that affects layout and handling.
In its cutting-process overview, TRUMPF describes a conventional shear with a moving upper blade and fixed lower blade. It distinguishes this from slitting shears, which produce a removed strip, and nibblers, which create chips through successive punching strokes. The overview also identifies deformation as a consideration for conventional shearing.
Those mechanism descriptions do not establish a guaranteed edge finish on your aluminum. Tool design, the material and the actual contour remain part of the application review. Request a result on a representative piece rather than assuming that a process label means “no distortion” or “no finishing required.”
Ask what happens to the removed material
The unwanted side must go somewhere while the cut progresses. A narrow strip, a large offcut and separate chips create different collection tasks. Show the supplier the surrounding bench, fixture or assembly when this space affects the cutting route.
For an internal window, ask whether the proposed route leaves a loose centre piece and how the work will be supported. For a long boundary, ask whether the offcut can interfere with the retained edge. Have the provider explain the method; do not improvise access holes or handling steps from a generic article.
Compare the whole contour, not its easiest section
Trace the proposed cut from its beginning to its end on the drawing. Include the entry, every change of direction and the final separation. A demonstration of one straight segment leaves the remaining geometry unanswered.
Check three kinds of space: the cutting point, the tool body and the path of the removed material. A contour may be visible from above while the tool body is obstructed underneath. A fold or adjacent wall may become restrictive only near the end.
TRUMPF’s nibbler product family includes different designs and application descriptions, including internal cutouts and notches. This supports a model-specific review. It does not establish a common capacity or turning requirement for every nibbler.
Give the reviewer a dimensioned drawing with the folded state clearly identified. “Cut before bending” and “trim after bending” are different workpieces. If the process sequence changes, have the tool proposal reviewed against the revised geometry.
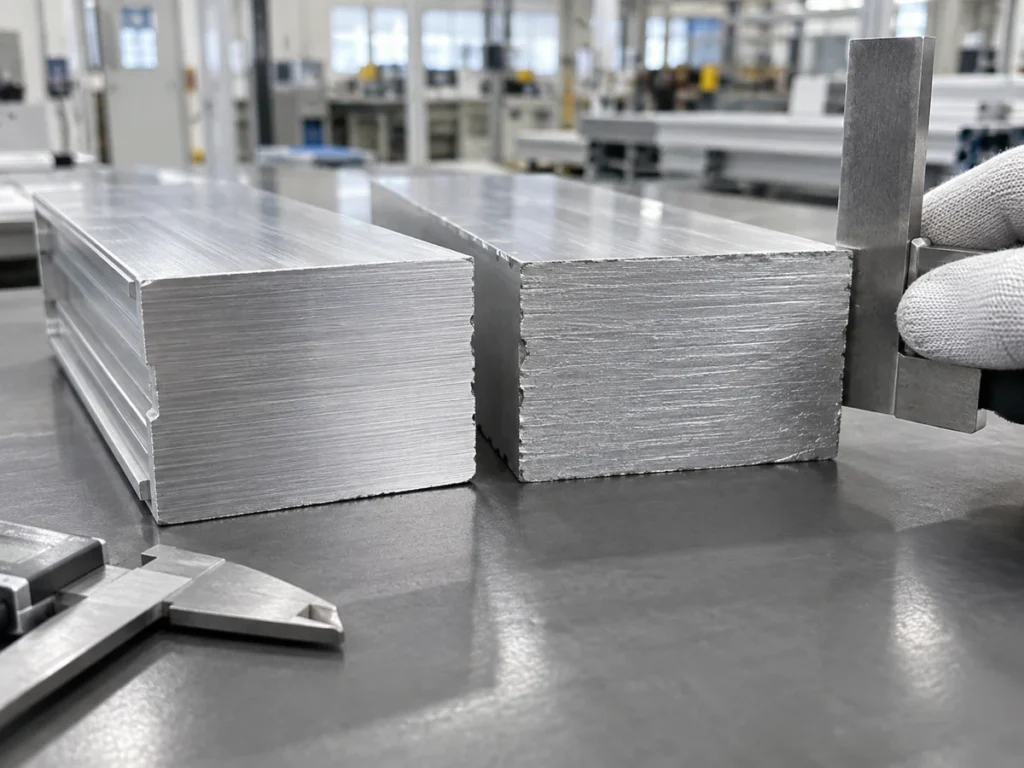
Make the retained edge the acceptance target
The useful question is not whether the cut looks tidy on a video. It is whether the retained edge meets the next operation’s needs. A hidden clearance edge, a visible panel boundary and an edge prepared for joining may require different checks.
State the edge condition in terms that the buyer and supplier can assess. For example, identify the visible face that must remain protected, the dimension controlling fit and any finishing operation included in the delivery. Use the applicable drawing or agreed inspection method for acceptance limits.
A nibbler’s successive strokes and a shear’s blade action should prompt questions about the resulting edge. They should not become a reason to invent a universal burr limit or promise a ready-to-install finish. Inspect representative finished pieces after the complete agreed route, including any supplied finishing.
Separate shape change from cutting-line accuracy
A piece can follow the intended outline yet have a local curl or other shape change that affects installation. Conversely, a visually flat blank can have an incorrect contour. Record these as separate observations so that a favourable check in one area does not conceal a problem in another.
Choose references that relate to the assembly. Checking a flexible sheet while it is restrained can give a different picture from checking it in its delivered condition. Agree the inspection setup with the responsible engineer instead of choosing whichever setup produces a favourable reading.
Use a small comparison with a clear decision
Prepare the same representative drawing and material description for both proposals. Include the most restrictive corner or access region, rather than selecting an easier demonstration shape. Keep proposed process changes visible so that you can compare what each supplier is actually offering.
- Describe the input. Identify the sheet material, condition, thickness, folded state and protected faces.
- Define the output. Mark the retained contour, relevant dimensions, edge condition and included finishing.
- Review the route. Resolve entry, turning space, support and removed-material handling with the provider.
- Assess the delivered piece. Check the agreed features after the complete proposed process.
This creates a decision you can explain: which route meets the defined job, what further work it needs and what remains unresolved. A test on one selected sheet does not qualify every thickness, alloy or future revision.
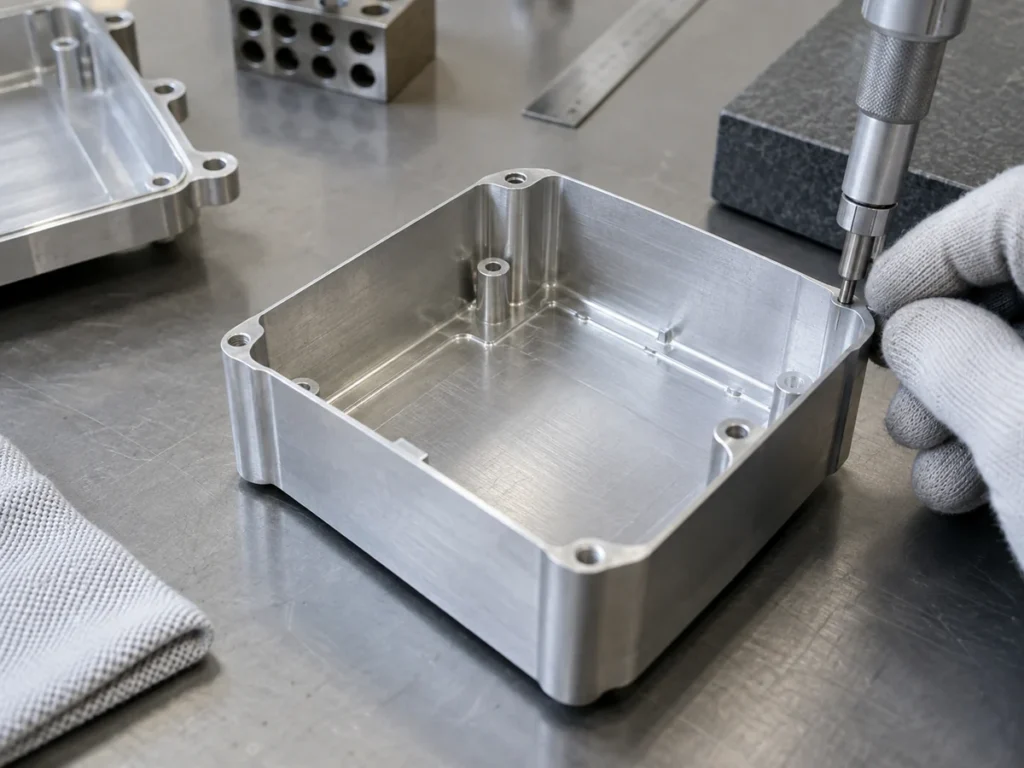
Where profile sawing belongs in the comparison
Sheet contour cutting and cutting an extrusion to length are separate tasks. If your assembly uses both panels and frame members, specify them separately. A proposal for frame lengths does not answer how panel windows will be produced.
Our waterjet versus saw-cutting guide explains another process boundary: shaped blanks versus repeatable profile lengths. For repeated hole or notch features, see aluminum extrusion punching. Neither guide establishes that a sheet tool is suitable for an extrusion.
For the JiurunCut portion of a mixed assembly, send your profile drawing and cutting requirements. Keep panel-contour work identified separately so that the inquiry is routed to the appropriate process review.
Quick questions before ordering
Is a nibbler always better for curved aluminum cuts?
No. The actual contour, entry route, tool access and required finish need a model-specific review. A general description of curved-cut capability is not approval for every radius or workpiece.
Does a shear leave no scrap?
The answer depends on which shear design you mean. Conventional shearing and slitting shearing have different removal mechanisms. Identify the proposed tool and ask the supplier to show how the unwanted material is handled for your contour.
Can one successful sample settle the entire order?
It can support a decision within its documented scope. If the material, thickness, contour or folded state changes, identify the difference and review whether the earlier evidence still applies.
Choose the route that delivers the specified piece with understood access and finishing needs. That makes the nibbler-versus-shear decision useful to production, purchasing and the team assembling the part.