
In the examples below, an aluminum miter end gives a member an angled end boundary across its full width. A local end-corner notch removes material from a selected area, leaving part of the member extending farther. When asking about “corner cutting,” begin with the finished outline so the supplier can see which shape you need.
The distinction becomes easier to understand when you look at what remains. A diagonal end across the whole member and a small end-corner cut-out can both appear in a corner connection, but they leave different parts.
Which end shape are you asking about?
Send a clear finished-part sketch or photo and point out the end or cut-out.
Read the outline of an aluminum miter end
In the full-end example, the outer end boundary runs diagonally from one side of the member to the other. Material beyond that boundary is absent from the finished part.
In the local cut-out example, a stepped boundary occupies one end corner. The adjacent part of the member still reaches the original end. The recess and the remaining extension together describe the finished shape.
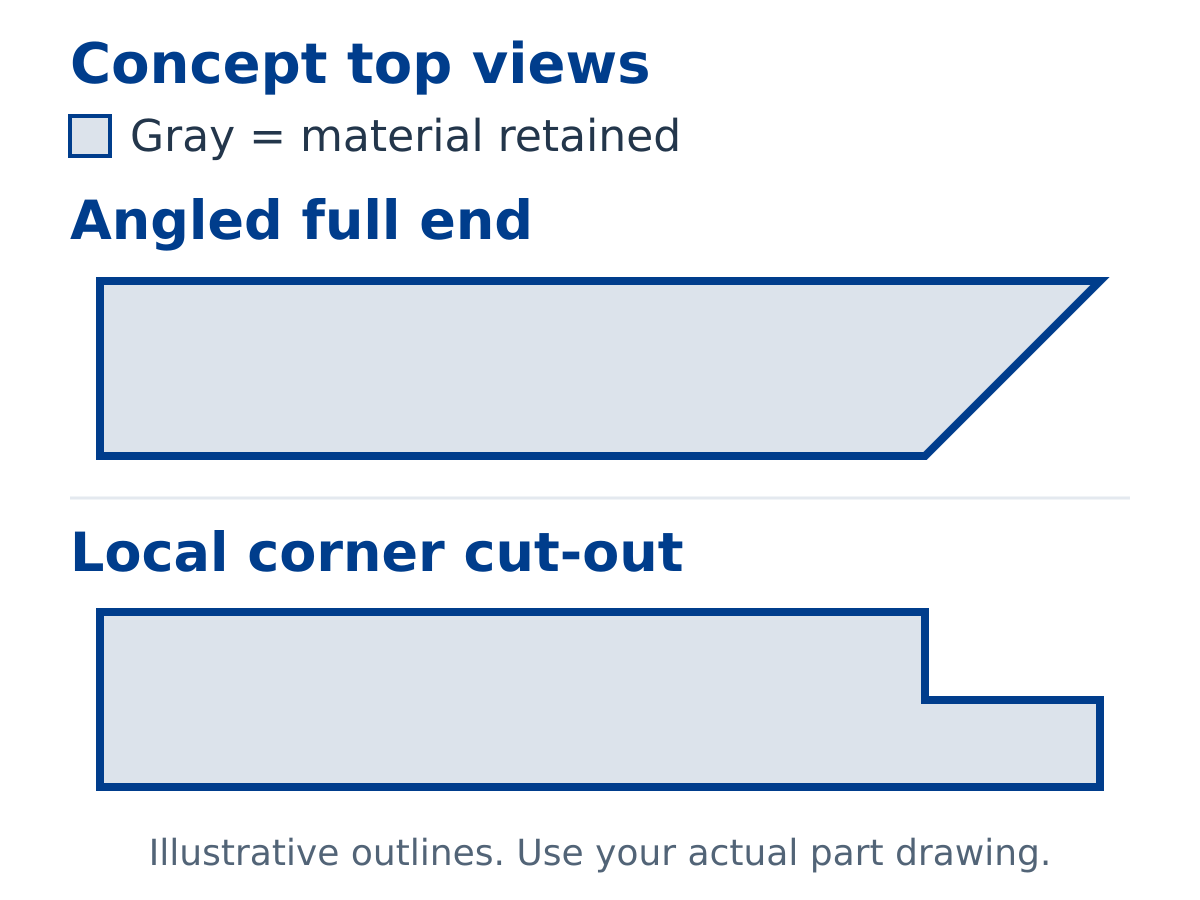
These are outline examples. Real extrusions can contain hollow spaces, grooves and other section features that the simplified silhouettes do not show. Here, “full end” describes the end boundary across the member, rather than a solid block of aluminum.
Look inside the corner connection
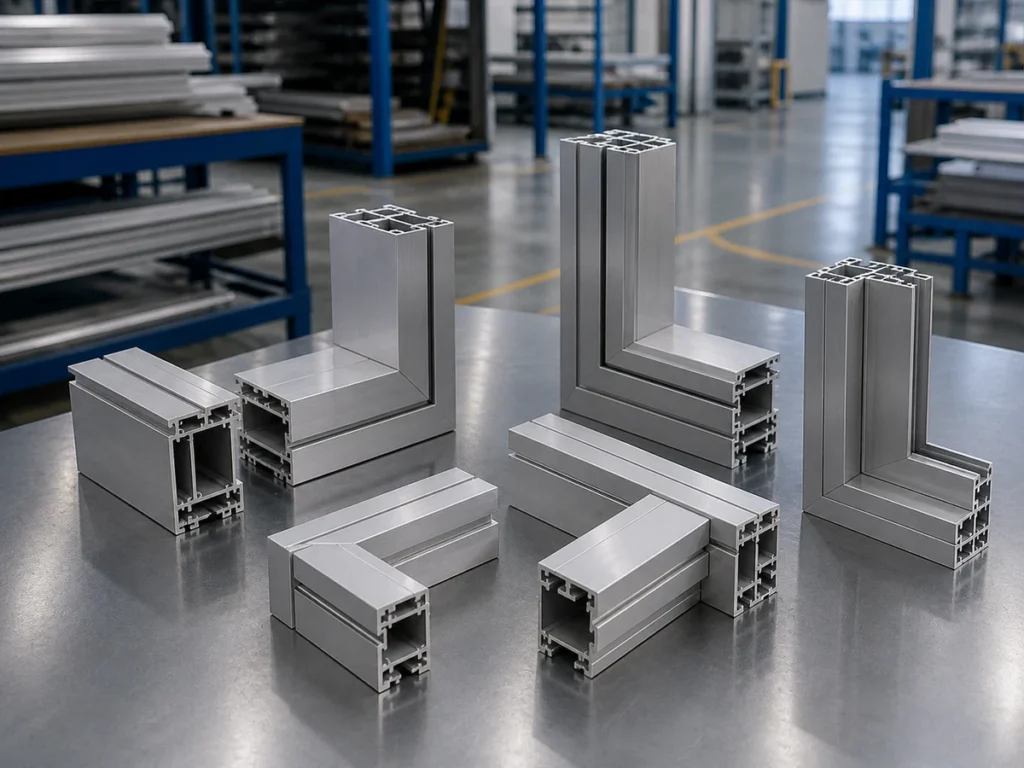
Imagine a buyer comparing two corner details for an aluminum rail. In the mitered version, two separate members have angled ends that meet at the joint. Each loose member has its own end boundary; the assembled corner combines both pieces.
In the alternative detail, one rail has a local end-corner cut-out to make room for the adjoining component. Part of that rail remains beside the recess. Its outline therefore includes both a shortened region and an extension reaching the end.
A close corner photo can make those arrangements look similar. Seeing the rail on its own reveals whether the detail belongs to an angled full end or a recess in one part. Ask the supplier to review the cutting route for your actual part.
Show the part that remains
Share the loose-member outline alongside the connection view so the local cut-out or angled end is visible.
Give the finished feature a clear name
“Angled full end” and “local end-corner cut-out” are useful starting descriptions for these examples. A notch can have a different shape or location, so the actual outline carries more information than the name alone.
For angle references and mating details, use our aluminum miter-cutting guide. For end faces angled in different directions, see the miter, bevel and compound-cut guide.
Move from the shape to the machine discussion
The JR-550CNC-CORNER product page introduces a Jiurun angle-cutting configuration. Describe any local cut-out alongside the angled-end requirement so the discussion covers the actual finished member.
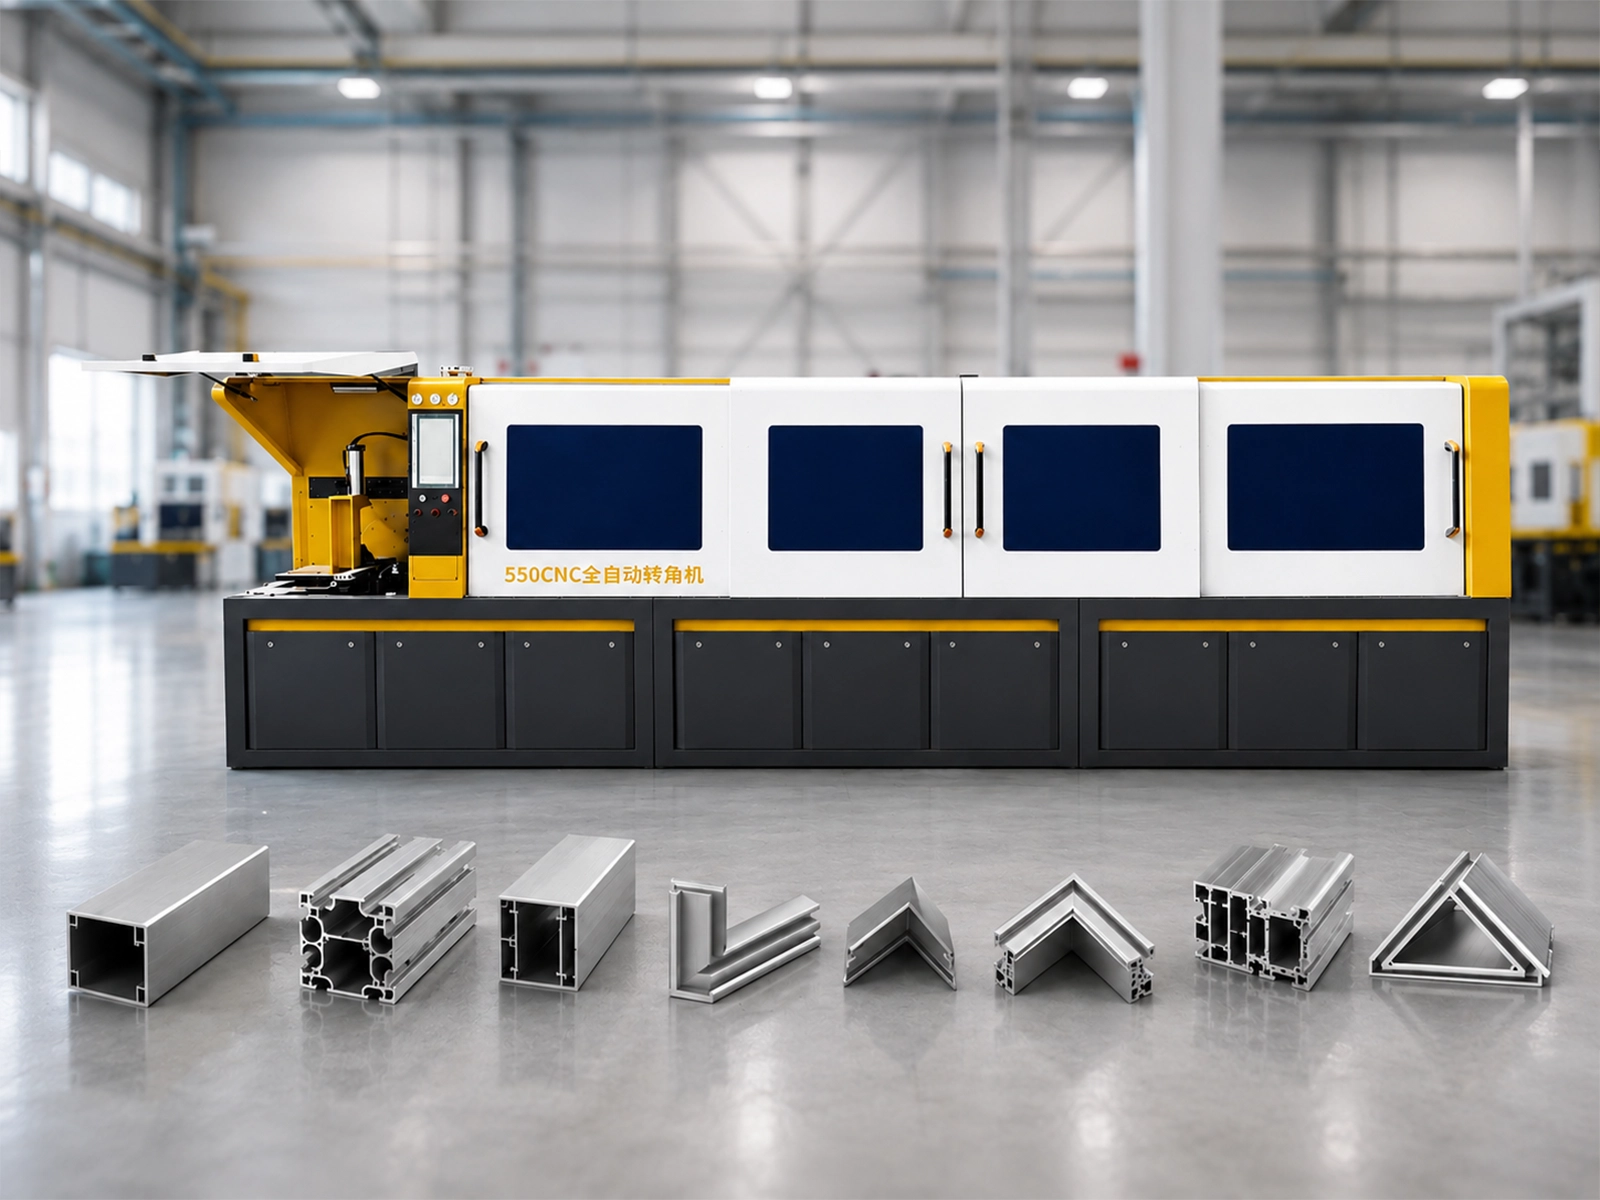
Watch: JR-550CNC Fully Automatic Angle Saw
General Jiurun angle-saw reference.
Terminology and catalog context
Manufacturer terminology includes elumatec’s single-mitre saws, notching saws and V-notch saws. These are category examples; the feature and proposed configuration determine the equipment discussion. Jiurun’s catalog identifies JR-550CNC-CORNER and lists automatic feeding, positioning and cutting. Confirm the cutting route and any local notch requirement for the exact equipment quoted.
Discuss your aluminum miter end or cut-out
Show the finished member and explain what should remain at the corner.