
T-slot profile end caps can reveal a cutting handoff failure: the specified end cap will not seat, the capped assembly exceeds its envelope, or the buyer has counted the wrong exposed ends. These are purchasing and drawing questions as much as saw questions. This checklist helps a buyer define the profile, cap, cut end and acceptance sample before requesting a cutting quote.
Scope: The discussion covers structural T-slot aluminum extrusions with separate end caps. A cap must be selected for the actual profile series and opening. The photos and video below are related equipment and profile illustrations; they do not show a validated cap fit for this order.
1. Match T-slot profile end caps to the exact section
“40 mm profile” alone is not a complete accessory specification. Give the supplier the extrusion manufacturer’s series, drawing or cross-section, slot layout, and the cap manufacturer’s part number or fit drawing. A square outside dimension can hide different wall shapes, central bores and slot details. Ask whether the accessory is a push-in cap, a mechanically retained cover, or a component that needs a secondary fastener. Do not assume a cap from one series fits another simply because both are called T-slot profiles.
For an example of why the exact pairing matters, 80/20 identifies one 40 Series 40 × 20 push-in end cap by part number. That example identifies an accessory for its own series; it is not a specification for another manufacturer’s extrusion or for Jiurun equipment.
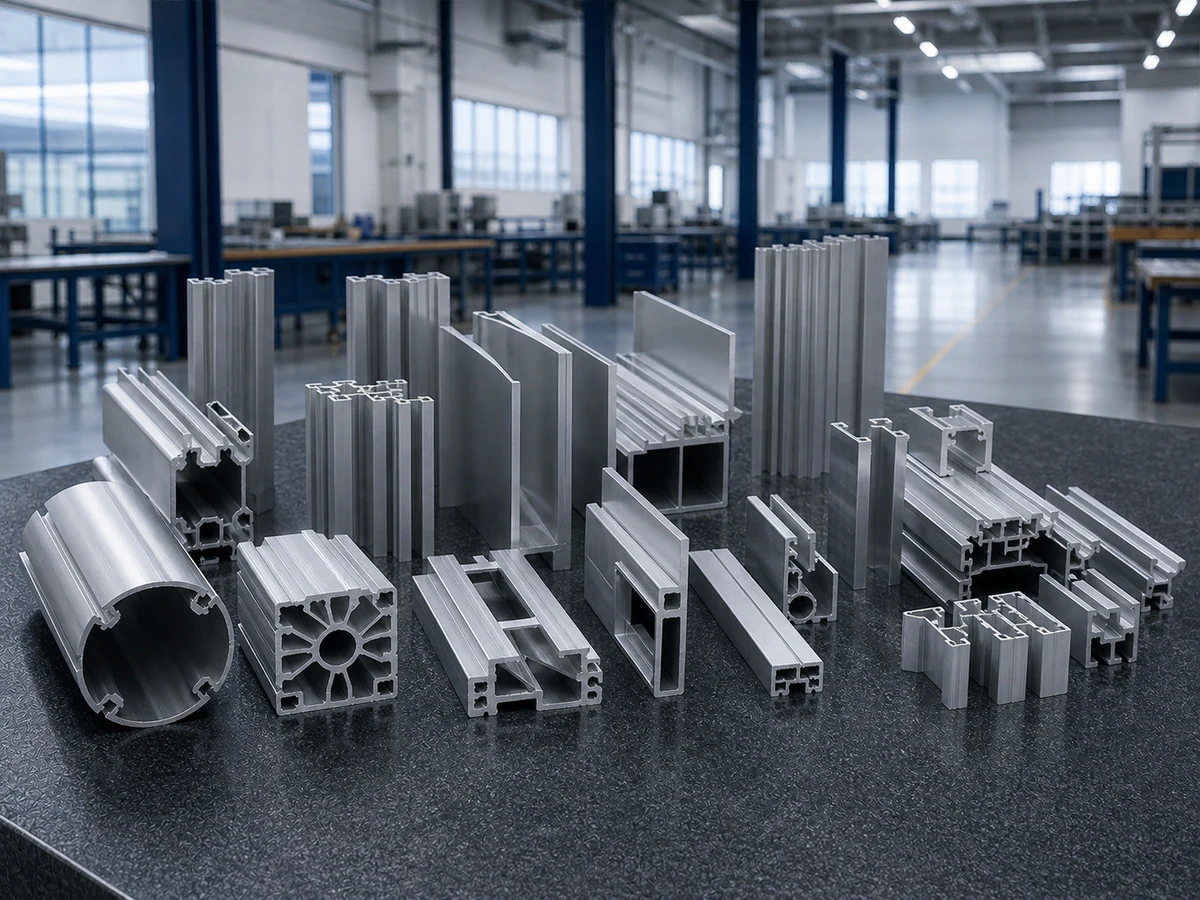
Related profile illustration: several aluminum cross-sections are visible. No fitted end cap or approved profile-cap combination is shown.
2. Separate end caps from slot covers
An end cap closes an exposed cut end; a slot cover runs along a longitudinal channel. They are different line items, with different lengths and counts. The item accessory catalogue separates caps from cover profiles. Use the actual supplier’s catalogue to identify each part. If a side channel remains open by design, do not add a cover merely to make the parts list look complete.
On the RFQ, show two separate quantities: exposed profile ends that need caps, and channel runs that need slot covers. Mark ends concealed by a connector, wall, machine panel or other assembly feature separately. A frame with four members does not automatically need eight caps.
3. Map every exposed end before calculating quantity
Use an assembly sketch or numbered cut list to identify where each member ends. Mark the visible face, the accessible end and the joint type. A butt joint can cover one member end but leave another visible. A miter, plate connection or joining bracket changes the count again. If the frame will later be modified, state whether spare caps are part of the order or supplied separately.

Related equipment-frame illustration: the junction and grooves help explain end mapping. It is not the buyer’s assembly, cap selection or proof that a cap will fit.
For each numbered member, the drawing should say “cap this end,” “end hidden by joint,” or “end left open by design.” That notation is more useful to a cutting shop than a total cap count without locations. It also allows the assembler to spot a disagreement before the full batch is cut.
4. Define the length datum: bare cut or capped assembly?
A cut list commonly gives the length of the bare extrusion. The finished envelope can be different if a cap protrudes past the cut face. Ask the frame designer which dimension controls: cut member length, distance between mating faces, or overall size after accessories are installed. Show that datum on the drawing and place its tolerance beside the dimension it governs. Do not silently subtract a nominal cap thickness from every member.
Where an end abuts a panel or another extrusion, include the actual interface in the assembly drawing. A trial should compare the cut blank with that interface using the specified accessory. It should not treat an unspecified cap as a universal gauge for machine accuracy.
5. State the cut-end condition that cap fit depends on
Provide the supplier with a sample cap and a short representative profile if the fit matters. Agree on the end-face condition at the cap interface: visible burrs, loose chips, crushed walls, smeared material, excessive out-of-square or damage to the locating features may prevent seating. The acceptable level is a drawing and sample decision; it should not be inferred from a generic “clean cut” claim.
Tell the shop whether any deburring is allowed and which surfaces it may touch. A tool that removes a burr can also change a narrow lip or retention feature. If a cap has a locking stem, judge insertion and retention against the accessory supplier’s instructions or an agreed sample, not a force number invented for the RFQ.
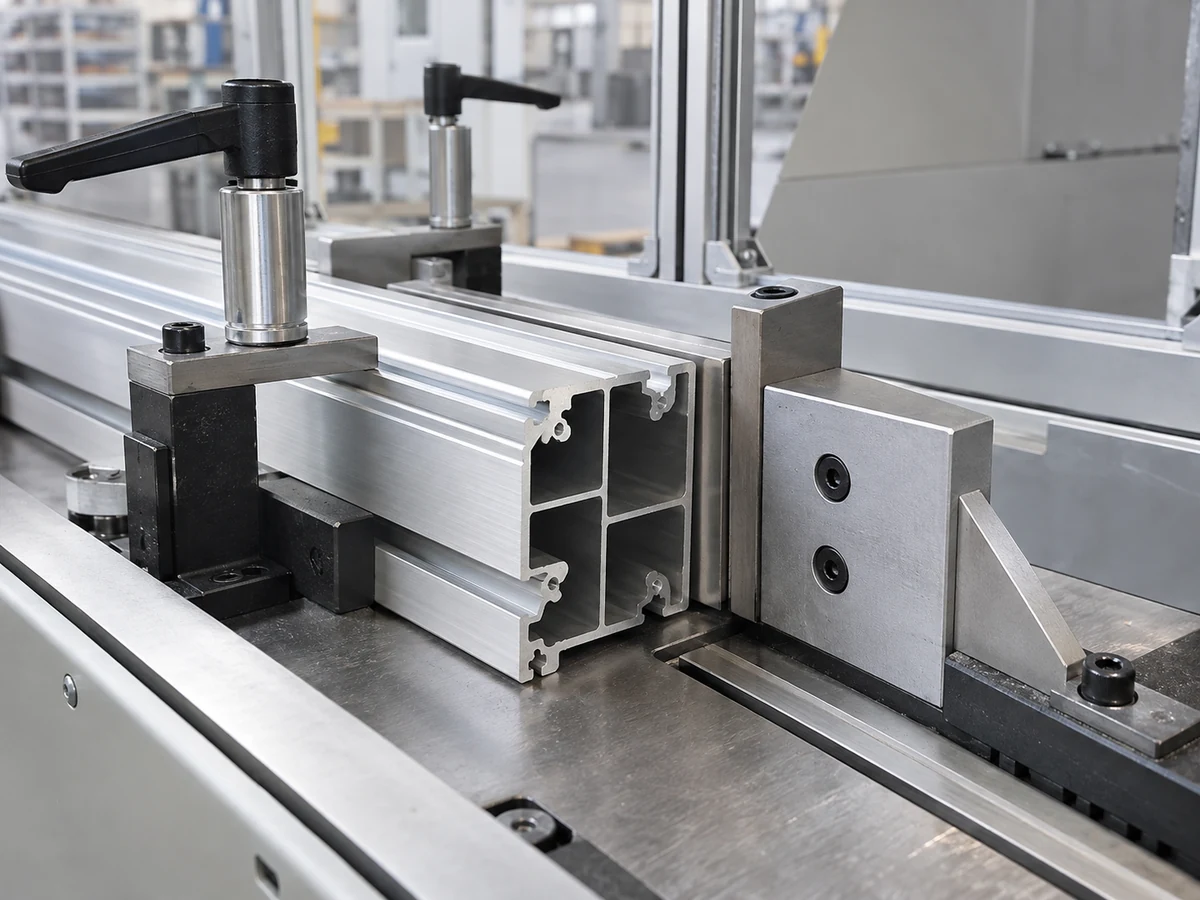
Related cutting illustration: a profile is held at a side stop. The image is not this T-slot member, cap-fit trial, offered machine configuration or performance evidence.
6. Approve a representative cut-and-cap sample
Before a production quantity is released, select a sample that represents the difficult condition: the actual cross-section, planned length range, finish and end that receives the cap. After cutting, compare both ends where appropriate. Check the measured bare length, squareness or end quality required by the drawing, then seat the specified cap and compare the capped envelope. Record the sample profile, cap part number, cut orientation and acceptance decision so a later batch can be judged consistently.
A saw trial answers only the questions it actually tests. A cap seating on one short sample does not validate every profile variant, corner joint, finish or frame load. Likewise, a machine demonstration video cannot establish the buyer’s own cap fit.
7. Put T-slot profile end caps and cutting scope in the RFQ
Separate the cost and responsibility for supplying caps, cutting members, end treatment, trial samples, assembly and replacement parts. A cutting shop may be quoting blanks only; another supplier may procure and install the caps. State who owns the accessory part number and who approves any substitute. If the chosen cap is unavailable, require a new fit review before substituting a visually similar part.
| RFQ field | What the buyer should supply or decide |
|---|---|
| Profile identity | Series, section drawing, finish and relevant extrusion revision |
| Accessory identity | End-cap maker and part number; slot covers listed separately |
| End map | Member numbers, capped ends, concealed ends and open ends |
| Length datum | Bare-cut dimension and any overall capped-envelope requirement |
| End condition | Drawing tolerance, burr treatment and protected retention features |
| Approval sample | Representative profile, cap, fit criterion and sign-off owner |
| Quote scope | Who supplies, fits, inspects and replaces the accessories |
Questions to resolve before release
Can we buy caps by outside profile size alone?
No. Match the cap to the actual extrusion series and opening geometry, then check it with the supplier’s part drawing or a physical sample. Similar outside dimensions do not prove interchangeable stems or retention.
Should the shop cut shorter to allow for the cap?
Only when the approved drawing defines an overall capped dimension and specifies how to derive the bare-cut length. Otherwise quote and inspect the bare extrusion dimension exactly as stated.
Does a smooth-looking end prove cap fit?
No. The cap may depend on features inside the section, end squareness and clearance at the mating face. Approve the actual profile-cap pair using the relevant cut-end condition.
Request a useful cutting review
Send Jiurun the section drawing, numbered cut list, cap part number, exposed-end map and the dimension that controls. Include a representative profile and cap when fit is critical. We can discuss how to set up a cutting trial around that information and which acceptance checks belong to the buyer’s assembly process. For broader frame handoff questions, see our butt-versus-miter joint guide, or contact us with the RFQ package.
Video context: The owned Jiurun video below shows a general saw/handling view. It does not show this cap, exact profile, customer order, approved trial or guaranteed result.