
Protective film can help preserve the visible face of an aluminum extrusion, yet the film introduces its own questions at a saw: will it stay flat under the clamp, cut cleanly at the end, trap sharp swarf, or leave residue when the customer peels it? A length-only trial cannot answer these questions. Buyers should release the actual film, finish, profile and handling route before accepting a cut-part process.
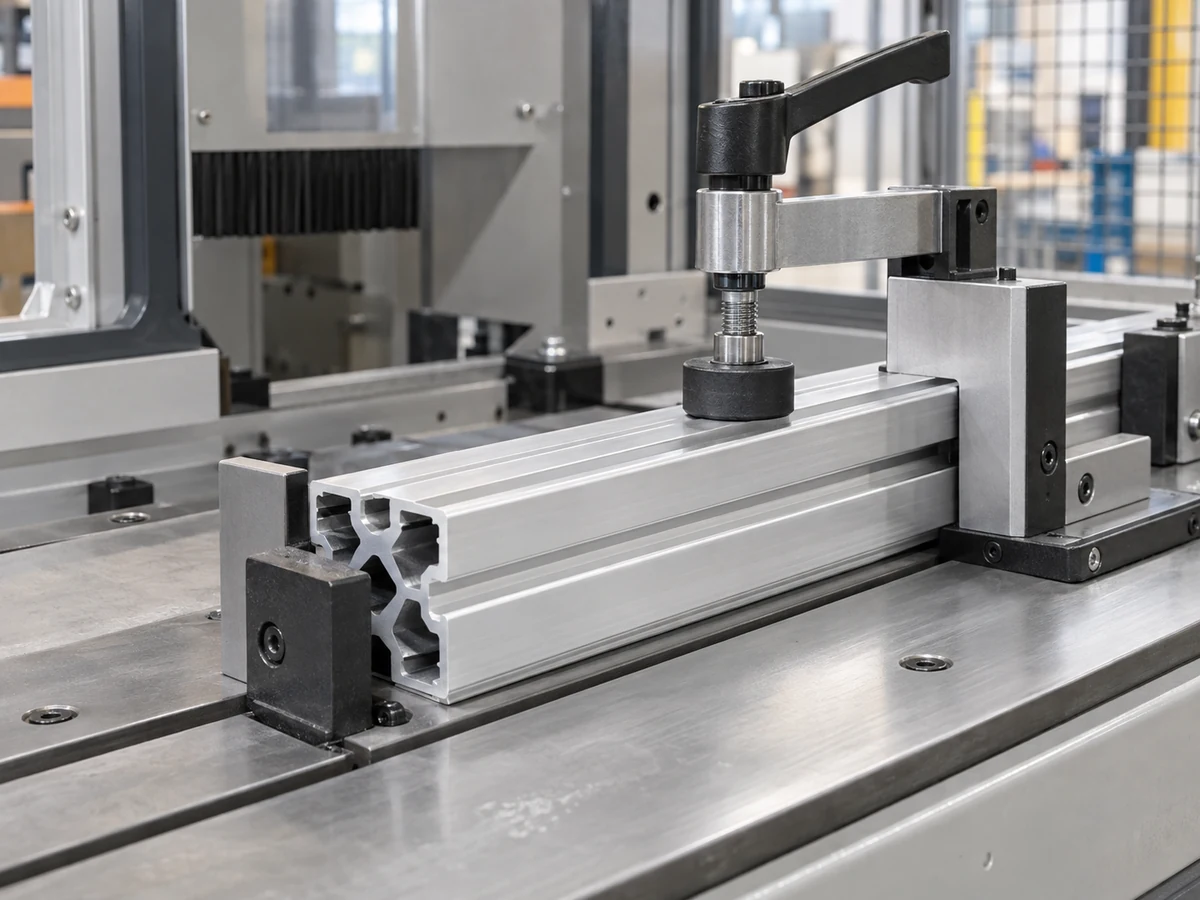
This guide is a procurement and sample-trial checklist for protective film aluminum profile cutting. It does not prescribe a universal blade, clamp pressure, film grade, removal method or safe machine setting. The film supplier, profile owner and saw operator must approve their own materials and procedure. The pictures below show related aluminum stock, a clamping contact and a cut-face review; none depicts a verified film-covered customer part or proves a trial result.
1. Protective Film Aluminum Profile Cutting: Confirm Covered Faces
Start with a cross-section drawing and mark the actual covered faces, visible faces, locating datums, grooves and features that cannot take adhesive. A film may cover only one broad face, wrap a corner, or stop short of the cut plane. Ask whether the long bar arrives filmed, is filmed after cutting, or is protected only for packing. Those routes create different saw and inspection duties.
Record the film supplier and grade, adhesive system if specified, application date, expected storage and removal window, and the profile finish beneath it. Do not substitute a film that happens to look similar. POLIFILM’s aluminum-profile guidance explains why adhesion, resistance to sharp swarf and clean removal depend on the chosen surface and film system. That supplier guidance supports asking for the actual approved film; it does not validate a Jiurun machine or a particular customer setup.

2. Release the film boundary at the cut end
Specify whether film should reach the end, be trimmed back by a stated distance, or be removed before sawing. Who owns loose film tabs, torn corners and adhesive exposed at a mating end? A drawing that merely says “protect surface” leaves the saw supplier guessing. Show the accepted end condition in a sample or marked drawing, including whether a later assembly step needs a clean, film-free interface.
Ask for a photographed first piece from each section and film combination. Check both faces and both ends: film lift, ragged film edge, metal burr, swarf lodged under a flap and any exposed finish damage. A clean metal cut does not by itself mean the film edge is acceptable. Conversely, a torn film edge may be a film-selection issue rather than proof of poor saw accuracy.
3. Check how the clamp and guides touch the filmed surface
A film layer changes what contacts the bed, side stop and hold-down. Identify the actual locating face and inspect whether the film folds, slides, wrinkles or transfers onto a contact surface during repeated cycles. Keep dimensional measurement tied to the drawing’s defined datum: measuring over film can differ from measuring the underlying extrusion. Do not invent a universal thickness allowance; obtain the film and drawing requirements for this job.
Run more than one piece at the planned cycle and profile mix. Record whether the film remains in place at the same contact zones, whether clamp marks appear after peeling, and whether a change in film roll or supplier changes the outcome. The operator should use the machine manufacturer’s instructions and the site’s approved safe operating procedure for any adjustment.
4. Separate swarf damage from film failure
Film is not a reason to ignore chip handling. Sharp aluminum swarf can scratch an exposed edge or become trapped beneath lifted film. During the witnessed run, examine the cutting zone, clamps, outfeed and packed blank, then identify where debris first contacts the protected face. Collect observations at the point where they occur; a scratch seen only after packing cannot automatically be assigned to the blade.
If the film lifts during the cut, inspect whether the film specification, application, stock condition, cut direction or handling step is responsible before changing machine settings. For a separate blade-chip question, see our blade gullet loading trial guide. Its clearance check is a different decision from film adhesion.
5. Define the peel-off test at the receiving stage
A protected blank may look acceptable while still filmed. Peel a controlled sample at the stage the customer actually uses: after cutting, after packing, after a realistic storage interval, or at assembly. Confirm the film supplier’s approved removal conditions. Inspect for adhesive residue, transferred ink, torn fragments and finish damage beneath the film. Do not promise residue-free removal from a quick demonstration on a different finish or storage age.
Set an acceptance sample and record who is allowed to peel it, the inspection lighting, the acceptable appearance, and what happens to a suspect lot. If the production order ships filmed, the supplier and buyer should agree whether a retained sample is peeled per batch while shipped parts stay protected. Where the final finish itself is the main question, our finished powder-coated stock RFQ addresses the wider cut-and-handling route.

6. Compare a repeat batch, not just one good piece
Include the smallest and largest relevant section, visible-face orientation, a normal production length and a shorter end-of-bar case where applicable. Record the film lot, stock lot, machine and fixture identification, blade condition, operator, count and any rejected piece. Review pieces from the beginning, middle and end of a representative batch. The buyer should approve an actual sample plan; there is no universal sample quantity.
Use a simple disposition matrix: acceptable film and finish; film defect with acceptable metal; metal defect under intact film; and uncertain origin. That prevents a single “surface issue” label from hiding whether to change the film, handling route, inspection method or saw setup. Our surface-mark investigation guide helps separate incoming stock condition from cutting effects.
7. Put the film requirement into the RFQ and handover
Ask each saw or cut-part supplier to quote against the same released pack:
- Profile drawing and revision, alloy/temper, finish and actual cross-section samples.
- Approved protective film identity, covered faces, application stage and expected removal stage.
- Cut length, angle, end condition, datum and dimensional acceptance measured on the specified surface.
- Allowed contact areas, visible-face appearance and film-edge acceptance samples.
- Trial quantities, inspection positions, peel-test timing, photographic evidence and reject handling.
- Responsibility for film supply, application, reapplication, packaging and any later peel or clean-up.
Where a proposed machine has not been trialed with that film and section, label its capability to be demonstrated. Ask for a witnessed run with the real stock before treating a marketing claim as an accepted process. The demonstration below shows a Jiurun aluminum-saw operation in general; it does not show the film, profile, settings or accepted results discussed here.
Need a film-covered profile trial? Send JiurunCut the released section drawing, the actual filmed stock, the film supplier’s handling instructions, and the finished-part acceptance sample. We can discuss a suitable saw trial and what evidence would be needed before any equipment decision. Contact JiurunCut.