
Emergency lightbar aluminum extrusion cutting starts with a narrow question: what aluminum blank must leave the saw for the lightbar maker’s next operation? An emergency warning lightbar can include an extruded platform or housing, but also lenses, dividers, seals, electronics, wiring and vehicle mounts. The saw supplier should be asked to qualify the approved aluminum section and its cut ends. A clean-looking sample is not evidence that a completed warning system is sealed, photometrically compliant or road approved.
For a real product example, Whelen describes an extruded aluminum platform alongside a one-piece dome, dividers and seals in its Legacy lightbar. That product description establishes why a metal extrusion can matter to the assembly. It does not mean Jiurun supplies Whelen, has tested that design, or can certify a finished lightbar. The OEM’s released drawing and sample parts remain the authority for any saw trial.
Emergency lightbar aluminum extrusion cutting starts with the blank
Start with the exact extrusion drawing, revision, alloy and temper specified by the lightbar OEM. Mark the base, lens track, end-cap land, cable passage and any surfaces that must remain visually clean. Some designs use a platform, some use a housing, and some combine several members. A generic square tube is not a substitute for the released section. The RFQ should identify each part number and the point where the saw’s responsibility ends: a straight blank, a blank with an agreed edge condition, or a more complete machined part.
Ask the OEM to mark a primary datum face and the orientation in which the profile may be clamped. If the exterior top is decorative or forms a sealing land, a convenient clamp location can be the wrong one. Record allowable contact zones and whether a removable protective layer can remain during cutting. The fixture trial should use the actual section, not a nominal envelope alone.
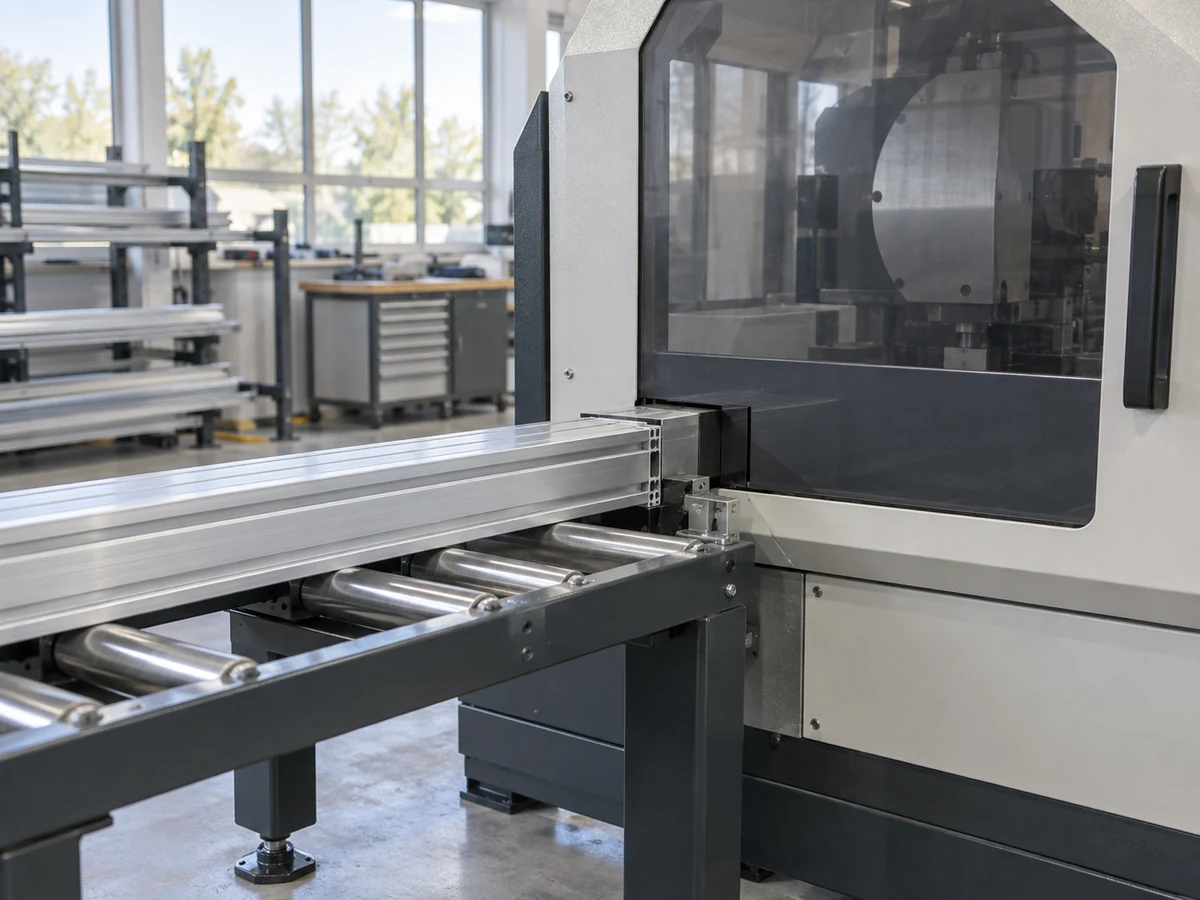
Protect the faces that make the assembly work
A lightbar extrusion may carry a lens edge, divider, gasket, end cap or mounting bracket. The cut can affect those interfaces even when overall length passes. Make the receiving drawing explicit about which cut-end edges may be deburred, which surfaces must not be rounded, and which cavities or tracks must be free of loose chips. The OEM should decide whether a small witness mark is acceptable on a hidden face and whether any mark on the visible face is a reject.
Use a simple cut-end map in the trial packet. Label the end that receives a cap or seal, the end that will be drilled or tapped later, and any internal ledge that locates a divider. Photograph the same features before and after cutting. If an end cap fails to seat, separate length error from burr interference, extrusion variation and a downstream hole-position error. A saw trial should not assign every later assembly problem to the blade.
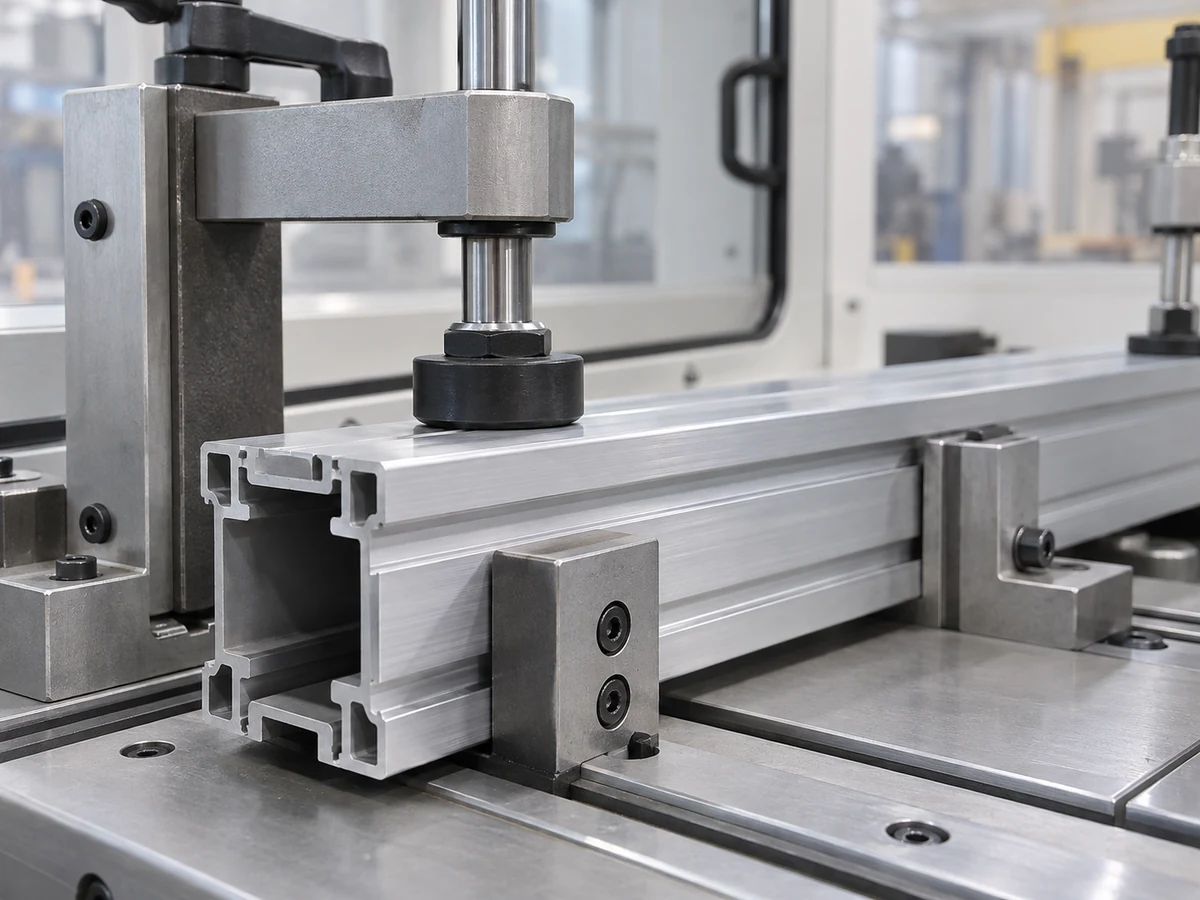
Run a sample cut that answers the buying decision
Send a representative profile sample with the current drawing, not a photograph alone. Include the longest and shortest released lengths, quantities by length, stock condition, and any finish already on the extrusion. If production uses both unfinished and coated members, treat their surface acceptance separately. The saw supplier can then propose support, clamping and collection arrangements against actual stock.
- Before the cut: record the incoming surface, straightness concerns, profile orientation and the datum used for length measurement.
- During setup: show how the long member is supported and how the clamp contacts only approved zones without crushing a thin wall or shifting the section.
- After the cut: measure the length from the specified datum, inspect squareness by the agreed method, and examine the end-cap, lens-track and divider interfaces for burrs or deformation.
- After handling: inspect the visible face and cut ends again following part collection, stacking and packing. A good cut can still be damaged at the outfeed.
- At assembly: have the OEM fit a representative cap, lens or divider as applicable. Record who performs this check and what constitutes acceptance.
Do not write a universal length or squareness tolerance into the RFQ because an example machine brochure lists one. The released lightbar design, inspection method and agreed process capability set the acceptance window. A supplier should return measured samples and notes about any feature it could not validate.
Plan the length mix and handoff
Lightbar models can have several nominal lengths and option packages. Separate the extrusion cut list from the finished system’s option list. If two platforms share the same section but differ in length, group the saw trial by section, clamp setup and length range. If the section changes, ask for a new hold-down and cut-end review. Record which parts leave the saw as single blanks, which are kitted, and which need secondary machining before assembly.
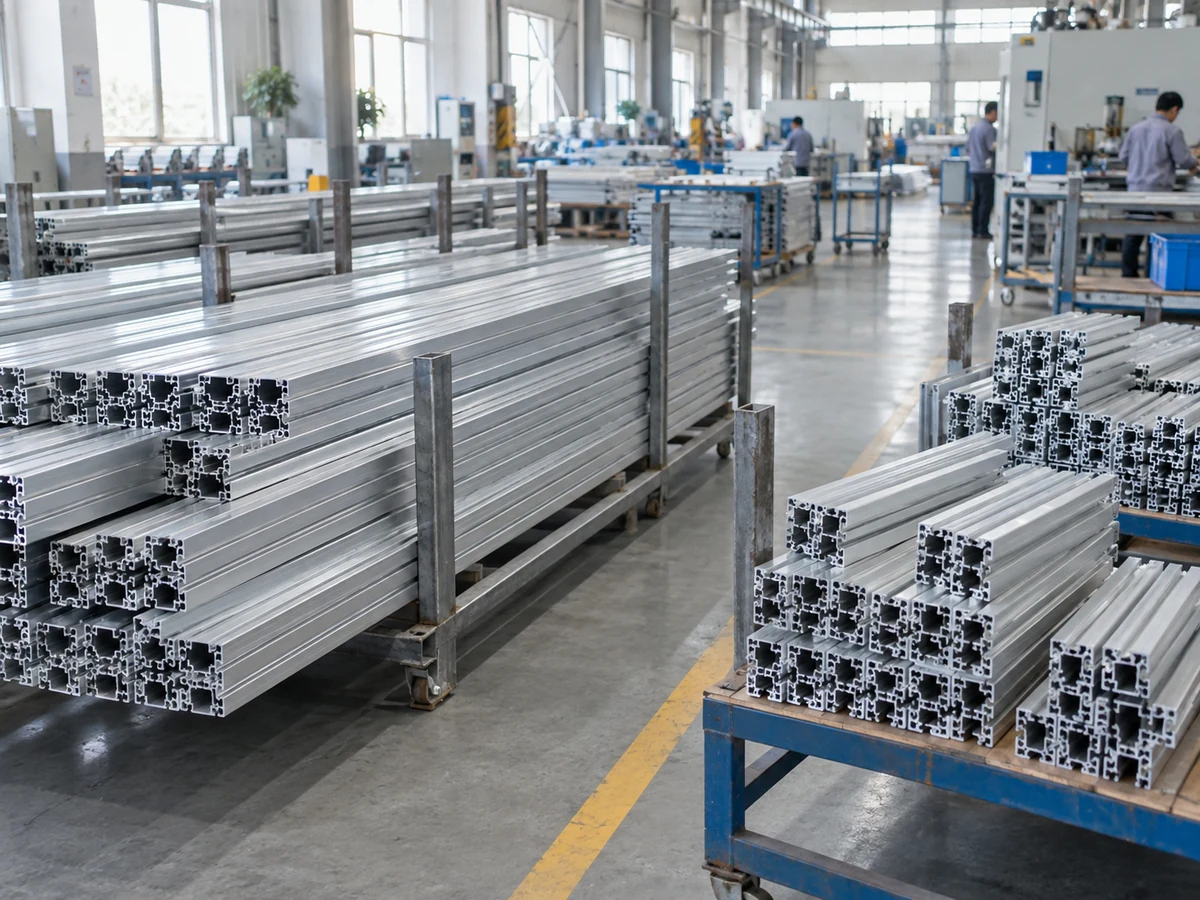
For mixed-length orders, ask the saw vendor to state the usable stock length, first-end crop rule if required, kerf allowance and how short remnants will be identified. A theoretical nesting yield does not tell the buyer whether a remnant can be clamped and cut into an accepted part. Also specify a packing separator if a finished surface can touch another cut end. Our surface-mark trial guide explains how to distinguish incoming stock condition from handling effects at the saw.
Use a video for process context, not product proof
The Jiurun clip below shows a general aluminum sawing operation. It can help an OEM discuss feed support, clamping and part collection. It does not show the emergency lightbar extrusion described here, a released model configuration, a customer trial, sealing performance or any regulatory result.
What to include in the RFQ
- Released drawing, revision and physical sample: confirm fixture contact, saw envelope and cut-end inspection.
- Length schedule, batch size and stock length: define feed range, changeover and remnant handling.
- Protected faces and permissible clamp zones: make surface-damage and outfeed checks repeatable.
- End-cap, lens, divider or seal interface drawings: agree on edge treatment and downstream fit.
- Inspection method and sample acceptance owner: give the saw-blank trial a clear pass/fail decision.
When comparing saw proposals, ask each supplier to return the same sample-cut record, with photographs of the specified faces and measured results against your drawing. Evaluate the handling route and repeatability of the released blanks as well as the cut itself. Leave photometric, electrical, environmental and vehicle approvals with the lightbar system owner.
Next step for an OEM buyer
For emergency lightbar aluminum extrusion cutting, send Jiurun the approved extrusion drawing, cut list and a representative sample, with the clamp-safe faces and end-cap or lens interfaces marked. Ask for a trial plan that states what the saw will prove, how the cut blanks will be inspected, and where secondary processing begins. That gives you a basis for selecting a machine without implying that a generic saw demonstration validates a finished emergency lightbar.