
Aluminum tile edge trim cutting begins with a system decision, not a saw setting. A purchased corner kit, a field-cut straight length, and a factory-cut blank can all solve a different part of the same wall detail. The wrong choice can leave a visible seam in the wrong place, a profile that sits proud of the tile, or a cut end that cannot accept its intended accessory. This guide gives buyers and fabricators a practical order for deciding what to order, cut, and inspect.
Scope: The manufacturer examples below are specific to the named Schluter products and documents. They are not a universal instruction for every tile edge trim. Obtain the current installation sheet, drawing, and approval for your exact profile and finish before cutting production lengths.
Decide the corner route before making a cut list
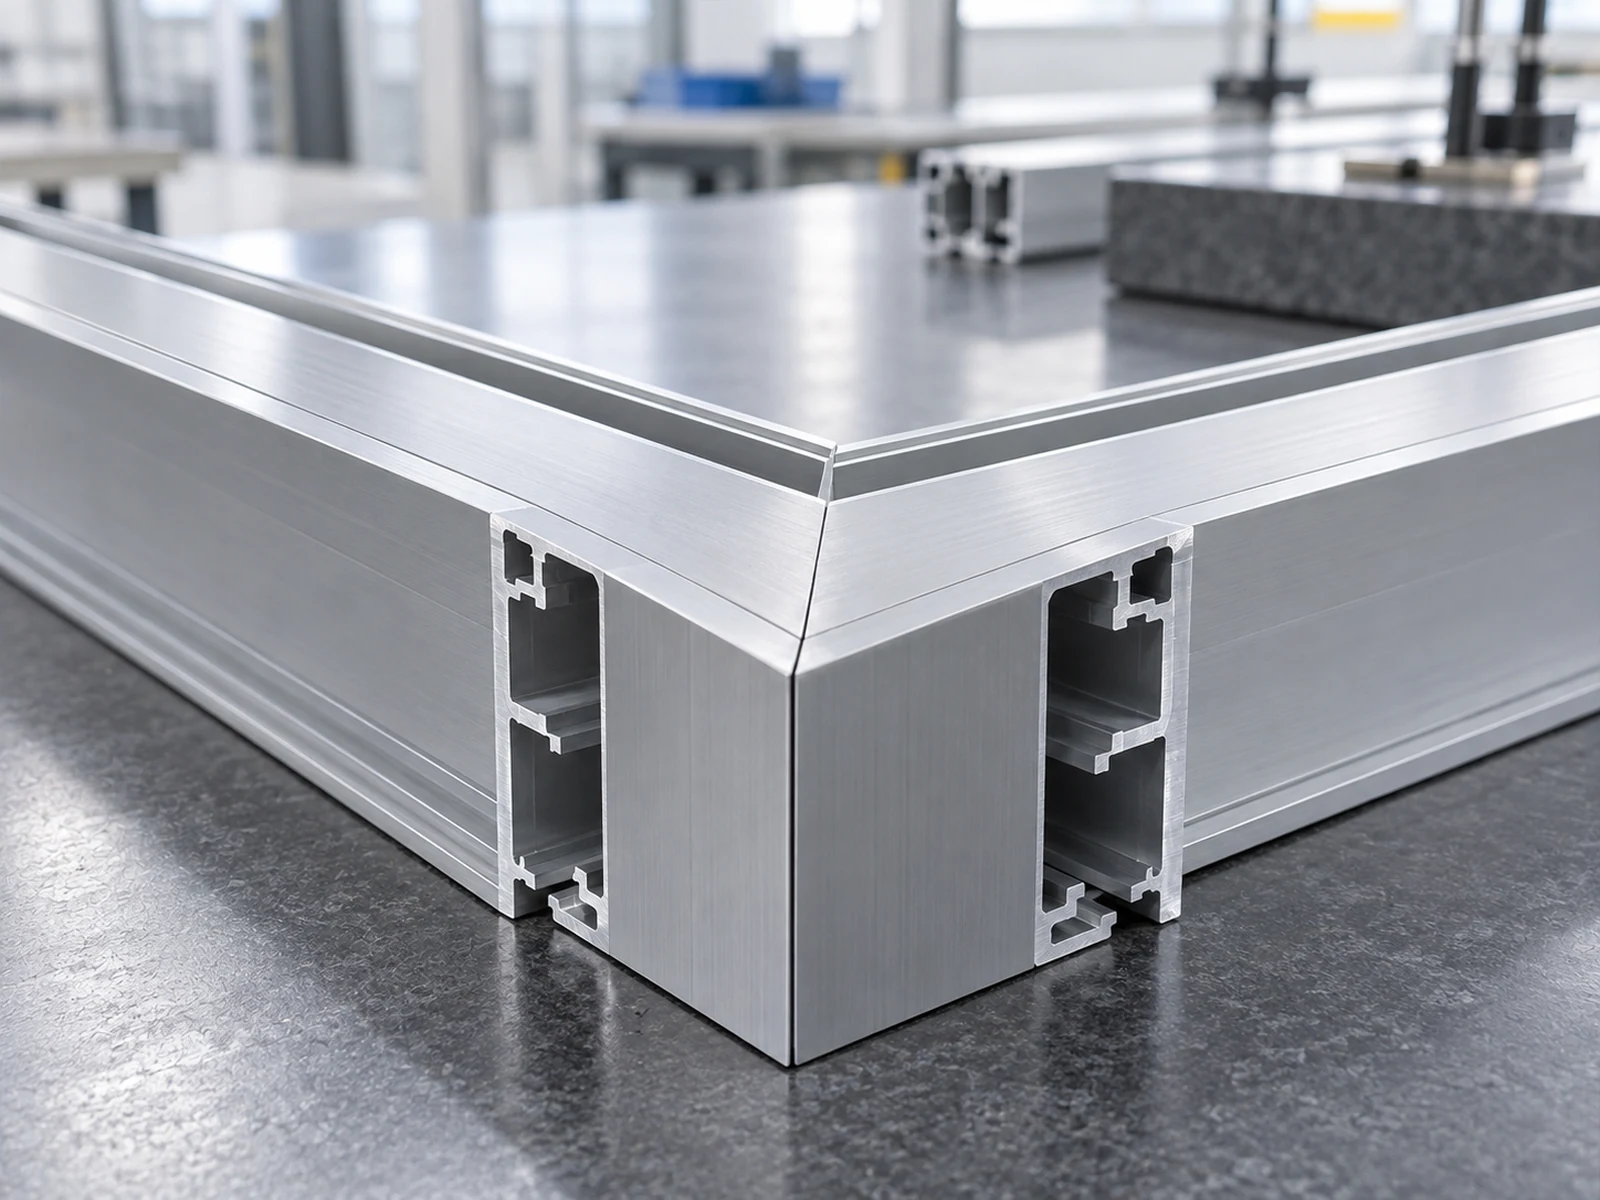
First identify the actual joint: a straight termination, a two-way outside corner, or a three-way outside corner where two horizontal runs meet a vertical one. Then identify the approved profile family and whether its supplier offers a matching corner piece. A three-way detail cannot be reduced to “three 45-degree cuts” without checking the chosen system. The anchoring leg, visible reveal, joint spacer, and accessory may all change the required end shape.
For example, the Schluter FINEC-AC product instructions describe a prefabricated three-part external corner set. Their sequence places the left, right, and lower corner pieces first, then cuts the straight profiles to the required lengths. That is a strong reason to confirm corner-set availability before ordering a batch of precut lengths. It does not mean every FINEC variant or another brand uses that same kit.
The Schluter US wall and countertop profile data sheet illustrates a different instruction for aluminum FINEC at a three-way external corner: two upper profiles meet at 45 degrees, while the adjoining lower profile is cut to size and its anchoring leg and spacer are trimmed as shown in the manufacturer drawing. The same document lists matching corner accessories for some other profile families. These are product-specific paths, not interchangeable cutting templates.
Aluminum tile edge trim cutting: define the part before choosing a saw
Record the profile brand and exact product code, material, finish, reveal, nominal height, stock length, and accessory code. Check height against the tile thickness and format in the manufacturer’s current instructions. Do not assume a bare aluminum extrusion with a similar silhouette can replace an anodized or coated tile trim, and do not apply aluminum cutting guidance to stainless steel stock. Also confirm whether the order is for finished installation pieces, straight blanks to be trimmed on site, or a manufacturer corner kit plus straight runs.
Mark each run on a plan. For every length, identify the measuring datum: overall installed dimension, visible face, inside corner, or outside corner. Record whether an end will be concealed by a corner piece, form a visible miter, or terminate against another finish. For a repeated project, make one approved sample of each end condition and label it with its drawing revision. A number without its datum and end condition is an invitation to cut a consistent batch incorrectly.
Keep finish and handling requirements on the cut list. A saw can produce the specified length while still scratching a visible coated face. A sample review should cover the face, cut edge, accessory fit, and dry-fit assembly under the same orientation intended for installation.

Cutting and edge checks for an approved aluminum profile
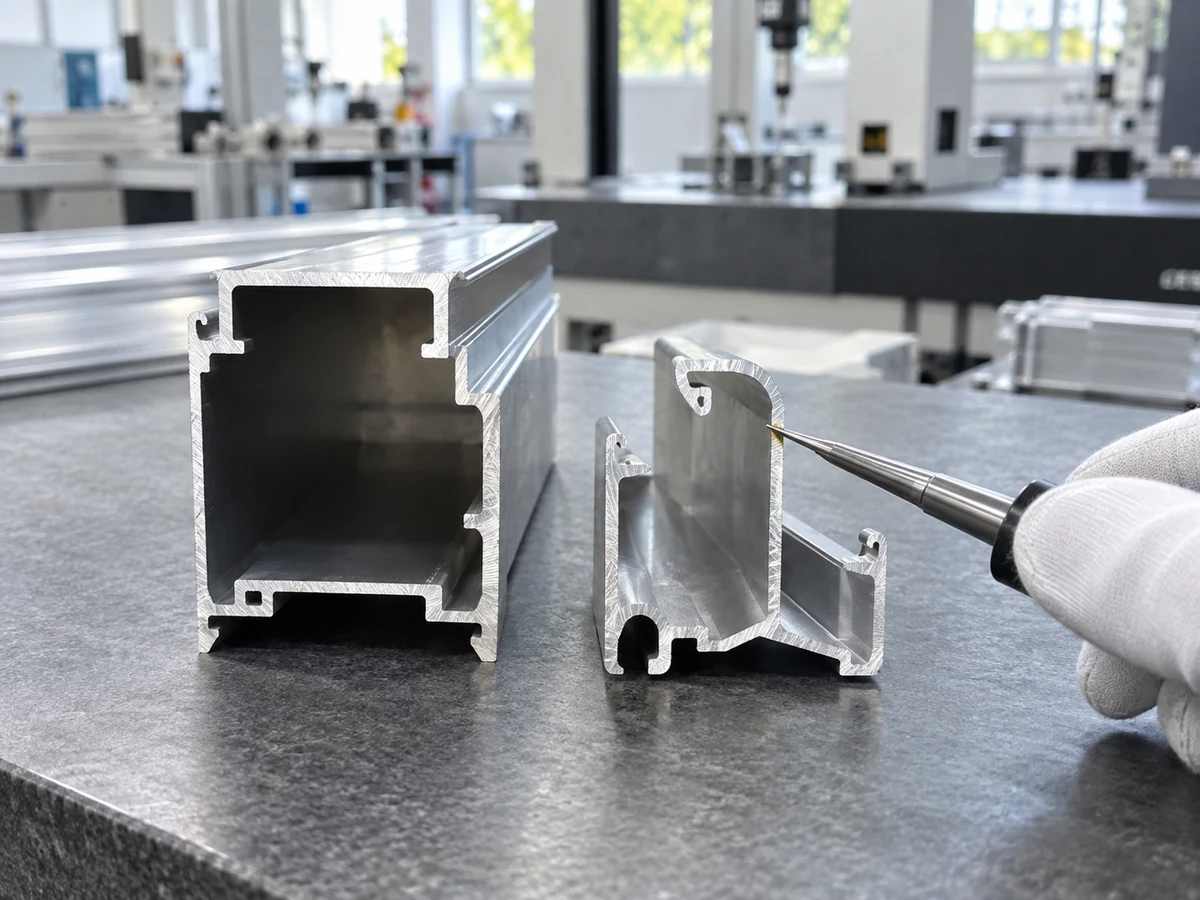
Once the supplier has authorized cutting the specific aluminum profile, follow its tool and safety instructions. Schluter’s wall-profile data sheet calls for careful measurement and dry fitting of profiles, corners, and connectors before setting tile. For its aluminum profiles it lists a fine-tooth bimetal hacksaw, a specified low-speed grinder and wheel, or a chop/miter saw with a non-ferrous blade. It also directs the installer to remove burrs before installation. Those options describe that manufacturer’s profiles; the correct blade, workholding, and finish protection for another profile require their own approval.
For repeatable shop work, clamp a sample without crushing its thin anchoring leg or marking the reveal. Establish which face bears on the stop and which end carries the length datum. Check the first cut against a gauge and the actual corner or connector. If the section moves in the clamp, the length and angle can be repeatable at the machine yet wrong at assembly. Document the accepted support and orientation before releasing a run of blanks.
After cutting, inspect the visible face in ordinary light, the end geometry, the anchoring leg, and any spacer or connector engagement. Remove burrs by the method allowed for the finish and confirm that deburring has not stripped the coating or changed a mating edge. Keep a rejected sample as a clear reference if the issue is hard to describe in a purchase order. Do not call a clean cut “installation approved” until the exact profile and accessory have been dry-fitted under the manufacturer’s sequence.
When to order a corner kit, field lengths, or factory-cut blanks
- Order the OEM corner kit when the selected system requires or supplies one for the detail. Check the part number, finish, and installation sequence before calculating straight-run lengths.
- Leave lengths for field cutting when substrate and tile buildup make final dimensions uncertain, or when the installer must dry-fit around finished surfaces. Protect extra stock and specify how offcuts and finish damage will be handled.
- Request factory-cut blanks when the straight runs are repeated and drawing-controlled. Define the end datum, tolerance, quantity by length, finish protection, labeling, and sample acceptance. Keep any final fit adjustment with the installer unless the supplier has an approved drawing for it.
For aluminum tile edge trim cutting at volume, a useful quotation package includes the OEM profile sheet, an annotated corner drawing, tile thickness, finish, quantities by cut length, required end treatment, photos of mating parts, and the person who will approve a first article. Ask whether the supplier is supplying an OEM system component or only cutting customer-approved aluminum blanks. This prevents a cutting quotation from being mistaken for installation-system approval.
Where an aluminum cutting machine fits
An aluminum profile saw can help with controlled, repeated straight or angled cuts after the profile maker’s instructions and the project drawing establish the geometry. Machine selection then depends on the actual section, finish protection, cut length range, angle schedule, workholding, and output requirement. A demonstration on another aluminum section cannot prove that a particular tile profile, accessory, or finish has been validated. For related thinking about how profile shape and a miter affect a saw setup, see our snap-frame aluminum profile cutting guide; its frame application is a separate example.
Send an RFQ that separates the system decision from the cut
For aluminum tile edge trim cutting, before requesting a machine or cutting quote, state which exact profile and accessories the tile-system supplier has approved, and attach the marked drawing and a physical or dimensioned sample. State whether you need installation-ready pieces or merely straight blanks for a later field dry fit. We can then discuss a cutting setup around the actual aluminum section and acceptance criteria, without substituting a generic miter for an OEM corner detail. Contact JiurunCut with the profile and cut schedule.
Source note: Manufacturer examples are from the linked Schluter FINEC-AC page and the current US wall and countertop profile data sheet. Confirm the edition, region, product code, and site conditions with the profile supplier and installer before using them on a project.