
Aluminum thread galling involves adhesion between contacting thread surfaces and can lead to seizure or damage during assembly. When a joint binds unexpectedly, stop treating it as a normal tightening step. Identify the mating parts and approved assembly condition, preserve the evidence and ask the responsible technical team to establish the cause.
A tight screw alone does not confirm galling. Thread identity, alignment, contamination, damage and the assembly specification all need review. Four checks help a buyer coordinate that investigation and agree a supported prevention plan.
Separate the observation from the diagnosis
- Record what happened and which parts were involved.
- Review the complete joint and assembly condition.
- Approve any lubricant or process change before reuse.
On this page
Aluminum thread galling: describe what happened
Bossard’s galling overview identifies aluminum among the materials affected. It describes seizure associated with friction and adhesion between mating thread surfaces. This gives the term a specific meaning beyond a general report of a difficult assembly.
Write down the observed sequence. Did resistance appear at the first engagement, during tightening or during removal? Identify the part, fastener and assembly operation. Separate what the operator saw from the cause that still needs technical confirmation.
Record any visible damage through an appropriate inspection. Include photographs with clear part identity and orientation. Preserve the relevant components and information needed by the investigation rather than replacing the evidence with a short description such as “bad thread.”
Do not continue forcing a joint because the planned torque has not yet been reached. Follow the approved stop-and-review procedure and route the concern to the responsible personnel. Repeated attempts may change the evidence and leave the final condition unclear.
| Observation to record | Question to resolve |
|---|---|
| Unexpected resistance at initial engagement | Are the thread identities, alignment and entry condition correct? |
| Binding during tightening or removal | What damage or material adhesion does inspection establish? |
| Different behavior after a process change | Which part, finish, lubricant or assembly condition changed? |
These are investigation prompts, not a diagnostic chart. The same reported symptom can leave several explanations open. Keep the cause unconfirmed until the technical review provides a basis for it.
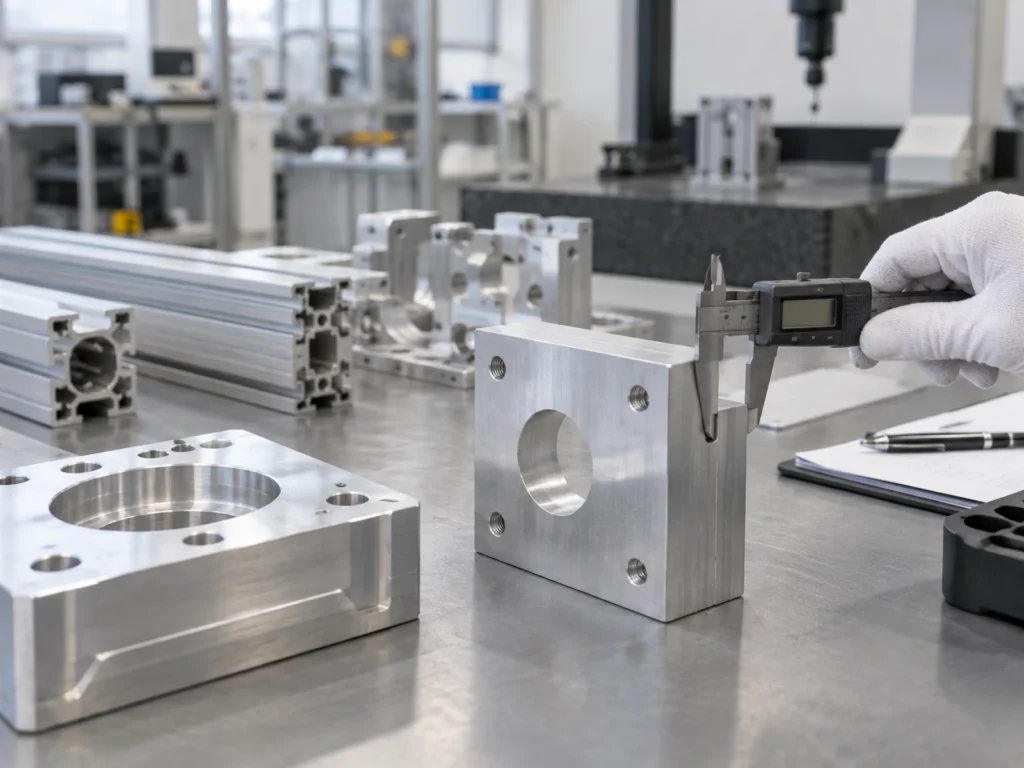
2. Identify both parts of the joint
Give the reviewer the complete thread callout for each mating component. Include the size, pitch or threads per inch, thread form, applicable fit requirements and relevant drawing revision. Do not reduce the description to the fastener’s nominal diameter.
Identify whether the internal thread is machined directly in the aluminum, formed by the specified process or provided through an insert or separate nut. Include the component and fastener product references. These configurations require their own approved assembly information.
Record the aluminum alloy and condition from the part specification. Identify the mating fastener material, finish and any supplied treatment from its documentation. Appearance alone should not be used to assign a material or coating.
Ask whether the delivered parts match the approved combination. Check the batch references, drawing changes and any substitution. If the fastener vendor or finish changed, include that change explicitly in the investigation request.
For an inserted thread, keep the insert identity and installation approval with the record. Our thread insert purchasing guide covers that component choice. An insert should not be added as an assumed cure for an unexplained assembly problem.
Keep galling review separate from corrosion review. The assembly symptom does not establish the long-term behavior of a mixed-metal joint. Where exposure is part of the design question, request the appropriate materials review as well.
3. Confirm lubricant and finish conditions
Ask which assembly condition the approved instruction assumes. Is the fastener supplied with a treatment? Is a named lubricant required or prohibited? Is the specified tightening procedure written for that exact condition? Obtain the current instruction before proposing a change.
Do not select an anti-galling product from its name alone. Check the manufacturer’s permitted materials, application limits and relevant product documentation. Give the responsible engineer the actual joint and service conditions when requesting approval.
A concrete example appears on page 5 of Swagelok’s lubricant catalog: Pure Goop carries a warning against use on aluminum or magnesium threads, while Blue Goop lists aluminum among its stated materials. These are different products. The listing illustrates a compatibility check; it is not approval for either product on your assembly.
Ask the technical team to confirm the complete assembly procedure when lubrication changes. Do not retain a tightening value simply because the fastener size stayed the same. Keep the approved condition and its instructions together in the released process.
Include cleaning and finishing history in the review. Identify the state of the part when the thread was made, finished, cleaned and assembled. Ask which surfaces or treatments are relevant to the approved joint rather than inferring their effect from a finished-part photograph.
State any product cleanliness or downstream-process constraints. A housing, visible frame and component intended for a controlled assembly environment may have different requirements. The specified lubricant or treatment needs review against the actual application.
4. Agree the investigation and release decision
Assign a technical owner for the cause review and a clear responsibility for parts disposition. Purchasing can gather documents and coordinate the supplier response, while the responsible engineering or quality team decides the required investigation and acceptance basis.
Ask what inspection will distinguish the possible causes. Identify the samples to be examined and the records to retain. A conclusion should describe its evidence and scope, including any items that remain unresolved.
If a corrective change is proposed, record it precisely. Name the changed part, finish, lubricant, inspection or assembly instruction. Ask how the change will be reviewed using representative components and the agreed requirements.
Keep a successful individual assembly separate from a production release. Define the review quantity, part conditions and records needed for the actual decision with the responsible team. This article does not prescribe a universal sample count or validation method.
For any damaged or seized component, request an approved disposition. Do not assume that removal, retapping or another repair returns it to the original drawing condition. Our rework review guide explains how to keep a proposed repair tied to an explicit approval.
A useful investigation note
Prepare a short note that someone outside the assembly area can understand. Begin with the part and fastener identity, drawing revision and batch references. Add the observed stage of binding and the condition of the components before the operation.
Attach the relevant assembly instruction and product documentation. Identify the lubricant or supplied treatment, tool information and any recent change. State which records are available and which facts still need confirmation.
End with a specific request: assess the cause, propose the necessary investigation and identify the approved disposition. Avoid assigning blame or naming galling as a confirmed failure solely from the operator’s description.
For example, a fictional note might say that resistance was reported during tightening after a fastener substitution. The note should request a review of the actual mating parts and assembly condition. It should not claim a confirmed material-adhesion mechanism or a successful corrective trial.
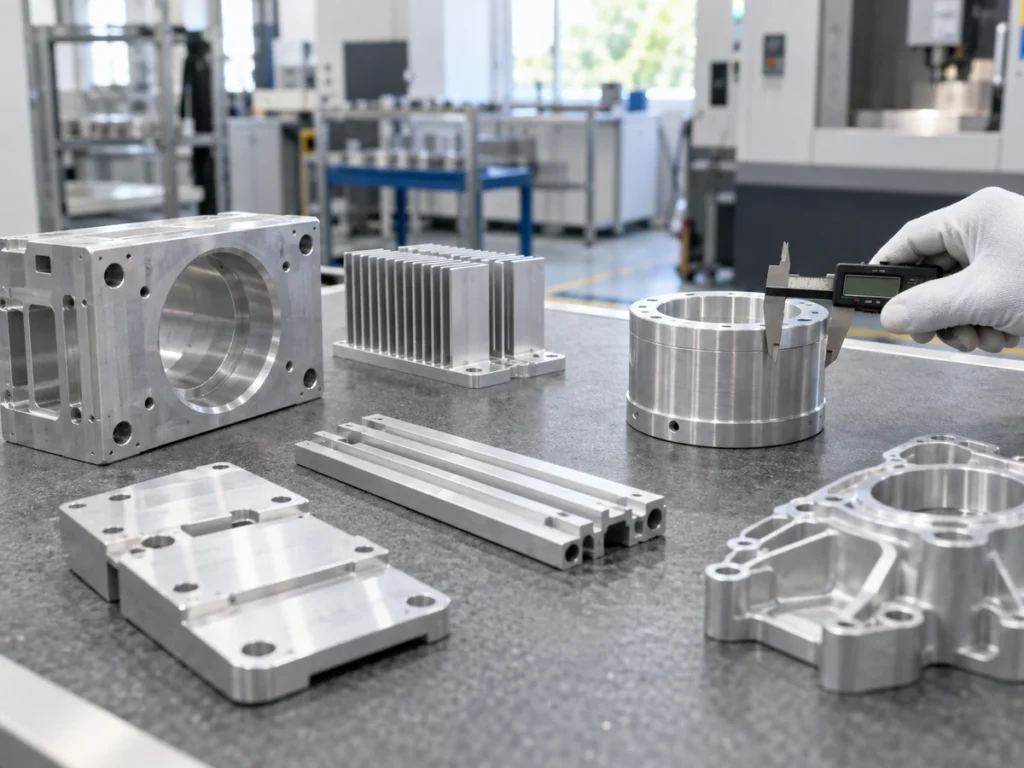
Connect the review to part preparation
For cut and machined aluminum parts, keep the finished-part reference and drawing revision connected to the thread operation. Identify the required end face, hole location and subsequent process sequence. A cutting dimension and a finished thread requirement describe different characteristics.
Use the extrusion end-tapping guide to organize the thread definition and process handoff. Confirm who supplies the threaded feature and who approves its assembly condition.
When discussing aluminum blanks with JiurunCut, provide the profile drawing, cut lengths and downstream operations. Send the cutting and assembly requirements so the part-preparation scope can be reviewed. Thread-failure analysis and fastener approval remain tasks for the responsible technical team.
Buyer questions
Does every tight aluminum thread mean galling?
No. Describe the symptom and request an assessment of the actual parts and assembly condition. Unexpected resistance alone does not establish the cause.
Can I use any anti-seize product on aluminum?
No. Check the exact product’s material restrictions and request approval for the actual joint. Products with similar purposes can have different permitted applications.
Should we increase tightening force when a joint binds?
Follow the approved stop-and-review procedure. Unexpected binding should be assessed rather than treated as a normal step toward the planned tightening value.
Will an insert automatically solve aluminum thread galling?
No. An insert changes the joint configuration. Have the responsible technical team establish the cause and review the proposed component and assembly procedure.