
An aluminum saw blade mounting torque is only useful when its source is clear. A nut that feels tight, a value copied from another saw, or a number inferred from blade diameter does not establish that a specific arbor assembly has been clamped as its maker intended. Before an aluminum cutting line restarts after a blade change, the installer needs the applicable machine instruction, a sound mounting stack, and a first-off cut that meets the job’s acceptance criteria.
Where aluminum saw blade mounting torque is specified
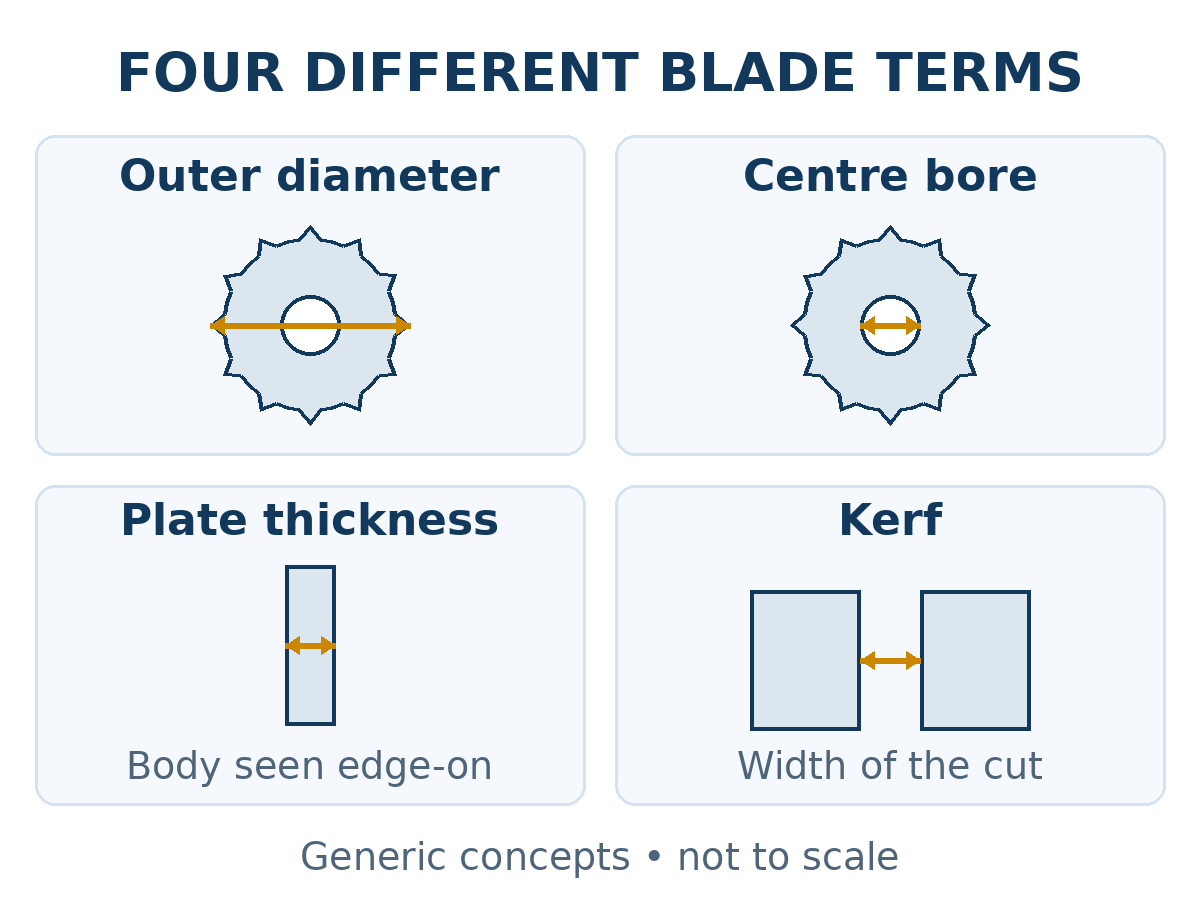
Start with the saw’s model and serial number, its current manual or service instruction, and the exact blade clamping arrangement. The aluminum saw blade mounting torque may depend on the arbor fastener, flange design, thread and surface condition, and any machine-specific procedure. A blade catalog can tell you about bore, outside diameter, kerf, plate thickness, teeth, and speed limits; those dimensions are not a substitute for the saw maker’s clamping instruction.
If the manual is missing, ambiguous, or does not match the hardware in front of the installer, hold the restart and ask the machine supplier or qualified service contact for the applicable instruction. Record the document title, revision, page, fastener identification, and the response that resolves the question. Do not invent a universal newton-metre value for “aluminum blades.”
Freud’s circular saw blade guidance calls for clean, parallel, equal-diameter flanges and for the blade to be locked according to the machine specification before cutting. Leitz likewise directs users to the machine-approved flange and the recommended tightening torque. Those are useful general principles; neither source supplies the missing value for a particular Jiurun machine or another specific saw.
Check the stack before touching the torque wrench
Follow the machine’s isolation and blade-change procedure first. Inspect the blade body and teeth for visible damage, and confirm that the blade’s marked direction, bore, dimensions, and permitted operating speed suit the machine and the task. Inspect both contact faces of the approved flange pair and the seating area. Chips, dirt, oil, water, burrs, damage, or an unapproved sleeve can prevent proper seating even if the fastener reaches a displayed torque.
Do not “correct” a damaged blade by extra tightening. Leitz’s operating instruction says clamping surfaces must be free of dirt, grease, oil, and water, warns against using wrench extensions or hammer blows for tightening, and says cracked or deformed blades must be taken out of use. For an uncertain arbor, flange, or blade condition, get a qualified inspection before restarting.
Make the tightening step traceable
An aluminum saw blade mounting torque record answers a simple question: which instruction did the installer follow on this machine today? Keep the record short enough to be completed at the saw. It should identify the machine and blade, the approved instruction and revision, the relevant fastener and specified condition, the torque tool and its current calibration status, the installer, and the time. If the machine instruction calls for a sequence or staged tightening, record that procedure too. The sequence cannot be assumed from a different machine.
“Tightened firmly” is not a measurement. Nor does a torque reading alone prove that the flange faces were clean or that the correct blade was fitted. Record the physical checks separately from the number. If the specified condition is unclear, for example whether a thread is to be dry or lubricated, stop and clarify it rather than changing friction by guesswork.
Four items on the release record
- Instruction: Saw model and serial number, instruction title, revision, and page.
- Blade and stack: Blade marking and dimensions, plus flange and seating inspection.
- Tightening: Applicable value or procedure, fastener condition, torque tool ID, and installer.
- Restart: First-off sample, measured criteria, disposition, and reviewer.
Use the first-off cut to decide whether production may resume
After reassembly, follow the saw maker’s guarded restart procedure. Observe abnormal sound, vibration, visible wobble, or other signs that require a stop. Check the first-off aluminum part against the job’s accepted length, squareness or face condition, burr limit, and any downstream fit requirement. Record the actual observations and who released the line. A clean mounting record and an accepted part answer different questions; both matter.
A wavy face or changing burr does not automatically prove that the blade is loose. Leitz’s troubleshooting material lists several possible causes of saw wobble and poor cut quality, including flange contamination, spindle or bearing issues, blade condition, and tool wear. Do not keep retightening by feel to make a symptom disappear. Hold the part and investigate the cause with the machine-specific procedure.

The video below shows a Jiurun aluminum cutting saw as equipment context for a guarded cutting workflow; it does not demonstrate blade replacement, a torque value, this article’s mounting procedure, or a verified first-off result.
What to ask when the number cannot be found
Send the saw supplier the machine model and serial number, a photo of the blade and arbor markings, the flange and fastener arrangement, and the manual page currently being used. Ask which approved instruction and revision apply, whether any hardware variant changes the procedure, and how the restart should be checked. For a production decision, add the aluminum profile drawing or cross-section and the accepted cut-face and length criteria. This lets the supplier answer the actual installation and process question without guessing from a blade photo alone.
For a Jiurun saw, contact Jiurun with those details for a machine-specific review. Keep the line on hold until the correct instruction and an accepted first-off part support release.
References
- Leitz circular saw blade operating instructions — clamping surfaces, approved flange, tightening practice, damaged blades.
- Freud circular saw blade catalogue — flange condition and locking to machine specification.
- Leitz sawing troubleshooting guide — multiple possible causes of wobble and cut-quality faults.