
An aluminum profile bending RFQ should define the finished curve and the section’s orientation. Include the complete profile drawing, material condition, curve reference, end requirements and inspection plan. Ask the forming supplier to confirm the starting blank and process feasibility before releasing a cutting length.
A picture of a curved part is a useful reference, but it is not enough to quote a repeatable finished component. Turn the intended shape into dimensions and clear operation boundaries.
Prepare two related documents
- The finished-part drawing defines the curve and accepted interfaces.
- The approved blank instruction defines the material sent to forming.
- Keep both linked to the same part identity and revision.
On this page
Aluminum profile bending starts with the finished shape
Show the required curve on a dimensioned drawing or controlled model. Identify the reference used for the radius: the centerline, an inside surface or an outside surface. If the part has more than one curve, identify each region and its relationship to the others.
For an arc, include the dimensions needed to locate its ends and connection points. For a changing curve, provide the controlled geometry rather than describing it only as “a smooth bend.” Keep the agreed units and drawing revision on the request.
Also state whether the part lies in one plane or changes direction in space. Include a view that makes the intended orientation clear. A flat elevation cannot explain an unshown three-dimensional offset.
Hydro’s forming overview describes roll bending, rotary draw bending and stretch forming, including different curve and section applications. Its published capabilities are specific to its operations. They do not establish a universal minimum radius or a JiurunCut forming capability.
Ask the forming supplier to review the actual geometry and propose a suitable route. Do not choose a method from the process name alone or transfer a published machine limit to an unreviewed profile.
Detail 2: orient the cross-section on the curve
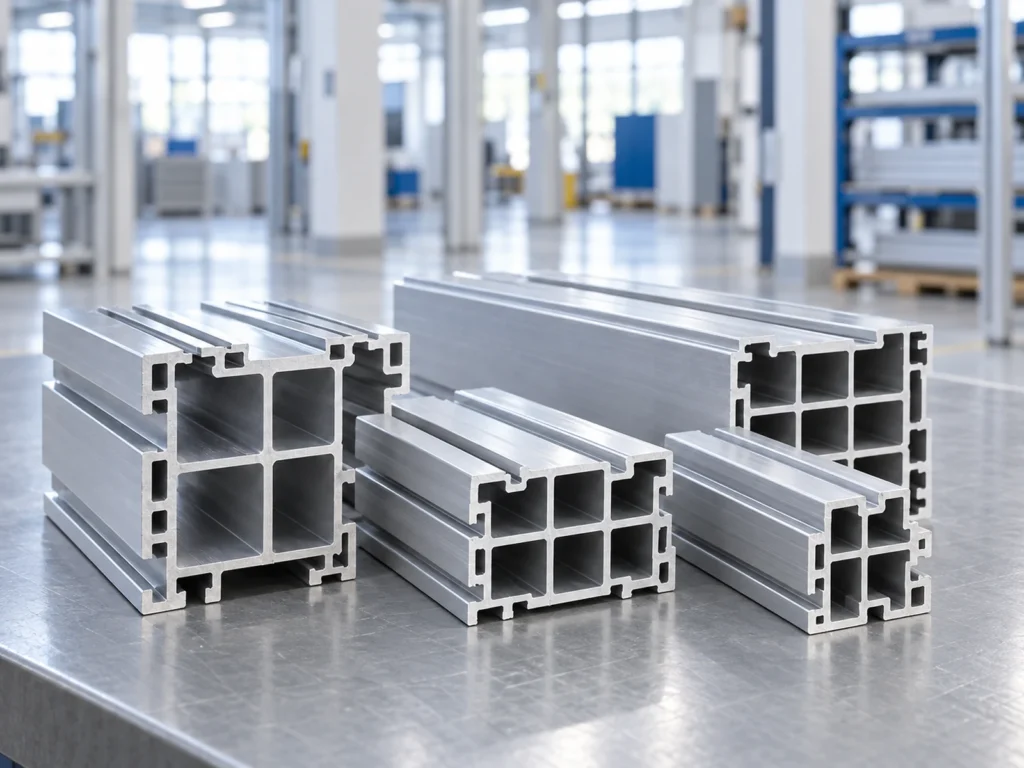
Attach the complete cross-section, including walls, webs, slots and projecting features. Mark which face points toward the inside of the curve and which face remains visible after installation. For an unequal or asymmetric section, this orientation is part of the component definition.
Use a section view at a marked position on the finished-part drawing. Name an orientation reference, such as a particular slot or flange, so the drawing and sample can be compared consistently. Avoid relying on “top” when the part may be rotated during production.
For hollow sections, show the internal geometry rather than providing only the outside width and height. The forming supplier needs to evaluate the whole section and any relevant tooling or support requirements. A shared outer envelope does not make two internally different profiles equivalent.
Review slots, screw ports and other functional features after forming. State which interfaces must remain usable and how they will be accepted. Keep those requirements on the finished-part drawing rather than assuming that a good-looking curve proves every feature is acceptable.
Detail 3: specify the material condition and finish route
State the approved alloy, temper and product specification. Identify the condition supplied to the forming operation and the condition required at delivery when these are separately defined. Resolve proposed material alternatives through the responsible design review.
Custom Profiles’ bending overview identifies alloy and temper as important to bending success. It also describes multiple forming methods. This supports providing the full material requirement instead of treating all aluminum extrusions as interchangeable forming stock.
Do not approve a substitute because it is easier to obtain or because its straight-section dimensions match. Ask the forming supplier and responsible designer to review the supplied condition and the intended finished component.
For background on temper descriptions, see T5 versus T6 purchasing checks. A temper label still does not establish a bendability guarantee for every section, curve and process.
Put the finish sequence in the RFQ. State whether forming is planned before or after the specified surface treatment and identify visible faces. Ask the finisher and forming supplier to confirm the approved route and acceptance requirements rather than assuming an undamaged finish.
Detail 4: obtain an approved starting blank
The finished curved-part dimensions and the starting straight blank describe different production stages. Ask the forming supplier to provide or approve the blank length and any extra material required by the selected process.
Do not release a cutting instruction by copying one overall dimension from the finished drawing. The supplier should identify end allowances, gripping requirements and later trimming within its reviewed process plan. This article does not provide a universal allowance or blank-length formula.
Clarify who trims the ends after forming and who creates holes or threads. If those features are located from the finished curve, the operation sequence and inspection reference need to be agreed. Keep pre-forming and post-forming requirements distinct in the purchase documents.
When a blank instruction changes, use a controlled revision. The guide to cut-list revision control explains how to keep the released cutting data aligned with the approved production requirement.
Detail 5: define how the curved part will be accepted
List the finished features that matter to fit and function. These may include curve geometry, endpoint locations, section orientation and the connection interfaces. State the tolerances from the approved drawing; do not replace them with a general claim of precision.
Agree how the part is supported and referenced during inspection. Name the surfaces or fixture references used to locate it. A supplier and buyer should not evaluate the same component from different, unstated reference arrangements.
Separate dimensional acceptance from appearance acceptance. Identify visible surfaces and the agreed criteria for handling or tooling marks when relevant. Include any required sample approval and record who can release the production route.
| RFQ document | What it needs to resolve |
|---|---|
| Finished drawing | Curve, section orientation, ends and functional features |
| Material requirement | Alloy, supplied condition and approved finish route |
| Blank instruction | Starting length, allowances and operation ownership |
| Acceptance plan | Inspection references, criteria and release authority |
Use the agreed sample or first-article stage to resolve open features before routine supply. A sample’s acceptance should reference the drawing and inspection plan. The separate first-article inspection guide provides a documentation framework.
Resolve an ambiguous RFQ before comparing prices
Illustrative example: RFQ B27, revision A, shows a curved display rail and a rectangular cross-section. It names a radius but does not show which section face follows the curve. It also requests straight blanks using the finished part’s overall width. This is a fictional purchasing example, not a completed forming project.
The buyer first adds the missing section orientation and radius reference. The forming supplier then reviews the geometry and returns the proposed starting blank and operation sequence. The responsible reviewer approves those details before the cutting request is released.
Each offer can now identify the same stage of supply: straight blanks, formed parts or finished components with trimmed ends and holes. Compare prices only after identifying those scope differences. An apparently cheaper offer may simply include fewer operations.
Prepare the cutting handover
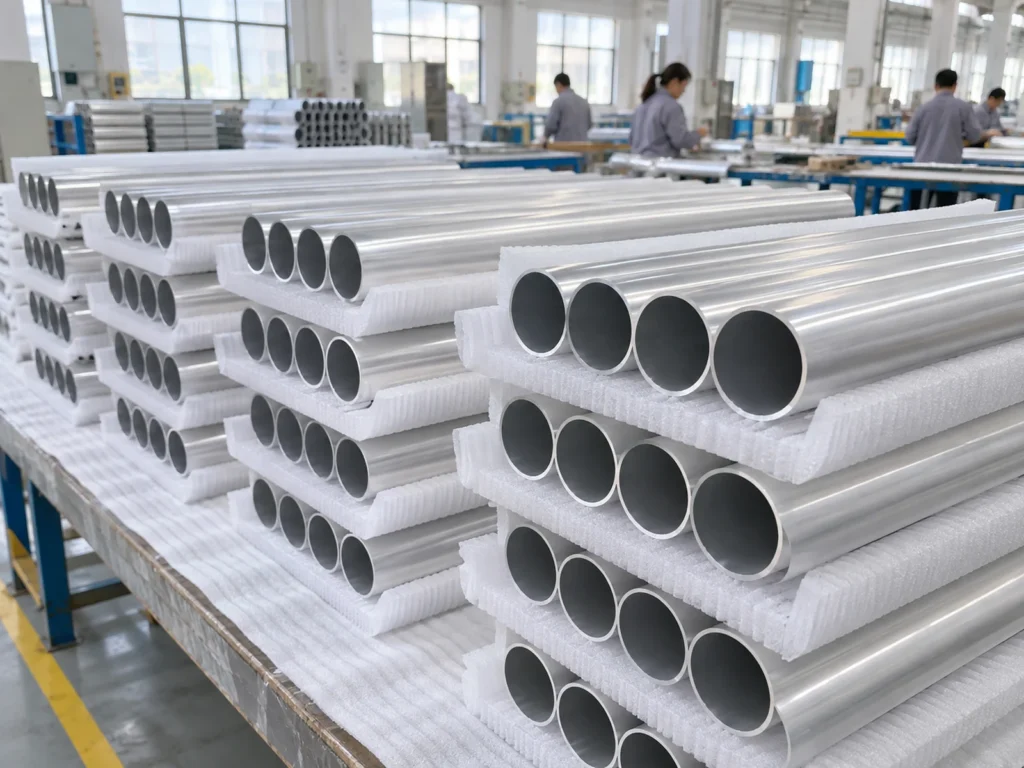
Send the approved profile section, material condition, blank length, quantity and handling requirements. Attach the forming supplier’s blank instruction where it controls the starting length or end condition.
State whether the cutting order ends at delivery of straight blanks or includes another approved operation. Identify how part numbers and revisions will remain connected to the forming documents. Protect surfaces according to the agreed handover requirements.
Send JiurunCut the profile and approved cutting requirement to discuss the blank-cutting stage. Curving-method selection and final forming approval need the responsible forming supplier’s review; a cutting-machine discussion does not establish those capabilities.
Buyer questions
Is aluminum profile bending the same as miter cutting?
Bending creates a curved member through forming. Miter cutting creates angled end faces for joining. State which finished geometry and operation you need.
Can I choose a blank length from the finished drawing?
Use the starting blank approved for the forming process. Do not substitute a finished overall dimension for an unreviewed cutting instruction.
Does a standard tube or section have a universal minimum bend radius?
The actual material condition, section geometry and process need review. A capability figure for one supplier or product does not approve every profile.
Can the pictured straight profiles confirm bendability?
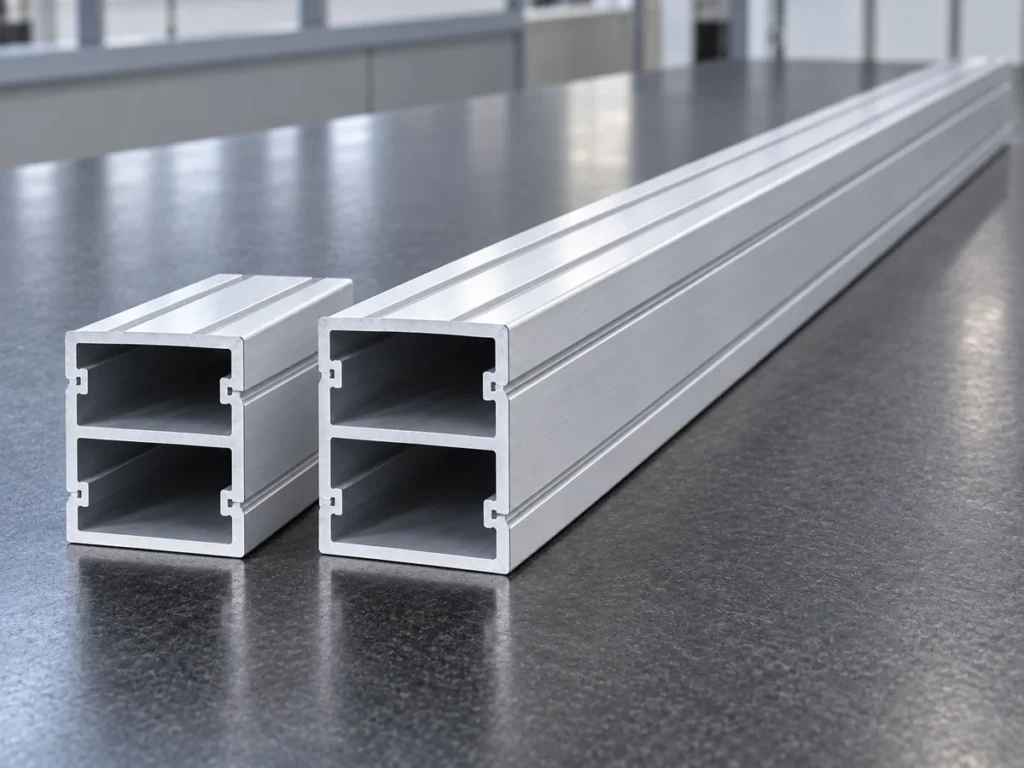
No. They illustrate stock and section geometry. Feasibility and acceptance require the actual drawing, material condition and forming review.