
A profile can leave the saw with a good cut face and still arrive at the next station with a new scratch. One possible route is saw blade swarf carryover: loose aluminum fragments stay on or near the blade and cutting chamber, then fall where a finished face meets a roller, guide, another profile, or packing surface. The mark may be discovered later than the cut that released the fragment.
That timing matters to a buyer. A photograph of a clean end face does not establish clean handling after the cut. The useful acceptance question is whether the agreed profile, finish, blade, extraction setup, and outfeed route deliver a clean part at handoff through a realistic run.
Saw blade swarf carryover: follow the chip after the cut
Start by separating three locations. A fragment may remain in a tooth space or on a blade face; it may collect inside the guard or at the chamber exit; or it may settle on the outfeed support and move with the next part. These are different observations and may need different remedies. An operator should not infer blade adhesion merely because a mark appears after sawing.
Blade makers acknowledge the mechanism. Kanefusa describes a nonferrous saw blade designed to reduce swarf left on the blade and scratches from falling swarf during subsequent transport. Freud describes chip adhesion and evacuation as design concerns for its aluminum and PVC profile blades. Those are statements about the makers’ own products and test conditions. They are a reason to inspect this route, not proof that any Jiurun machine, blade, or customer’s profile will achieve the same result.
Find the first point where the finish changes
Use a representative length of approved stock. Identify the visible face, protective film status, and existing marks before the trial. After a normal guarded cut, compare the same face at three defined points: at the saw exit, after the outfeed rollers or support, and after the normal handoff to the next operation. Photograph the same area under consistent light, with part orientation and sequence number visible in the record.
If the face is clean at the exit but marked after the rollers, inspect the support contact and any loose fragments on that route. If the mark appears before the part reaches the support, look at the guarded cutting-zone exit and blade return path. If the part is clean until stacking or packing, investigate that later contact instead. This sequence avoids blaming the blade for an infeed scuff, clamp impression, or transfer scratch.
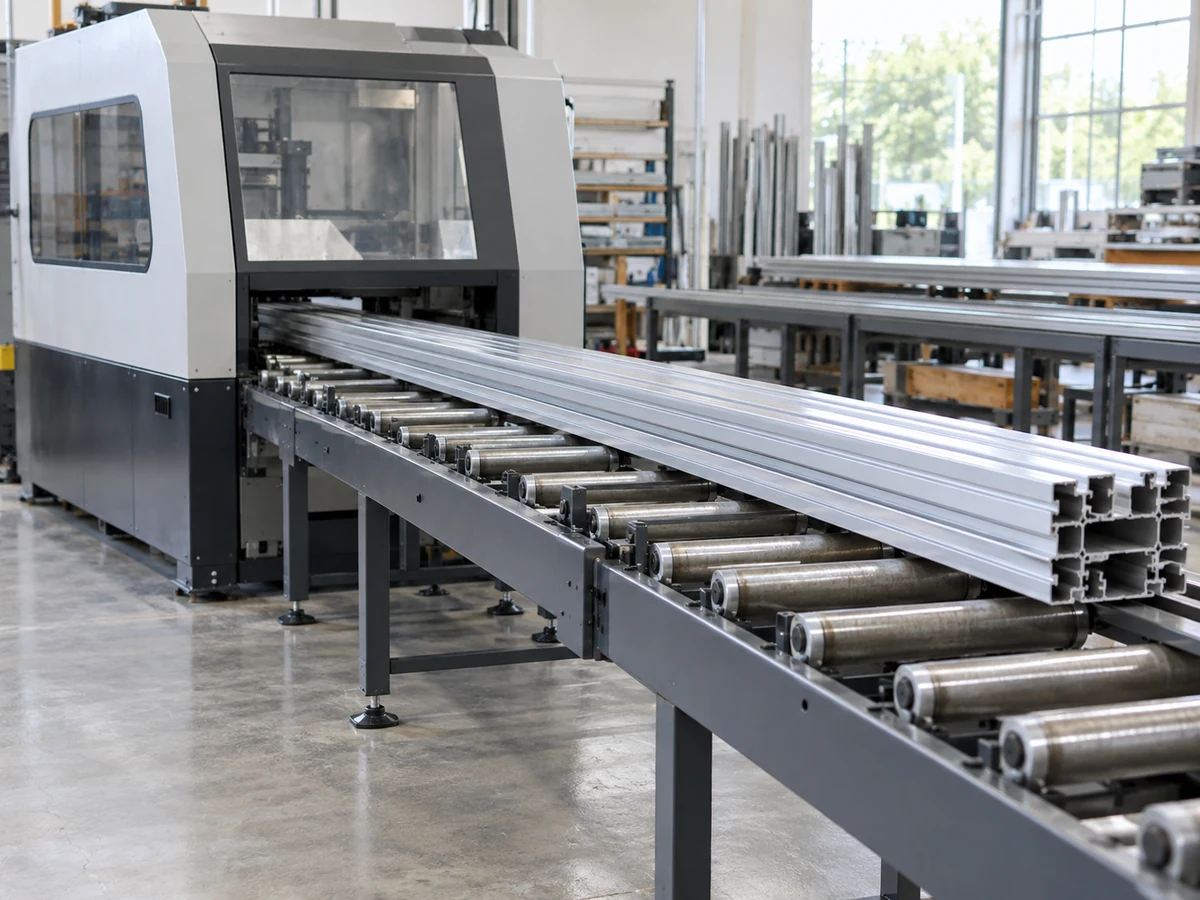
Make the trial survive more than the first cut
A saw blade swarf carryover trial cannot end at an attractive first sample: loose fragments may accumulate during production. Agree on a trial that includes the expected profile section, finish, blade specification, lubricant setting, chip collection arrangement, and handling route. Record both the first acceptable cut and later samples from a realistic continuous sequence. The buyer and supplier should agree on the number of cuts and acceptance limits for the actual job; no universal cut count proves every combination.
- Before cutting: document the stock’s visible face and any film or anodized/coated finish. Keep an untouched reference piece.
- During the run: note chip accumulation only from safe observation points. Record changes in sound, cut face, debris at the exit, and any stop needed for cleaning.
- At handoff: inspect the face and the contact surfaces before brushing or wiping away evidence. Note where loose chips are found.
- After a stop: document the approved cleaning or service action, then compare later parts with the pre-service sequence.
A pass should describe the finished handoff condition, not just blade life or a single burr measurement. Keep blade-maker performance claims separate from the measured result on this exact stock and machine setup.
Separate blade, chamber, and transfer remedies
When the evidence points to carryover, ask the machine and blade suppliers which blade geometry and chip evacuation arrangement are approved for the actual extrusion wall, coating, and cycle. Check whether the selected blade is appropriate for the saw’s diameter, arbor, speed, clamping, and feed range. A different blade cannot compensate for poor outfeed protection, and cleaning the rollers cannot correct debris that repeatedly falls from the cutting zone.
Request a simple chip-path explanation: where fragments should leave the cut, where they are collected, how the cutting chamber can be inspected, and which surfaces can contact the good face after the cut. For long profiles, the roller or support path may be more important than the end face. For short parts, a chute, bin, or manual pickup may be the relevant contact point. Specify the actual route in the RFQ rather than accepting a generic “chip-free” promise.
Treat blade inspection as maintenance work
Do not reach into a running or coasting saw to check for retained swarf. The site’s authorized personnel should use the machine-specific shutdown, isolation, and verification procedure before opening guards or touching the blade. OSHA’s machine-guarding guidance describes isolation and lockout for servicing where safeguards are removed, followed by guard replacement before return to service. Local rules and the equipment manual govern the actual procedure.
During the isolated inspection, record what is actually present at the teeth, blade face, guard interior, exit opening, and adjacent support. A photo of a removed, clean blade is only a reference for geometry; it cannot prove that production swarf adhered to that blade. Preserve the sequence evidence before changing blade, air flow, lubrication, or extraction so the cause is not lost.
Write the acceptance line around the delivered part
A useful purchase or factory-acceptance line names the profile and finish, visible face, length range, blade and operating setup, output route, inspection lighting, allowed marks, sampling points, and what happens if debris reappears after the first clean run. Decide who supplies the approved stock and who retains the marked and unmarked samples. If the saw seller only provides a machine trial, do not silently turn that into a guarantee for coating durability, downstream packaging, or an entire customer’s production line.
The short Jiurun video below shows a guarded semi-automatic aluminum saw and its workholding arrangement. It is an equipment illustration only. It does not show this article’s profile, retained swarf, a controlled scratch trial, or a verified chip-collection outcome.
A clean cut is the start of the evidence
For a finished extrusion, the buyer’s meaningful endpoint is the condition of the part where the next operation receives it. If marks develop later, trace the first point of change, keep the blade and handling hypotheses separate, and repeat the trial after enough production to expose accumulation. Send Jiurun the profile drawing, finish requirement, visible-face map, and handoff route so the proposed saw trial can be scoped to the actual job.