
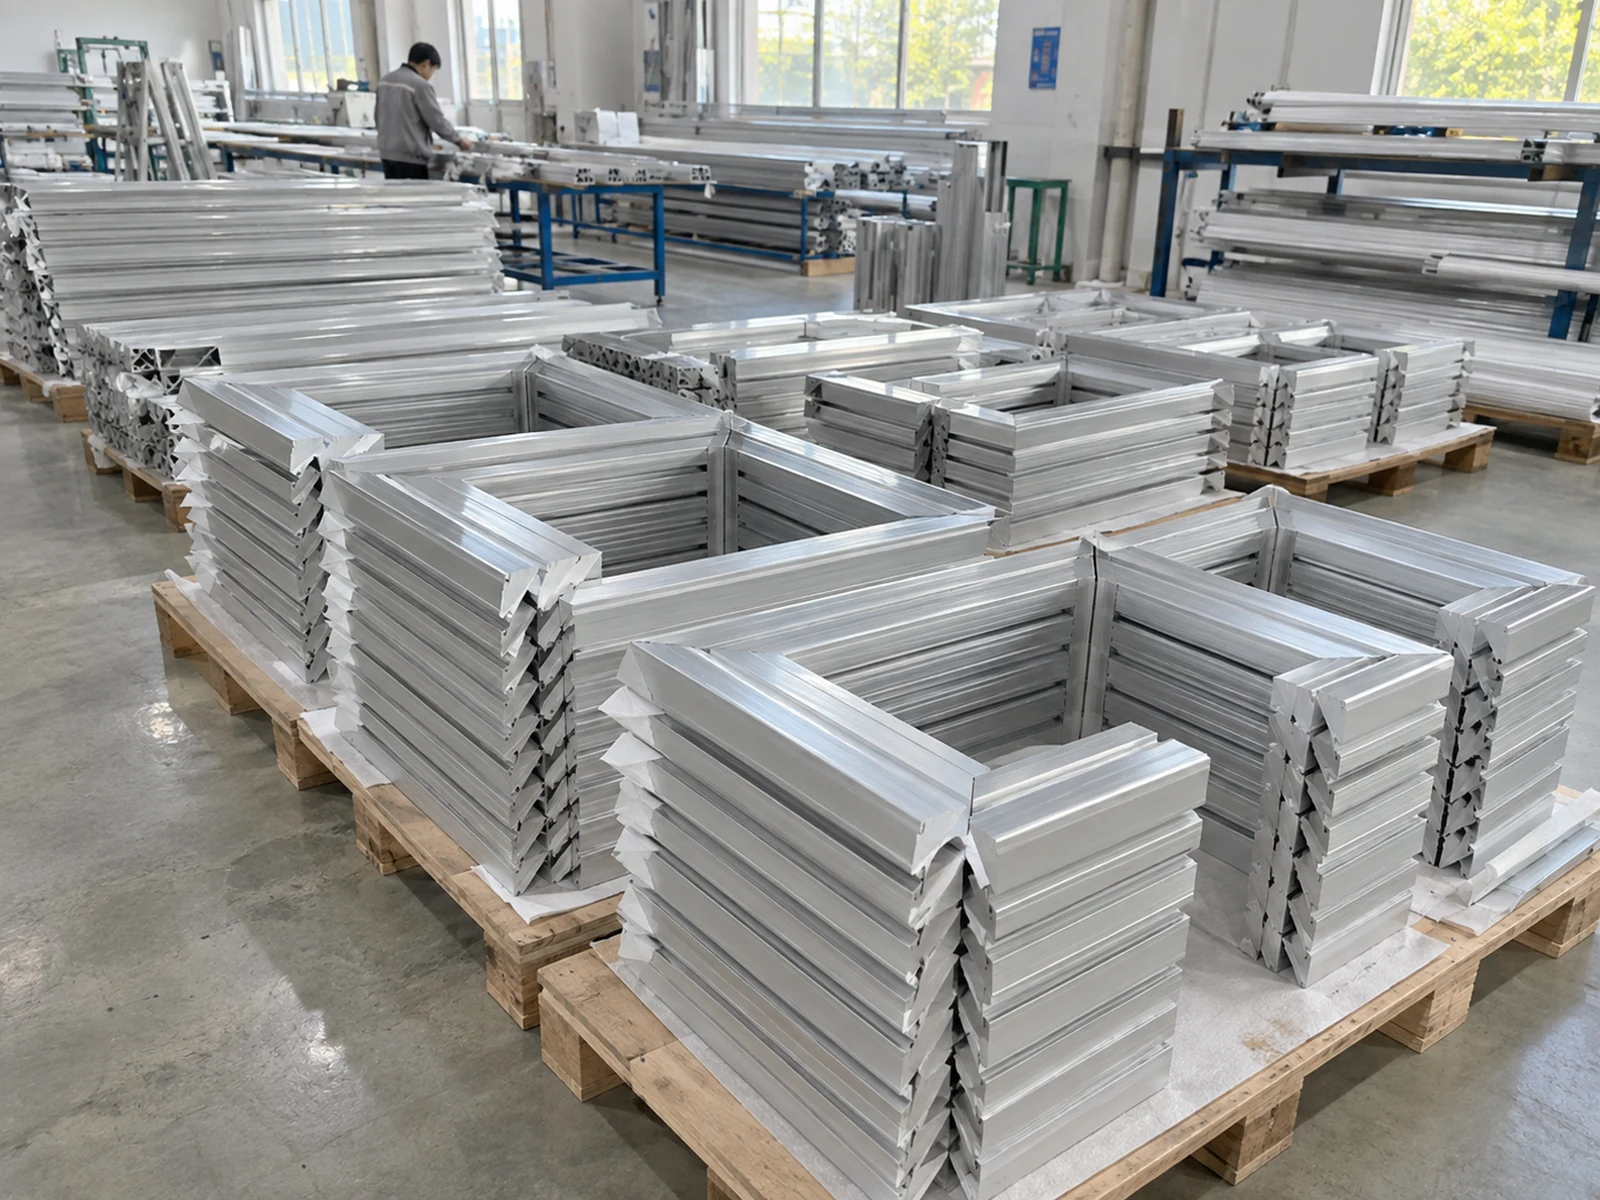
Snap frame aluminum profile cutting is a cut-member problem only after the poster-frame system has been chosen. A snap-open frame combines an aluminum perimeter with a hinged front profile, a back panel and a clear cover. A buyer who supplies only “A3 frame” or “25 mm profile” has not defined the cut length, the opening edge, the corner or the delivered assembly stage. This guide turns the approved frame design into a saw trial and a comparable quotation. The photographs and machine video below are related illustrations, not a trial of a particular poster-frame product.
Snap frame aluminum profile cutting begins with the supply boundary
First decide whether you are buying complete assembled snap frames, a prepared four-member kit, or loose saw-cut aluminum profiles. The completed frame supplier may own the springs, pivot, cover, back panel, corners and mounting hardware. A cut-member supplier may own only the extrusion ends. A quote for these two stages is not comparable until the missing parts and work are priced separately.
Specify the actual manufacturer or approved drawing revision, profile width and depth, anodized or coated finish, stock condition, insert thickness, corner style and opening mechanism. Do not assume every silver aluminum frame is the same section. For example, VKF Renzel’s snap-frame product page describes a mitered aluminum frame with hinged profiles, a cover and distinct poster, outside and visible dimensions. Those figures belong to that product, not to a universal snap-frame cut formula.
Separate poster size, visible area and outside dimensions
A graphic fits into an insert opening, while a viewer sees a smaller area because the front profile overlaps the sheet. The assembled frame extends beyond both. The three dimensions must be labeled separately on the drawing and purchase order. DisplaySepeti’s 32 mm frame schedule, for instance, lists a 210 × 297 mm insert, a 190 × 277 mm visible area and a 254 × 341 mm external size for one A4 product. That example demonstrates the distinction; it is not a dimension to copy into another maker’s profile.
Ask which datum governs the member length: an outer miter tip, inner miter heel, back-panel seat or the manufacturer’s defined stop. The nominal poster size alone cannot set a saw stop. Record horizontal and vertical members separately, and specify whether the end-to-end dimension is measured before or after any corner connector or spring hardware is fitted. If a supplier proposes a different frame section, ask for a revised insert, visible and overall-size schedule rather than silently reusing the old cut list.
Protect the hinged front lip during the cut
A snap-open front edge must still open, close and hold the cover after the members are cut and assembled. That makes profile orientation and clamp contact important buying questions. Supply a section drawing showing the moving lip, pivot line, back face, visible finish and any spring or retaining groove. Identify safe support and clamp zones on the actual extrusion. A clamp on a thin visible lip can mark or distort it; a stop referencing a flexible lip can move the measured length. These are trial risks to test, not proof that a particular saw will fail.
Agree how the long stock is carried into and out of the saw, including the shortest cut piece and the finish condition shipped. Ask the machine supplier to record the real support positions, clamps, blade, cut orientation and first-off inspection method in its proposed configuration. The saw may make a satisfactory miter while the hinged edge still catches after assembly. Test the completed member pair, not just a loose coupon.
Choose mitered or rounded-corner construction before programming
Many poster-frame catalogs offer both mitered and rounded corners. They are different parts lists. A mitered frame needs a left/right end schedule and a corner joint check. A rounded-corner system may use straight profile ends and separate corner pieces. Do not quote four 45-degree members simply because another catalog uses them. The approved system drawing, connector and assembly sequence determine the cut geometry.
For a mitered set, mark the visible edge and the handed direction on each long and short member. Define the acceptable joint gap, flushness and cover movement at the assembled corner. A dry-fit with the approved connector and cover can reveal a short member, a burr at the moving lip or an incorrect orientation that a stand-alone angle reading misses. Reject a corner sample against the agreed assembly criterion, then investigate whether the cause is the cut, extrusion, finish buildup or connector. Do not grind a sample until the cause is documented.

Run a trial that answers the buyer’s acceptance question
Send representative approved stock, not only a convenient generic extrusion. Include the longest and shortest member in the intended batch, both horizontal and vertical pieces, the supplied finish and each required corner construction. If the same line will cut raw and anodized or powder-coated stock, confirm whether both routes are in scope. Label incoming samples and photograph pre-existing marks so a later finish dispute does not get assigned to the wrong process.
Have the supplier make a first-off set, then assemble it with the intended corner parts, cover and back panel. Measure the agreed outer or inner datum, miter angle where relevant, assembled diagonal or squareness where specified, visible joint appearance and snap-open/close function. Record the accepted sample, setup, part IDs and any rework. A caliper reading on one loose bar is not equivalent to a frame kit that accepts its graphic and closes repeatedly. Set actual numerical tolerances with the frame designer; this article supplies no universal tolerance or cycle-time guarantee.
A useful trial matrix has columns for profile and finish, part ID, end A, end B, cut datum, support and clamp arrangement, first-off measurement, dry-fit result, open/close result and receiving disposition. Test the worst credible orientation and the smallest releasable piece. If the production mix changes, require an agreed requalification trigger instead of extending a single favorable trial to all sections.
Compare saw quotations on accepted frame kits
A machine catalog image can help identify an equipment family, but it does not show how your hinged profile is held. Ask each bidder to name the quoted model and configuration, angle setting and verification method, blade and guarding, stock support, clamp contact, stop or feed reference, chip handling, operator steps and excluded accessories. Request the same sample geometry and acceptance sheet from every bidder. Do not transfer specifications from one Jiurun model to another or infer a performance claim from a catalog photo.
Compare accepted four-member kits per production batch, not simply cuts per minute. Include setup, first-off approval, changeover between frame sizes, rejected and reworked members, corner hardware, assembly, labeling and finish protection. If complete frames are currently bought from an outside supplier, compare the retained cutting route with prepared kits and complete frames at the same receiving stage. The investment case should count only frame families the buyer will actually cut in-house.

Video: related aluminum cutting equipment
The video below is from Jiurun’s own channel and shows a related aluminum cutting operation. It is an equipment illustration only. It does not show the poster-frame extrusion, hinged lip, graphic, customer order or performance acceptance described here.
Write the RFQ and receiving plan
For snap frame aluminum profile cutting, issue an RFQ with the approved section and frame drawing, the three separately labeled dimensions, cut-member schedule, corner style, moving-lip and finish contact zones, stock length and batch mix, required assembly parts, first-off acceptance sheet, and the exact supply stage. Ask the vendor to identify what it will demonstrate and what the buyer must supply. Request a written exception list for material not trialed, accessories not included and work left for downstream assembly.
At receipt, check part labels against drawing revision, size, hand and finish lot. Protect visible faces from rubbing, keep paired members together and quarantine a mixed or damaged kit before it reaches frame assembly. For a real quotation, send Jiurun the released profile and sample-set requirements. The poster-frame system owner remains responsible for the approved hinge, corner, cover, mounting and completed-product acceptance.